Note: Still a work in progress

Tutorial animation
Our midterm for the class The New Arcade was to make an unconventional controller, a la ctrl.alt.GDC style, and an accompanying game.
Years earlier, I had taught myself how to make molds and cast out of silicone and wanted to make a silicone beer tap udder for Burning Man. I ended up making a lot of other little sculptures for Burning Man but didn't get around to this. So this alternative controller assignment was the perfect opportunity to bring back the udder!
The Pitch: A rhythm game in which you play a barista who prepares café lattes with a magical countertop miniature cow instead of an espresso machine.
User Interaction
I decided to first focus on the appropriate player experience of using the udder. I could think of two ways:
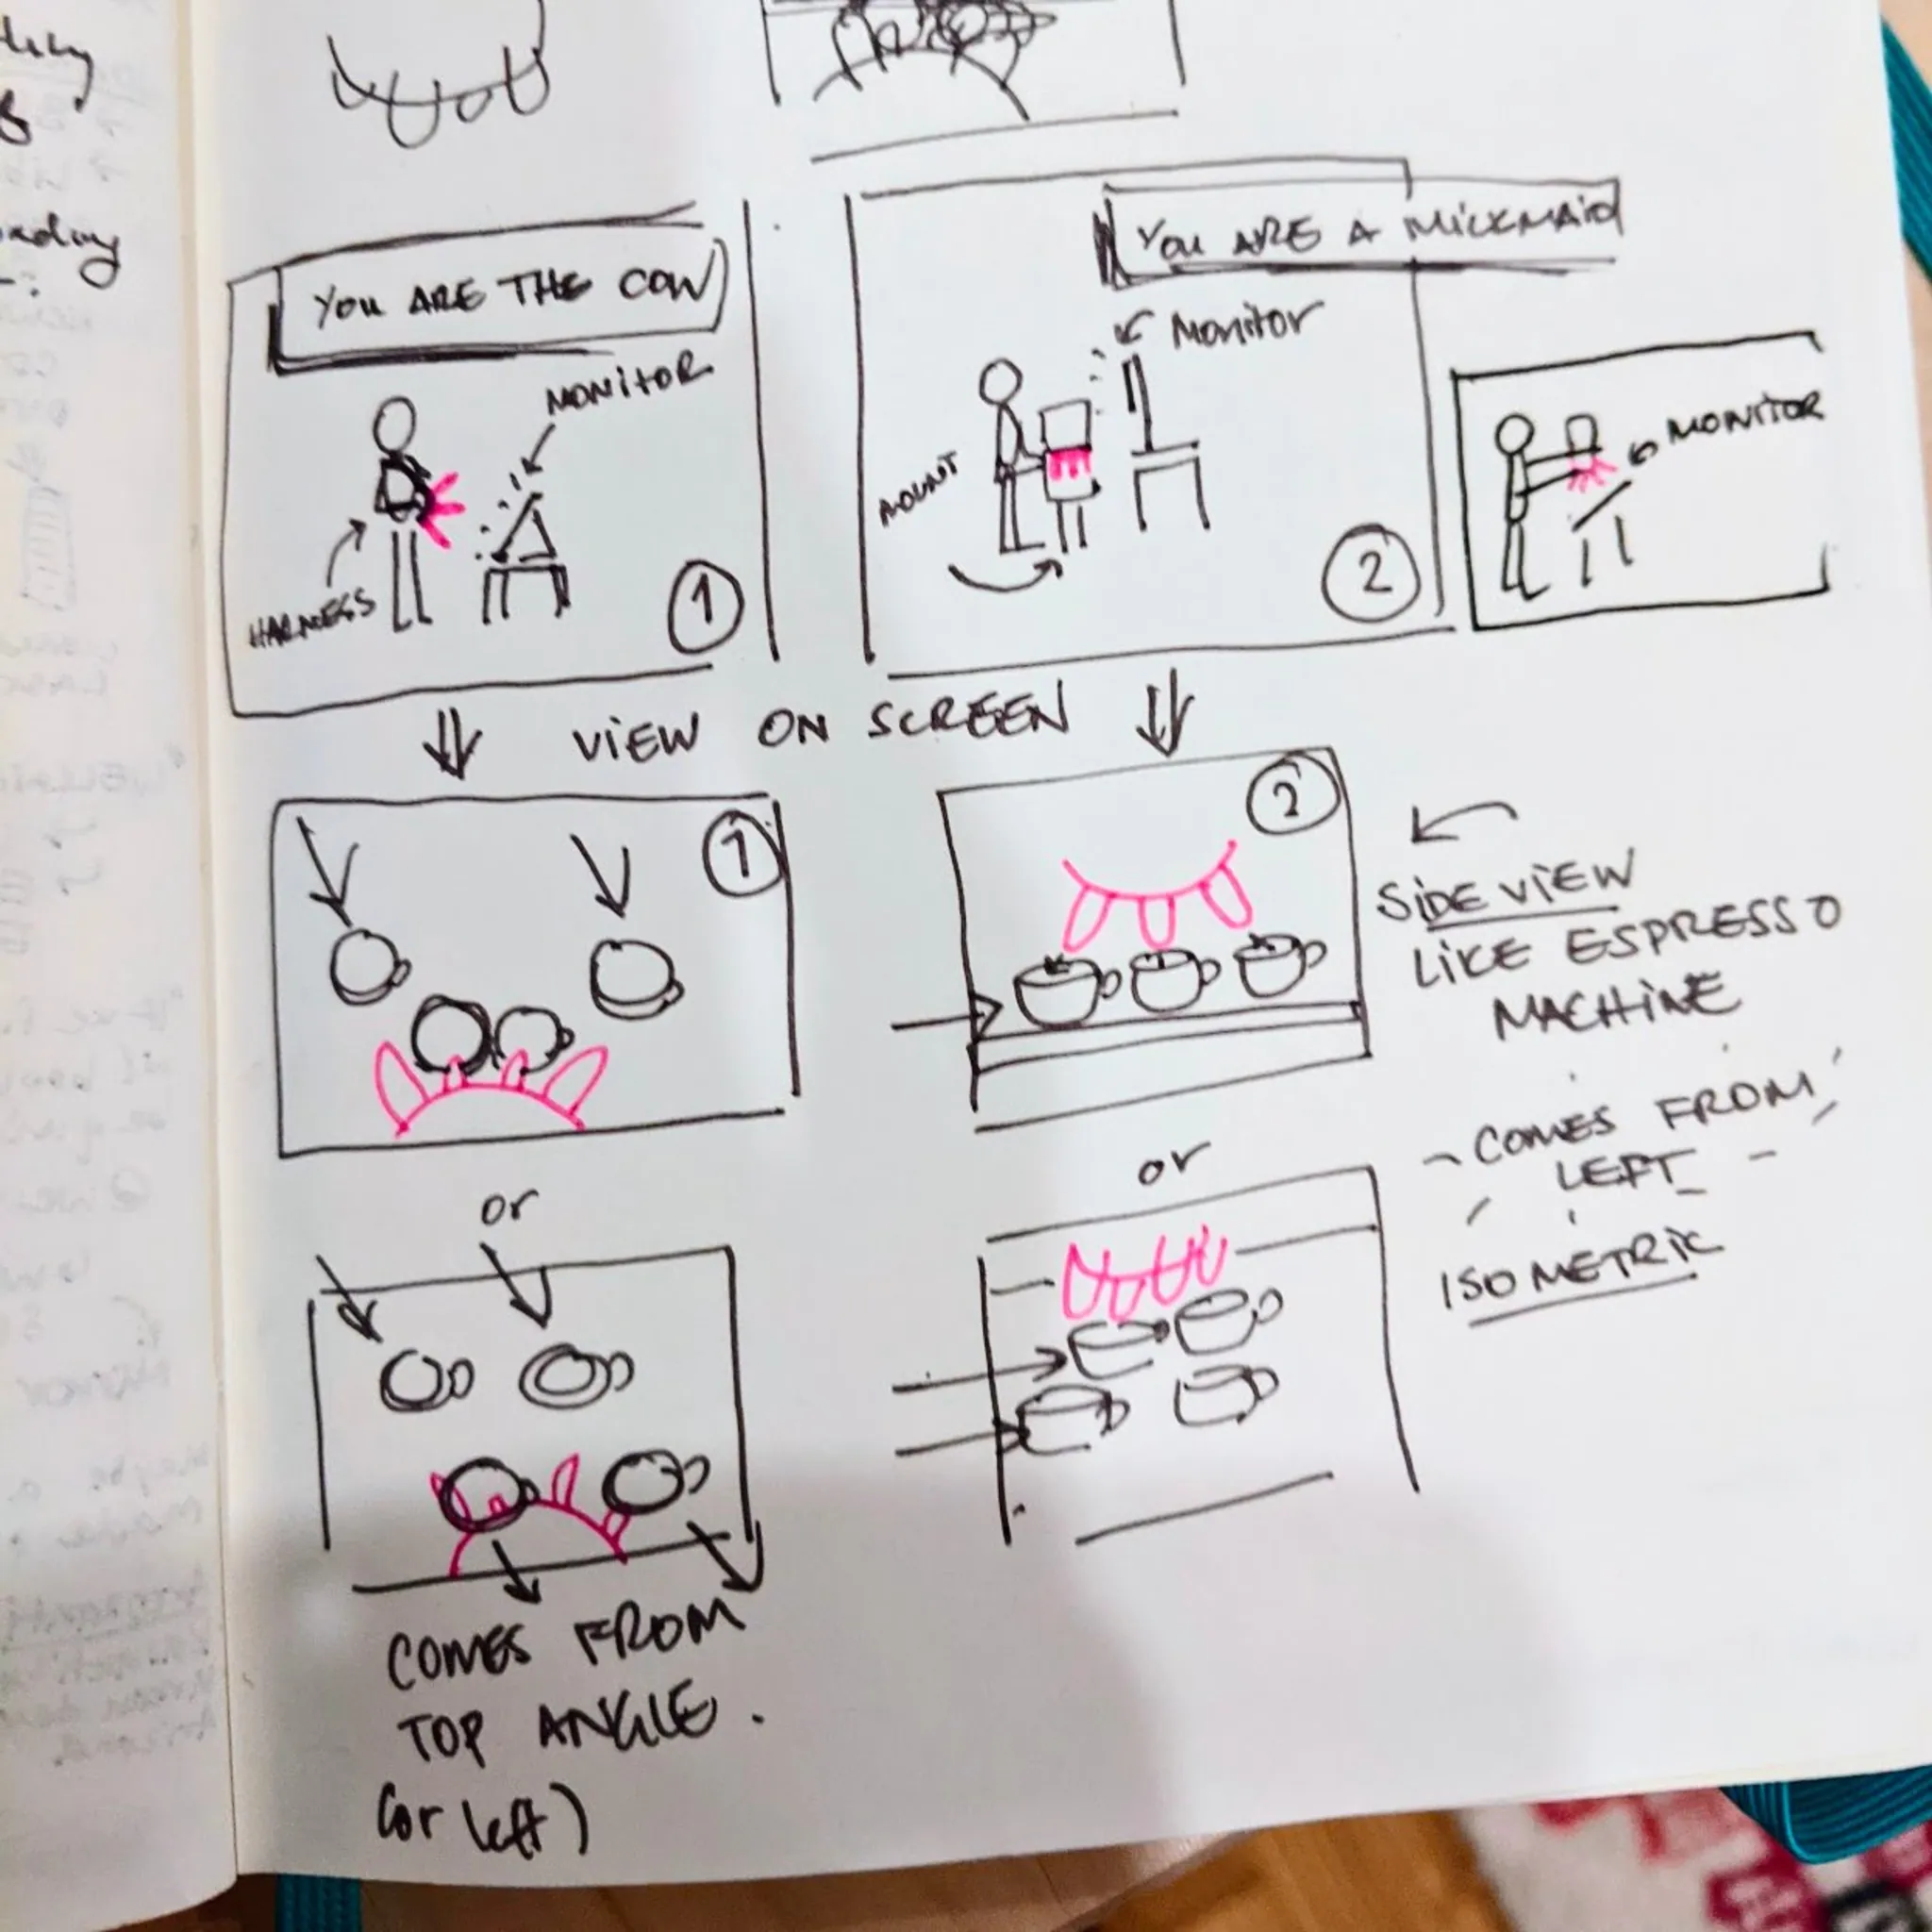
My original ponderance was on whether you are the cow or whether you are the milkmaid.
Originally, I wanted the udder to be attached to a harness and the player is the cow. (see left side of sketch). However, after some more thinking, sketching, and surveying friends, I concluded a few things:
- Cables could be an issue, and doing it wirelessly might introduce lag into a rhythm game
- Wearing it could also add wear-and-tear to the circuits inside
- It’s not clear what the view would be on the screen if you were the cow…are you looking down at a counter? Are you shooting at things on a wall? Would it make sense if the screen were at udder-level and angled up?
- If you wore the udder, you probably wouldn’t need to see one on screen. Aiming might be awkward if you aren’t standing perfectly in the right spot.
After surveying several people, the consensus was that it seemed too cumbersome to have a harness. Many people liked the idea of the cow being miniature and used like an appliance on a counter, as an espresso machine with a milk frother is (right side of the sketch).
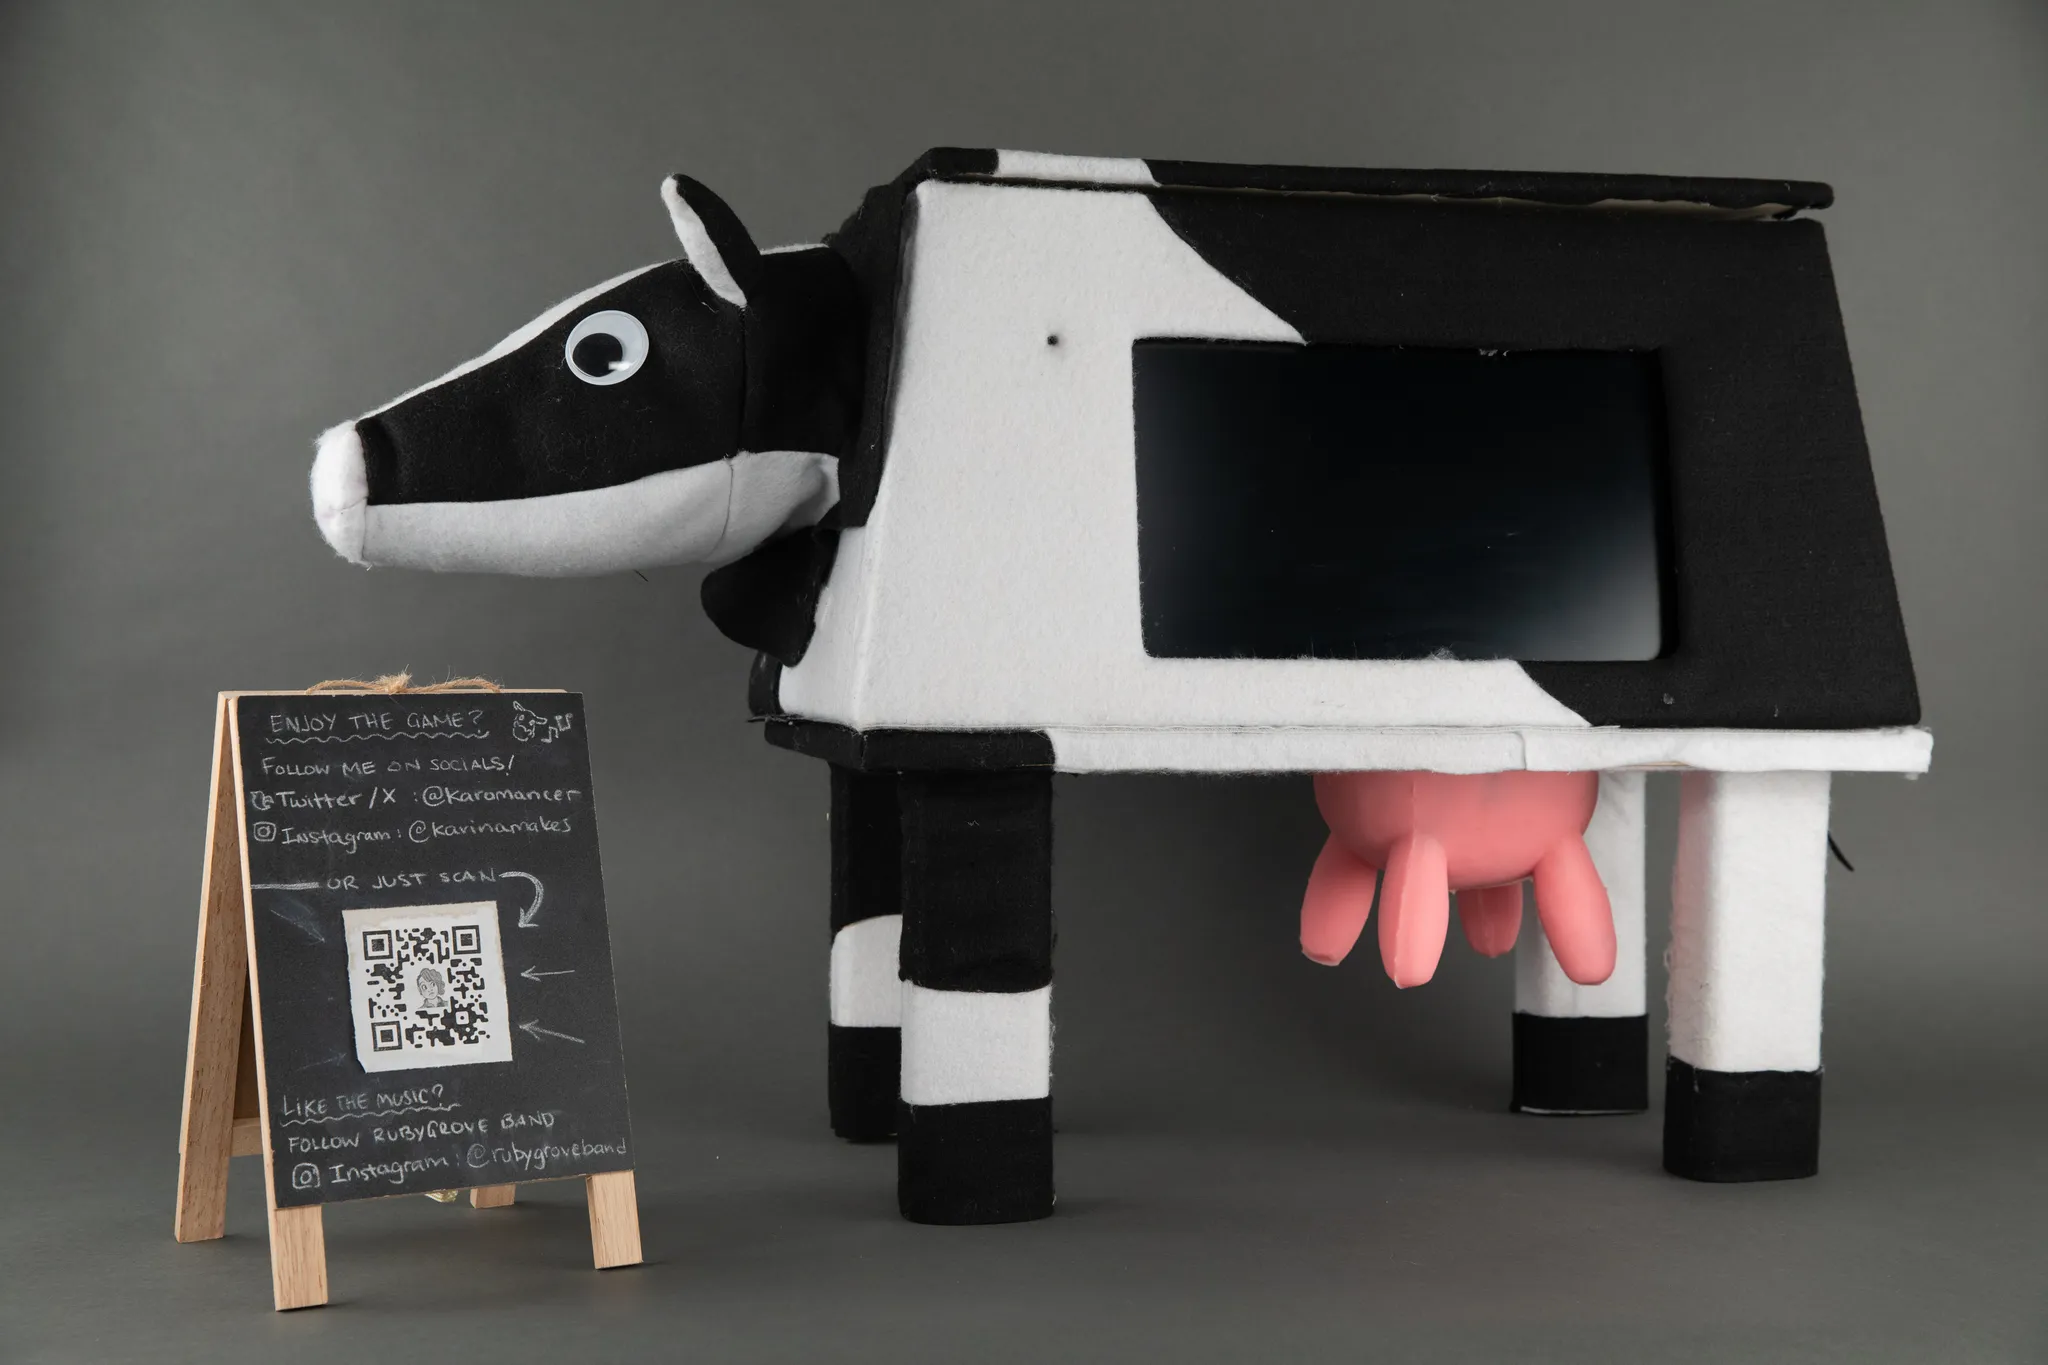
So I ended up deciding on the more traditional route of having the udder hang down like on a cow. That opened the question as to where the screen would be; should it be on the cow itself, under the udder, or behind the cow? That choice determines whether the perspective for the illustrations are from the side or top-down.
I decided that though having the monitor under would be interesting, the actual controller might block the player's view so side or behind is best.
Game Design
Inspiration
The game that inspired me the most is Rhythm Heaven Fever, a very silly Japanese rhythm game with a very distinctive soundtrack and aesthetic.
I imagined the 4 udder teats to be squeezed in quick succession to fill cups. With that in mind, I nailed down the two Rhythm Heaven Fever games I think would be most fitting for this game.
First is Fork Lifter. I think this works well because it has several cues that go in quick succession, and objects that appear from off the screen. I was envisioning the coffee cups sliding in to be filled, and after filled in rhythm, slide off the screen.
Aesthetically, I also like the little speech bubble. I thought maybe after a really good run, there might be one with a face of a happy customer or something like that.
The next one I’m inspired by is Flipper-Flop. What I like about this one is the use of 3 eighth-notes on the first beat as a cue for what’s coming, then a voice as a cue with how many “flipper-rolls” you have to do:
I like the idea of having eighth-note sounds designating coffee cups sliding in and the voice going “3 café lattes” and you filling up the 3 that appeared on your screen (you would not press for the coffee sliding in sound effects).
One of the things that’s so endearing about Rhythm Heaven Fever is that there are visual and audio cues for when the player is hitting notes too early, too late, or not at all. See the above again but with numerous mistakes:
Aesthetics
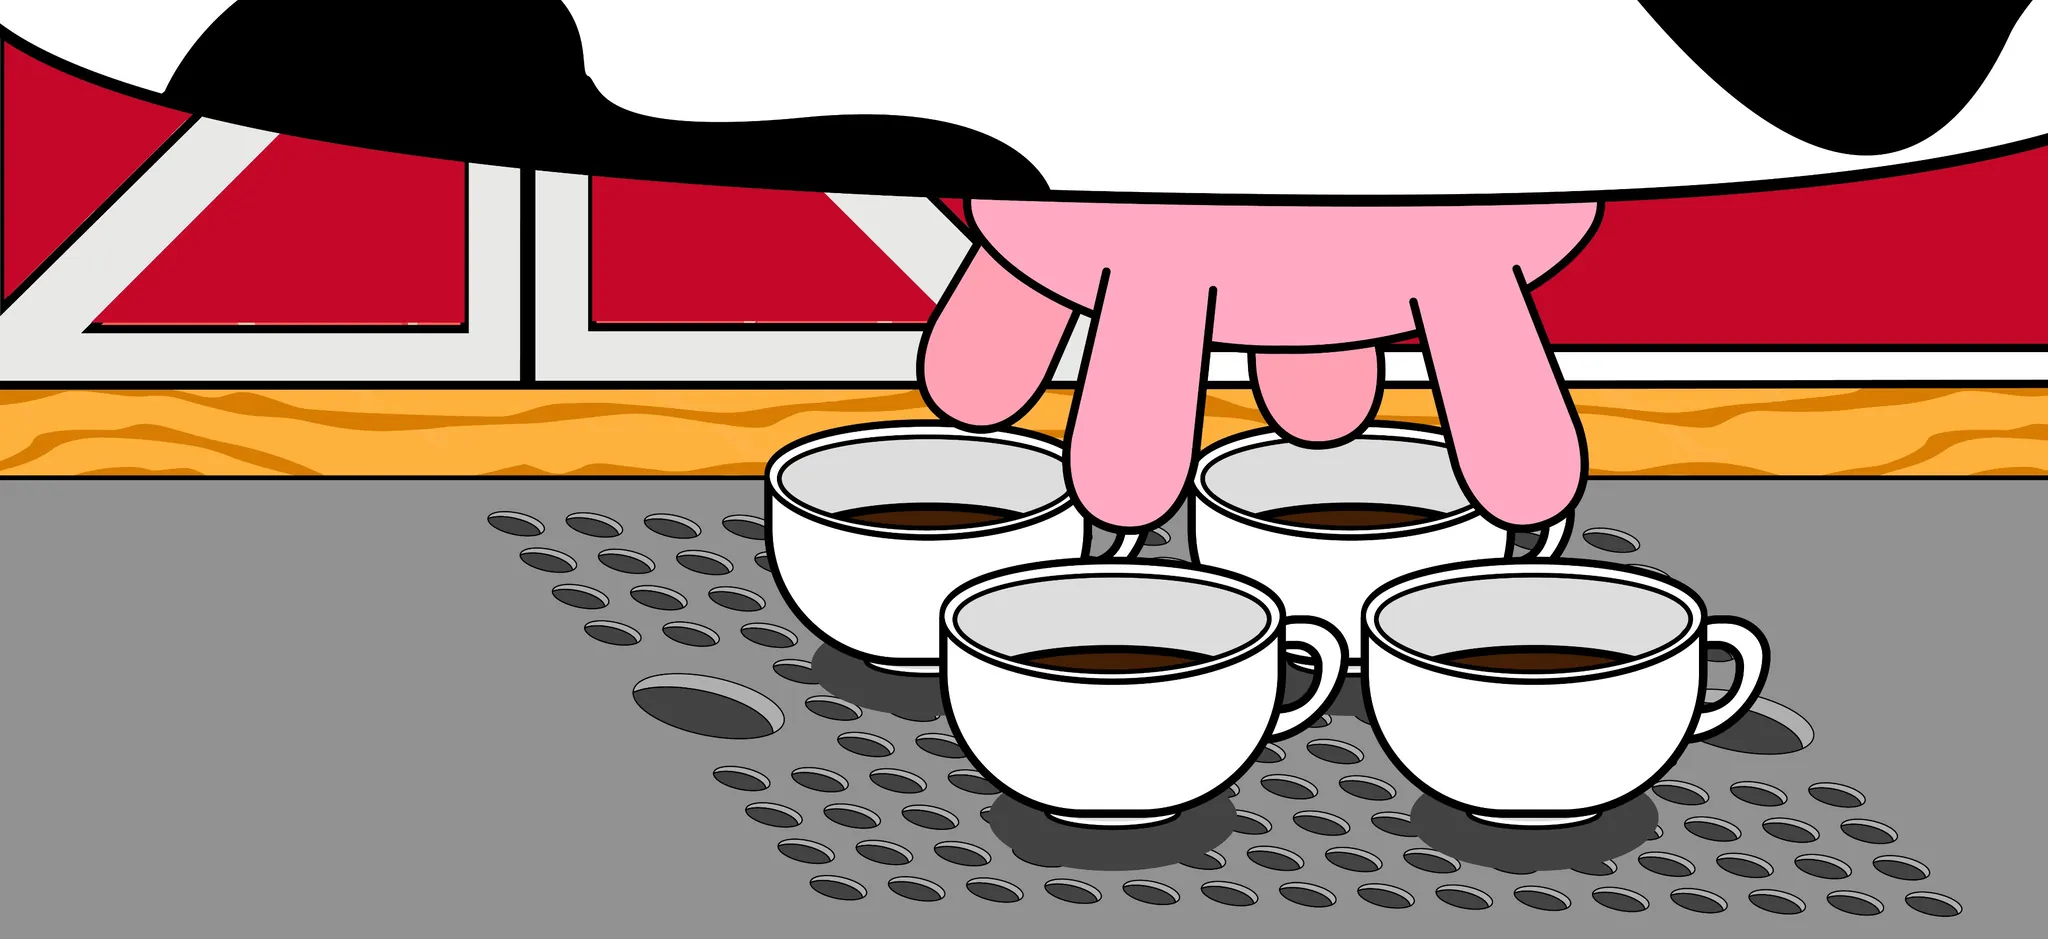
I wanted to match the art of Rhythm Heaven Fever, with its bold black lines and bright colors. I kept that in mind as I designed the cow udder and cups.
The cups would slide in from the left to the right, and not always 4 at once. This is what 4 would look like that haven’t been touched.
As mentioned, in Rhythm Heaven Fever, if you are too early/too late/miss the note, there is a very obvious audio and visual cue. The game would include both the press and release of the udder teat as the interaction. Each press/release will be 1 beat long. That is, press on the beat 1, release on beat 2.
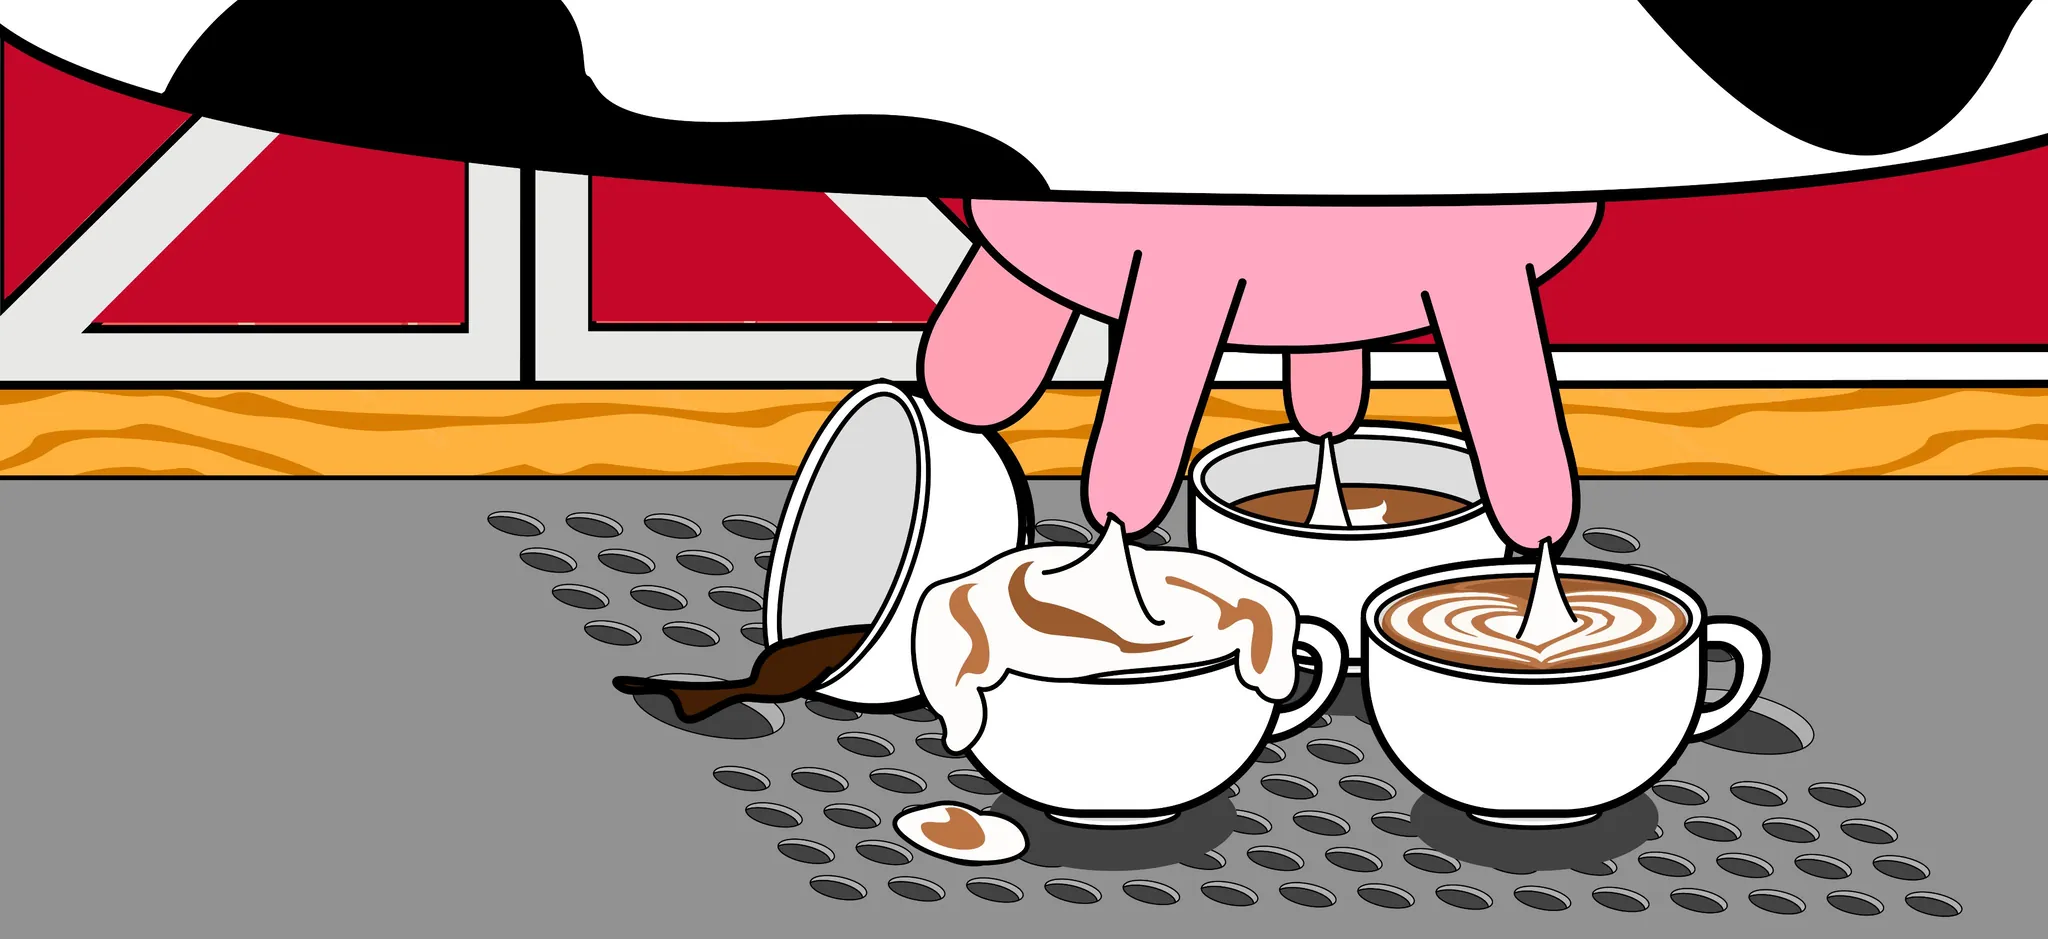
I wanted to do that as well in my game, so I came up with the following:
- If the player misses the cue completely or presses too early, the cup tips over
- If the player presses too late or releases too early, the cup goes out half full
- If the player releases too late, the cup overflows with steamed milk
- If the player makes a perfect latte, the cup has a heart latte art
So here’s an illustration of what that might look like:
Some of the Rhythm Heaven Fever games also have a little surprise at the end if you got all perfects, so I want the last cup to be latte art of a cow’s face if you got perfect up to that. I haven't gotten to it yet, but it's a goal! 🐮
Tutorial assets
In theme with the rest of the game, I wanted the tutorial to paint the player as a new employee of a Starbucks-like café where the steamed milk comes from a magical cow. So who best to teach that to the player than an adorable barista?

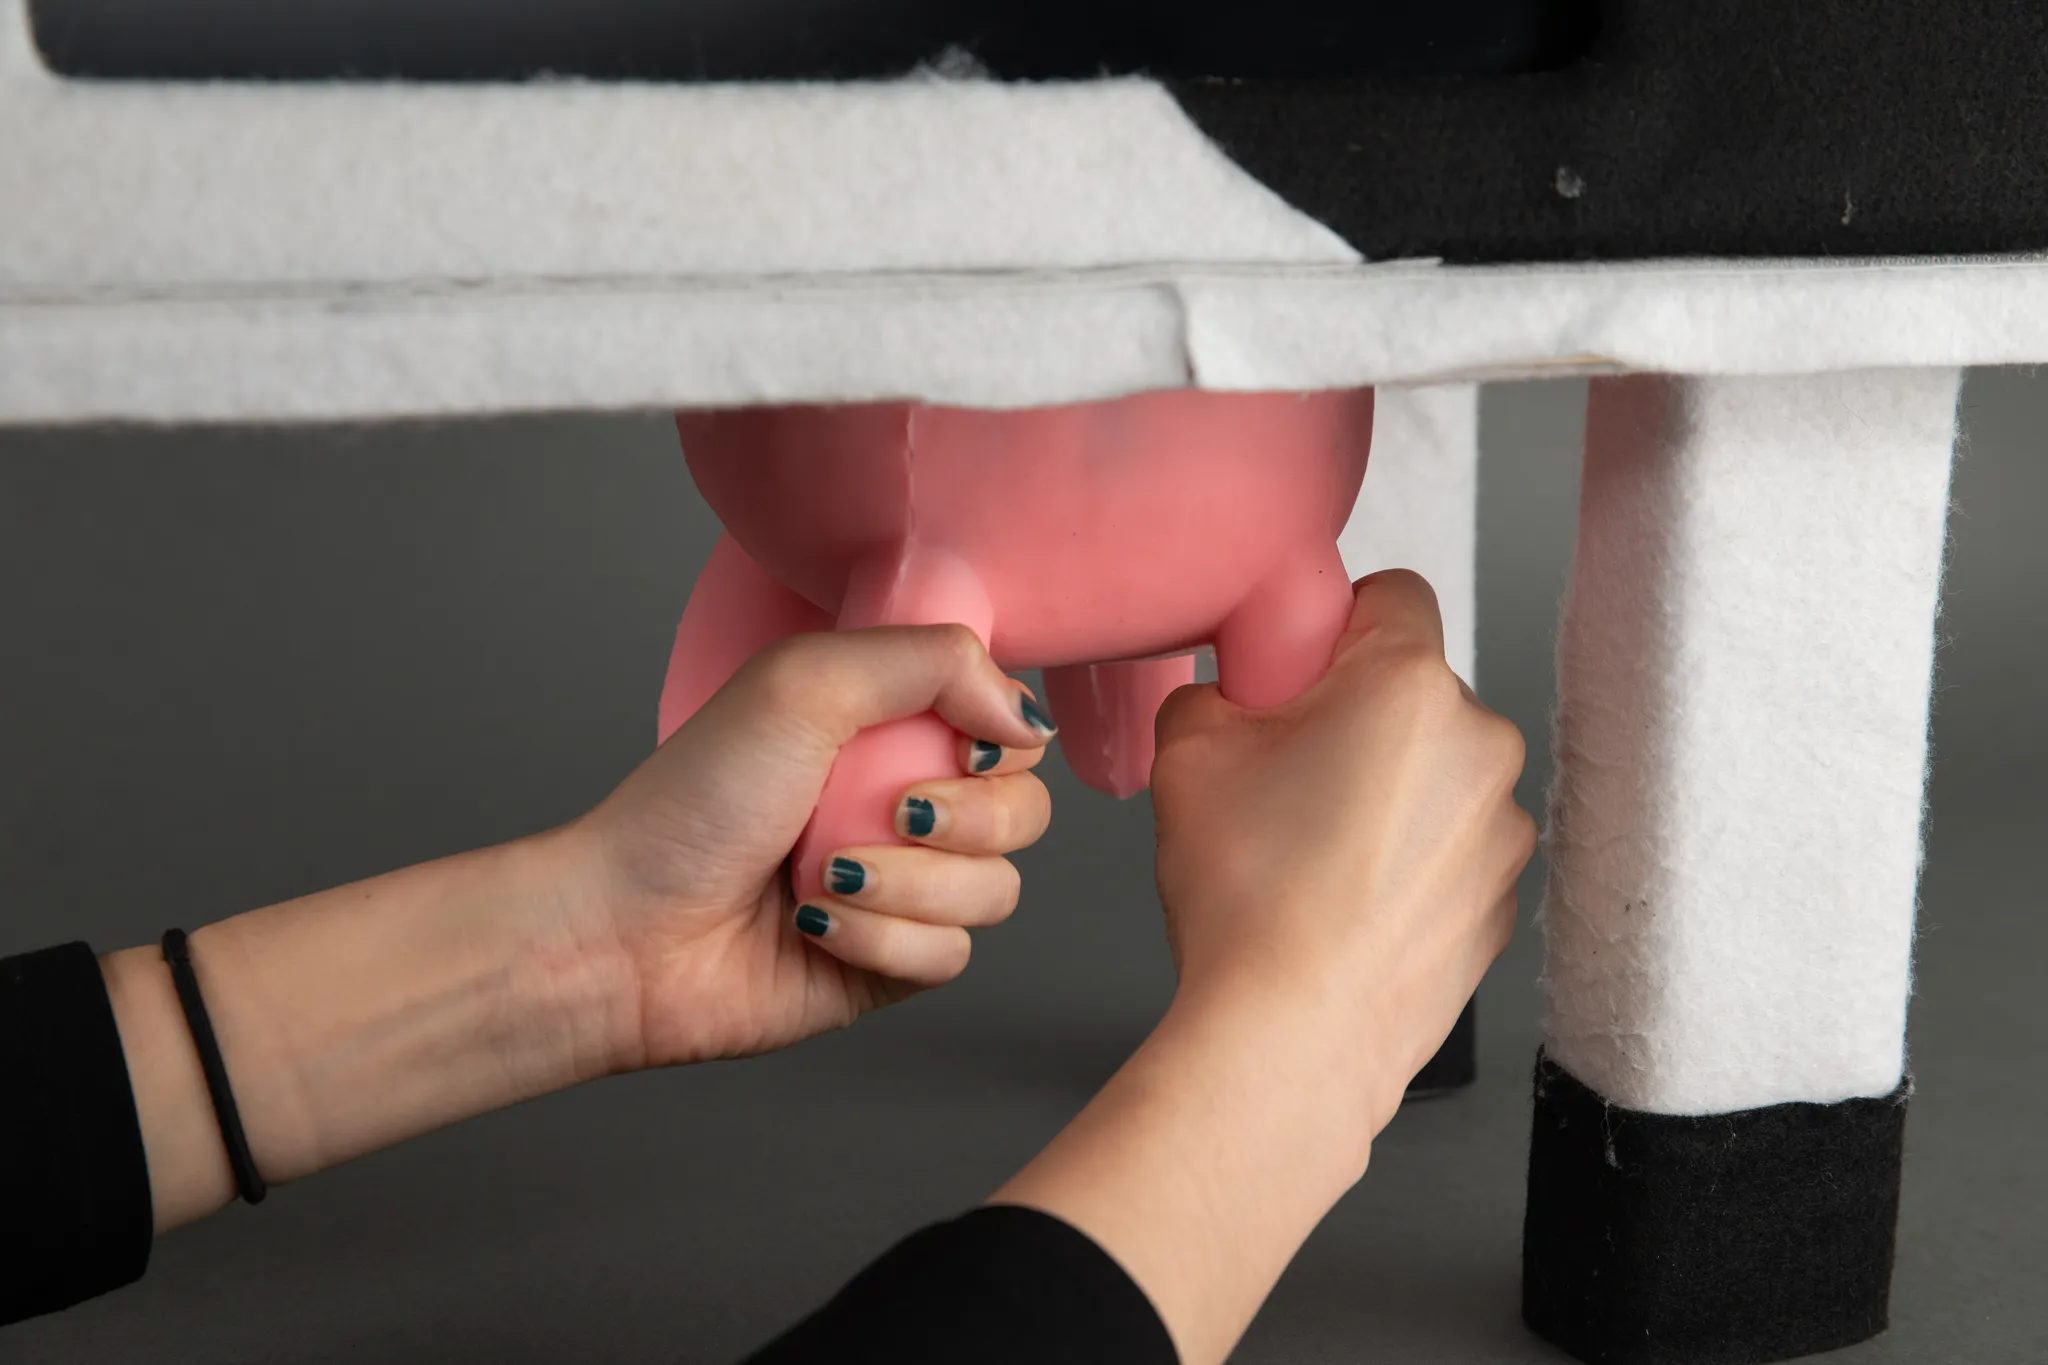
When I first made the udder, I thought everyone had a vague idea of how to milk a cow but after witnessing players grabbing the teats in various odd ways, I knew I also had to add in an animation showing how to properly grab and squeeze them.

Game Development
First thing's first, I imported my assets into Unity and made the teats controllable by the QWAS keys.
Music & Code
A good track is paramount to any rhythm game. I hired my good friend Melissa Nilles and her band, Ruby Grove to compose a silly song for the game in which each note is a bass note.
With the song in hand, I modeled the song in C# code by creating a struct for each "cup note", or cup that flies across the screen to a note.
// CupConductor.cs

public struct CupNote
{
    // "FrontLeft", "FrontRight", "BackLeft, or "BackRight"
    public string type;

    // On which measure # and beat # (within the measure) the note lies
    public int measure;
    public float beat;

    // Duration of the note (for hold-release)
    // 1.0f is a quarter note, 0.5f is an eighth note, etc
    public float duration;

    public CupNote(string _type, int _measure, float _beat, float _duration)
    {
        type = _type;
        measure = _measure;
        beat = _beat;
        duration = _duration;
    }
}
With the struct created, I could describe at which point every bass note enters the screen and which teat the cup should go to
public static CupNote[] CUP_NOTES = {
    new CupNote(CupTag.BackRight, 8, 1.0f, 1.0f),
    new CupNote(CupTag.BackLeft, 8, 2.0f, 1.0f),
    new CupNote(CupTag.FrontRight, 8, 3.5f, 0.5f),
    new CupNote(CupTag.FrontLeft, 8, 4.0f, 0.5f),
    new CupNote(CupTag.BackRight, 9, 1.0f, 1.0f),
    ...
}
While the GameManager keeps track of what measure and beat the song is on, the CupConductor with the note declarations above instantiates cups when it's their turn.
When a player presses Q, W, A, or S, or squeezes an udder, the illustration of the teat changes to include the milk sputter. Using a BoxCollider2D, I capture that event in the cup itself. In those enter and exit events, the cup checks whether the press and release are within a beat tolerance for the note through the IsOnBeat method and changes sprite accordingly.
// GameManager.cs

public BeatTiming IsOnBeat(int measure, float beat)
  {
    float expectedSongPosition = (measure * 4) + beat - 1;
    bool isAcceptablyEarly = songPositionInBeats > (expectedSongPosition - beatAllowance);
    bool isAcceptablyLate = songPositionInBeats < (expectedSongPosition + beatAllowance);
    Debug.Log("Expected " + expectedSongPosition + " Got: " + songPositionInBeats);
    if (isAcceptablyEarly && isAcceptablyLate)
    {
      // Yes I went overboard on the theming! This just adjusts score.
      SubmitCustomerFeedback(BeatTiming.OnTime);
      return BeatTiming.OnTime;
    }

    if (!isAcceptablyLate)
    {
      SubmitCustomerFeedback(BeatTiming.TooLate);
      return BeatTiming.TooLate;
    }

    SubmitCustomerFeedback(BeatTiming.TooEarly);
    return BeatTiming.TooEarly;
  }
With all of that, we have a working rhythm game! Just need to add some animations and we're almost there. Sound on 🔊
You can see the complete Unity code here:
Win/Lose Conditions (WIP)
Like a lot of rhythm games, there are different scores. In Rhythm Heaven Fever, there is a Fail, a Fair, a Good, and a Perfect, which is shown to you at the end. They never show you a more precise score and you don’t know your progress during the game (unless you are no longer Perfect. Then it will stop showing you the “Go for Perfect!” message).
Originally I was just going to take inspiration from that paradigm and not show high score.
Player testing showed me that people really wanted to know their scores, so points are given for perfects, early, and late presses and displayed as tips. This still needs some fine tuning.
Controller design
I was planning for the controller to be a silicone or latex cast cow udder attached to a mount.
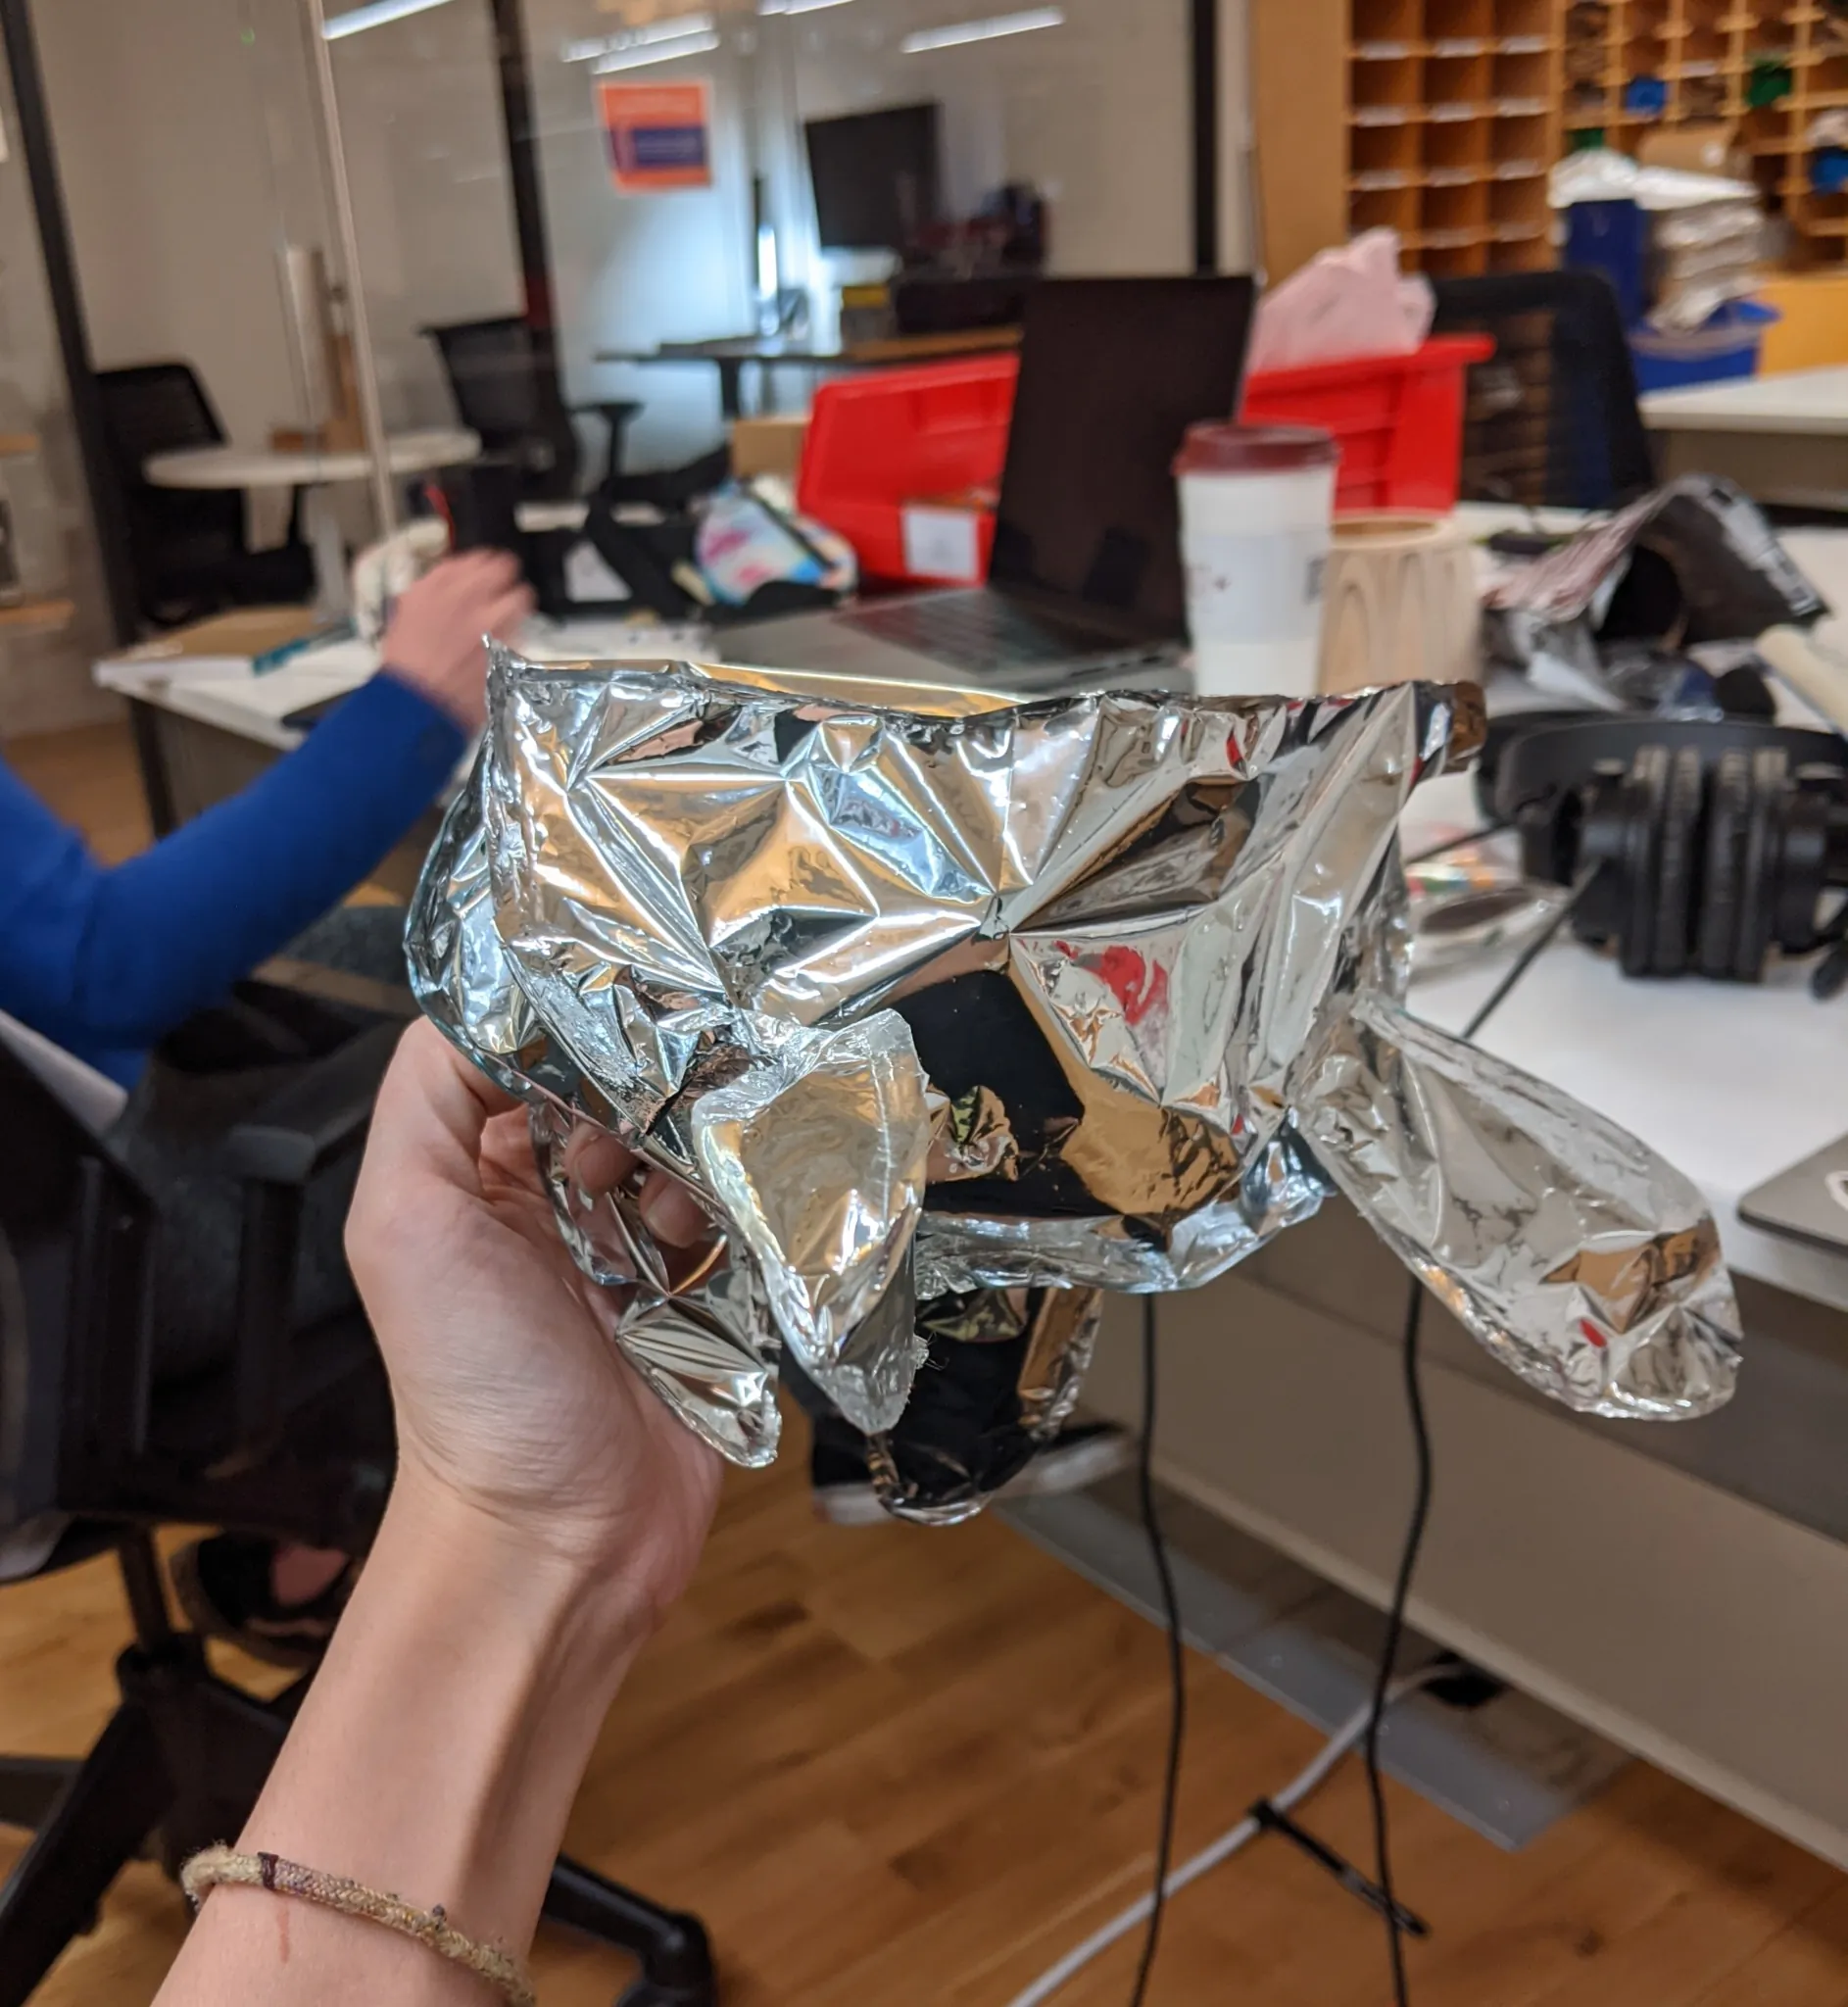
To figure out the correct proportions for the udder, I made a mylar balloon model. No precise measurements, just cut and crafted to what felt comfortable with my hands.
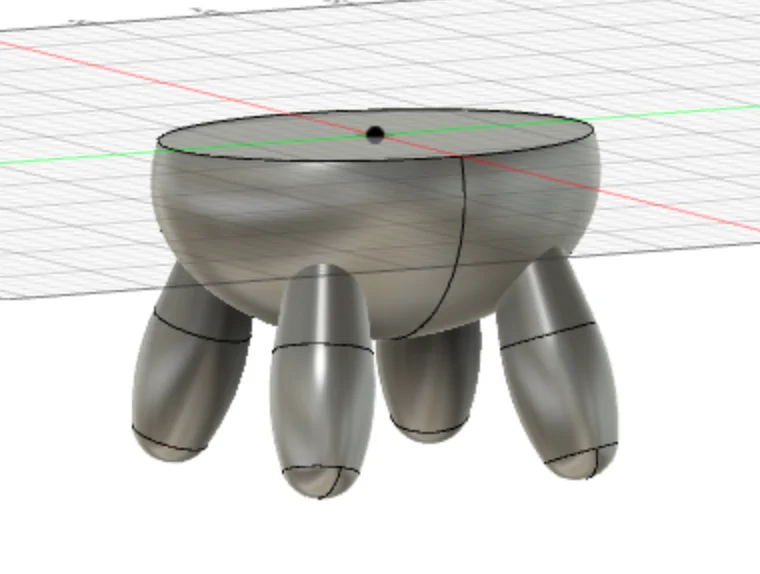
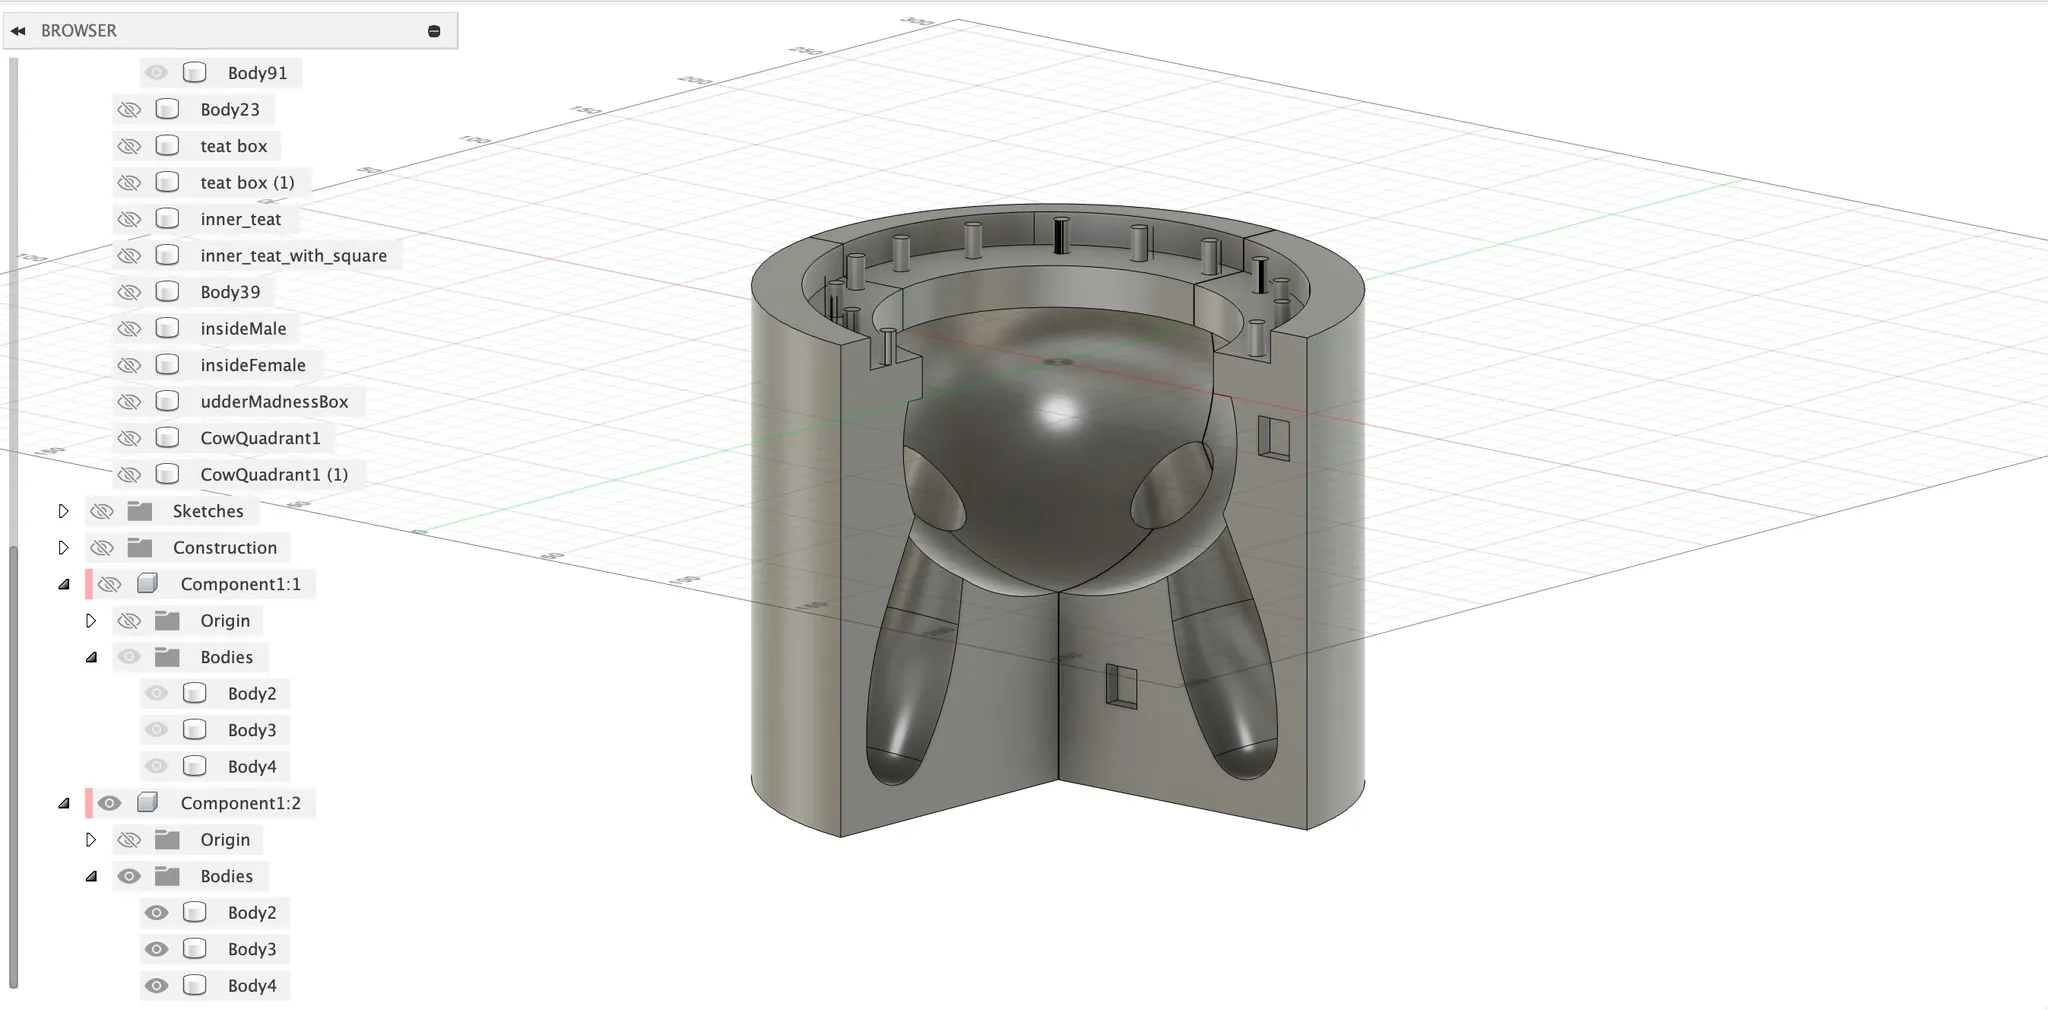
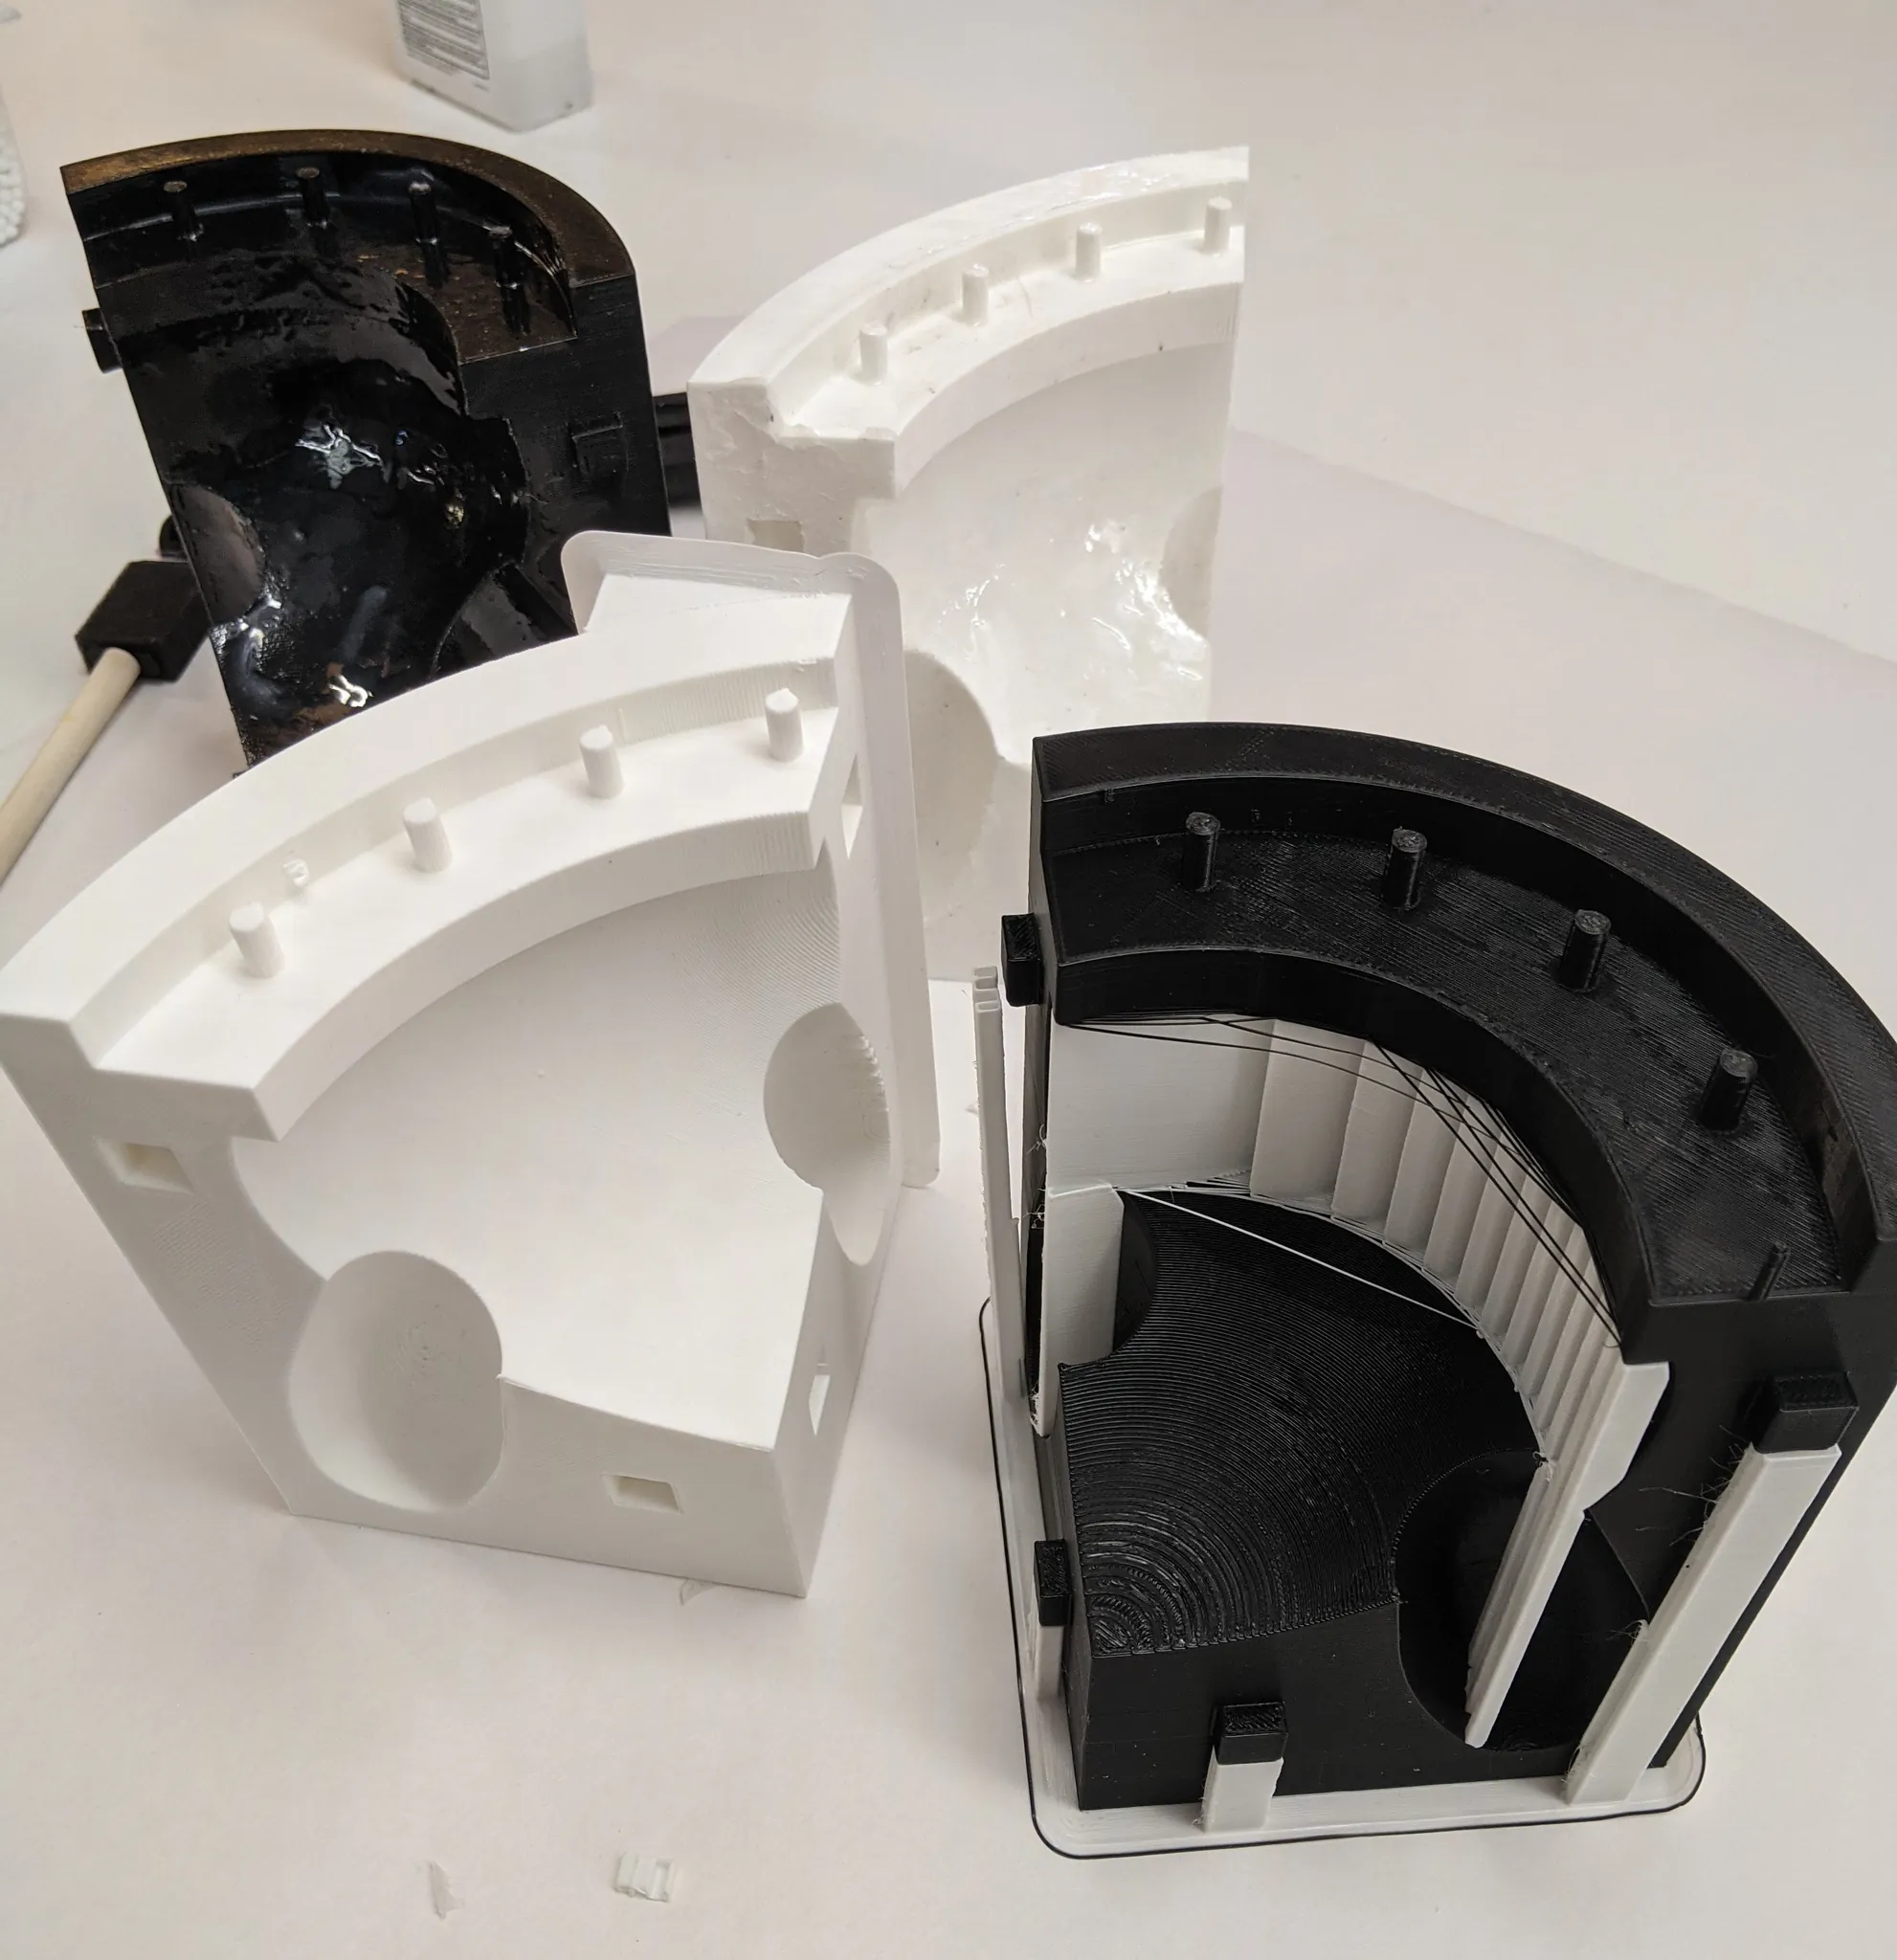
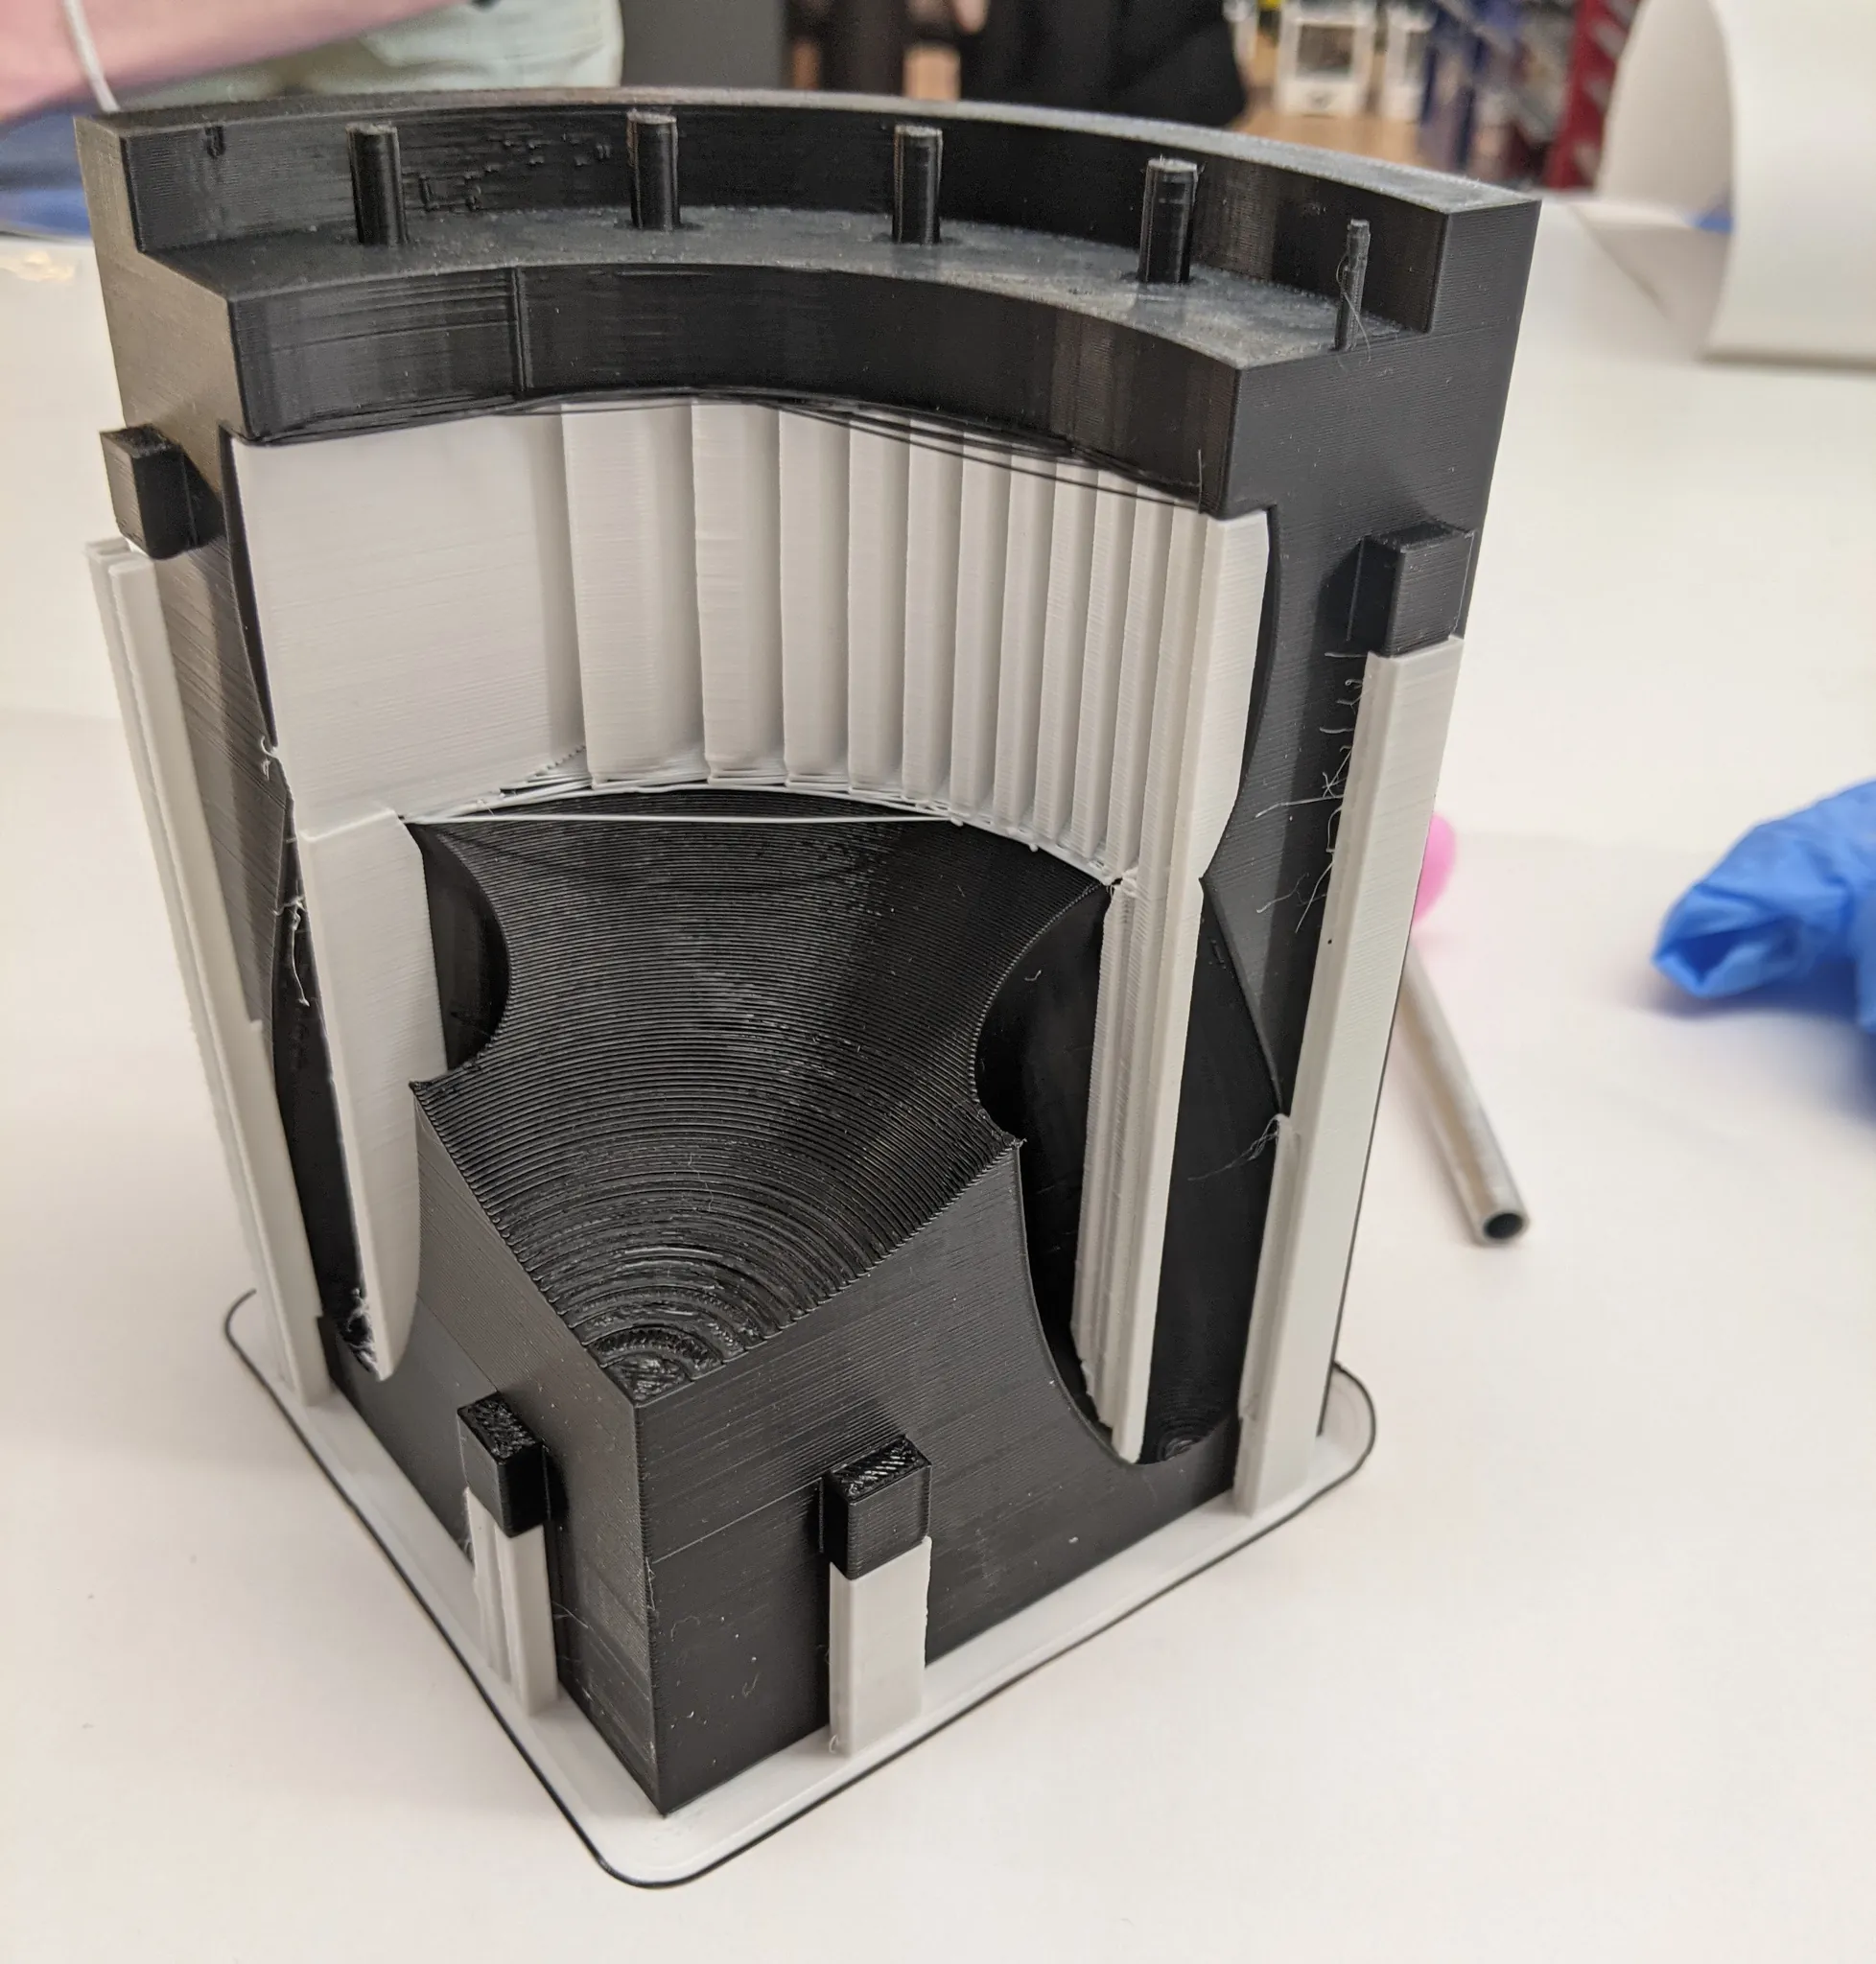
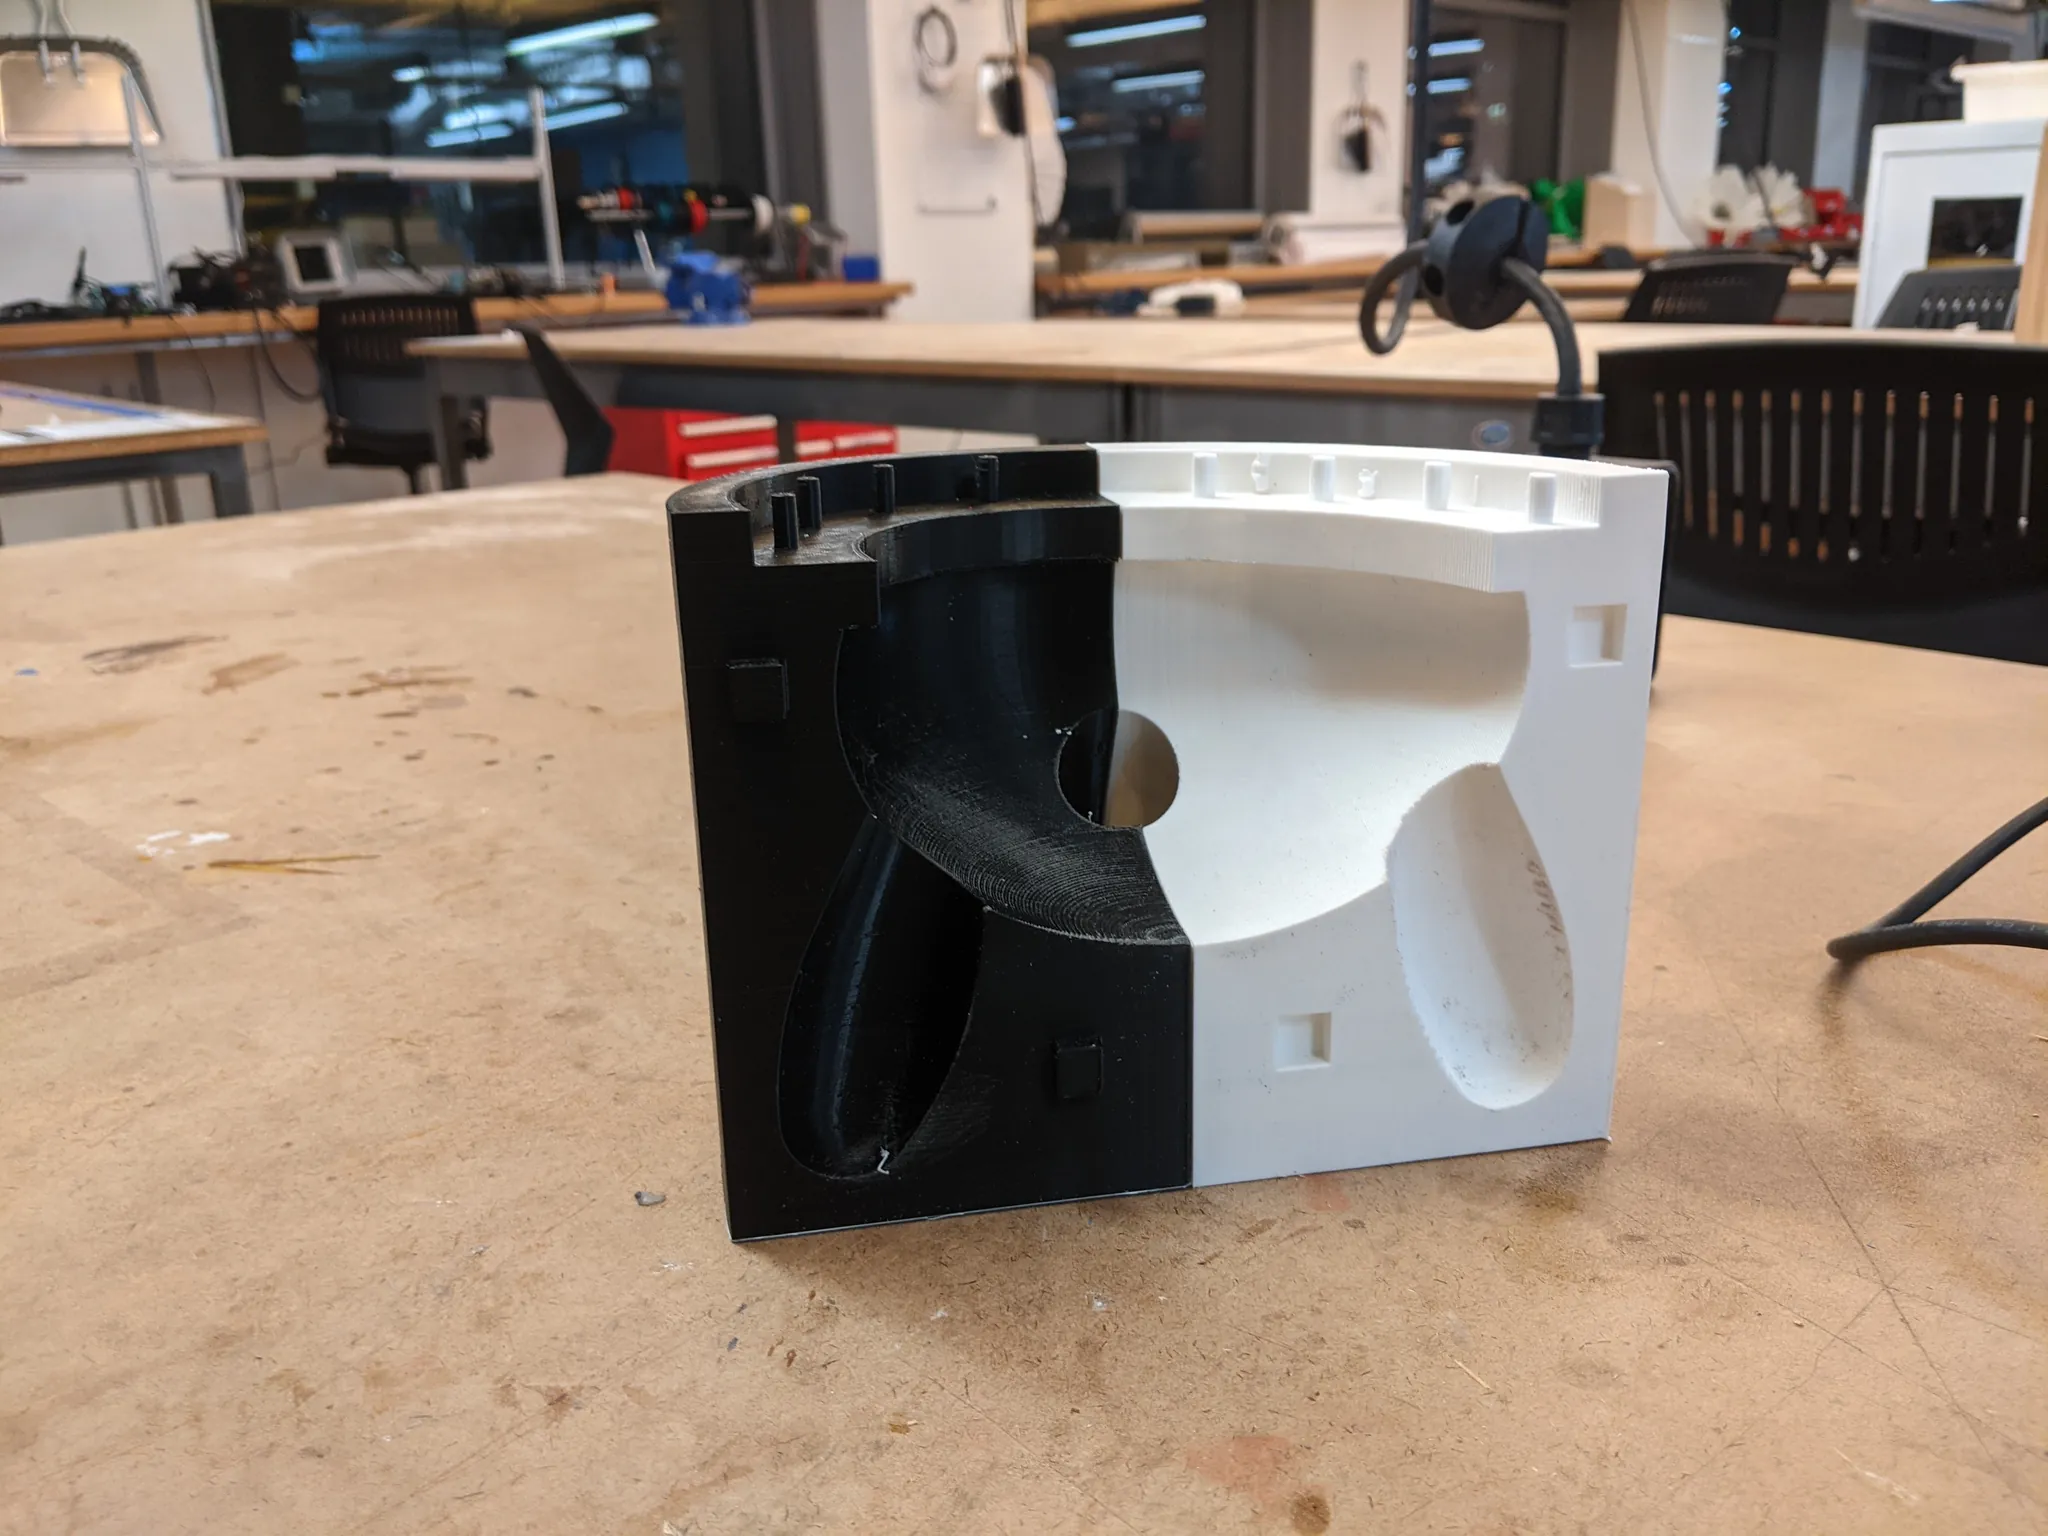
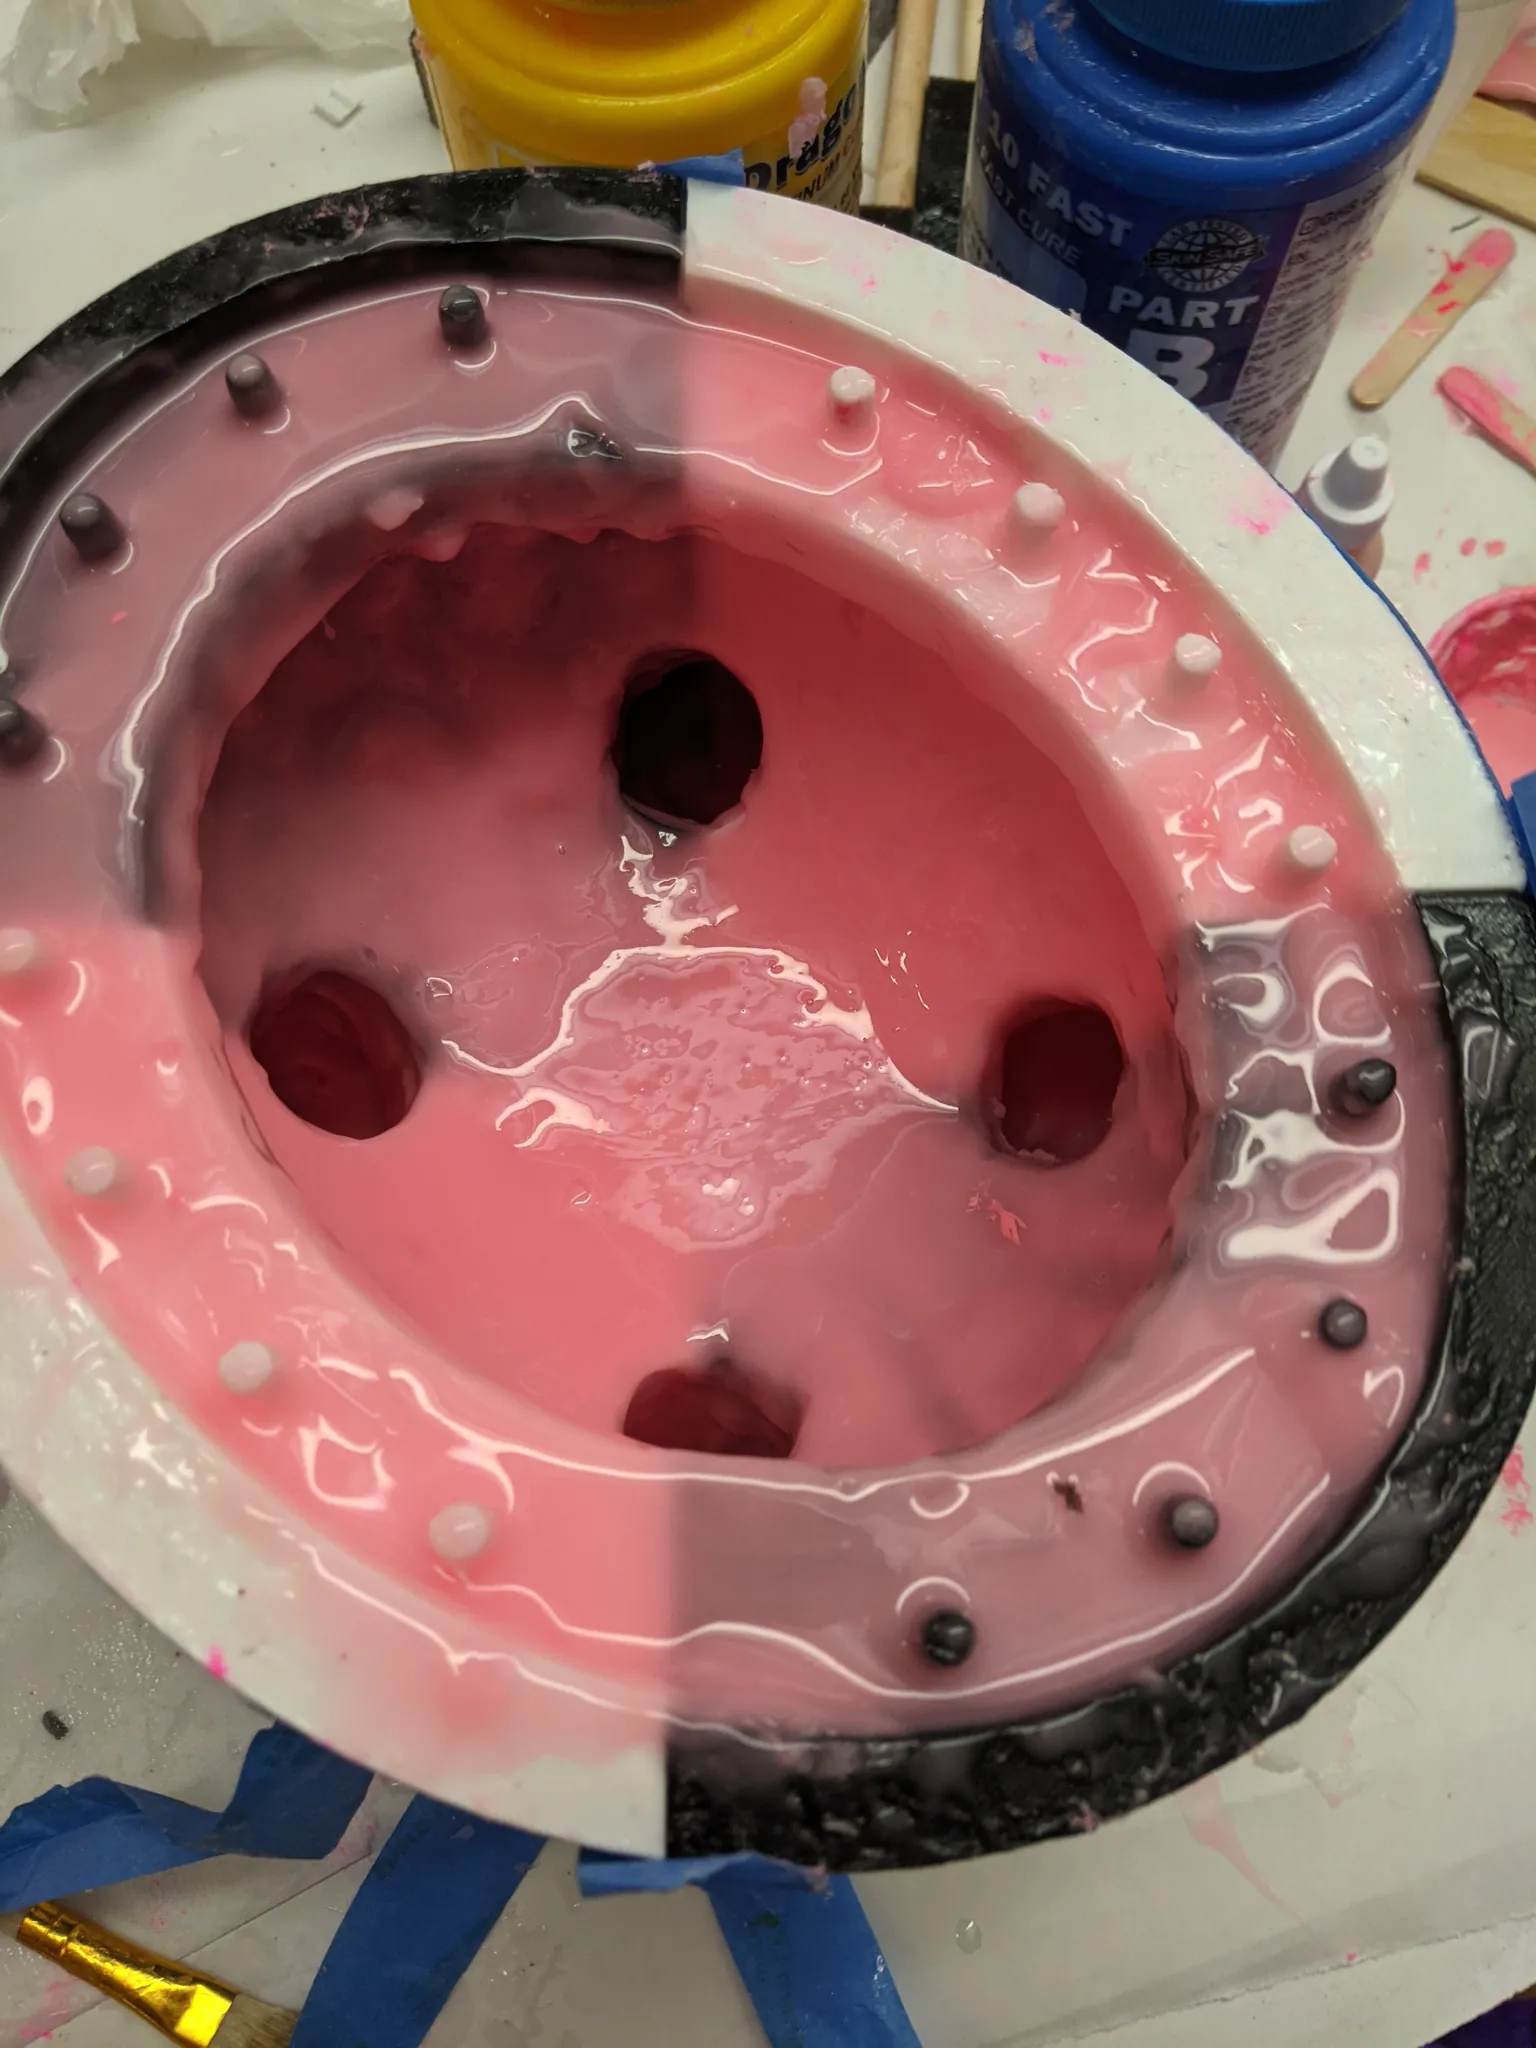
Once I got the right proportions, I dissected my own balloon and measured it to create a CAD model in Autodesk Fusion 360, then inverted it and created a 4-piece udder mold box with pre-drilled holes at the top so the udder could be drilled down into a cow belly later.
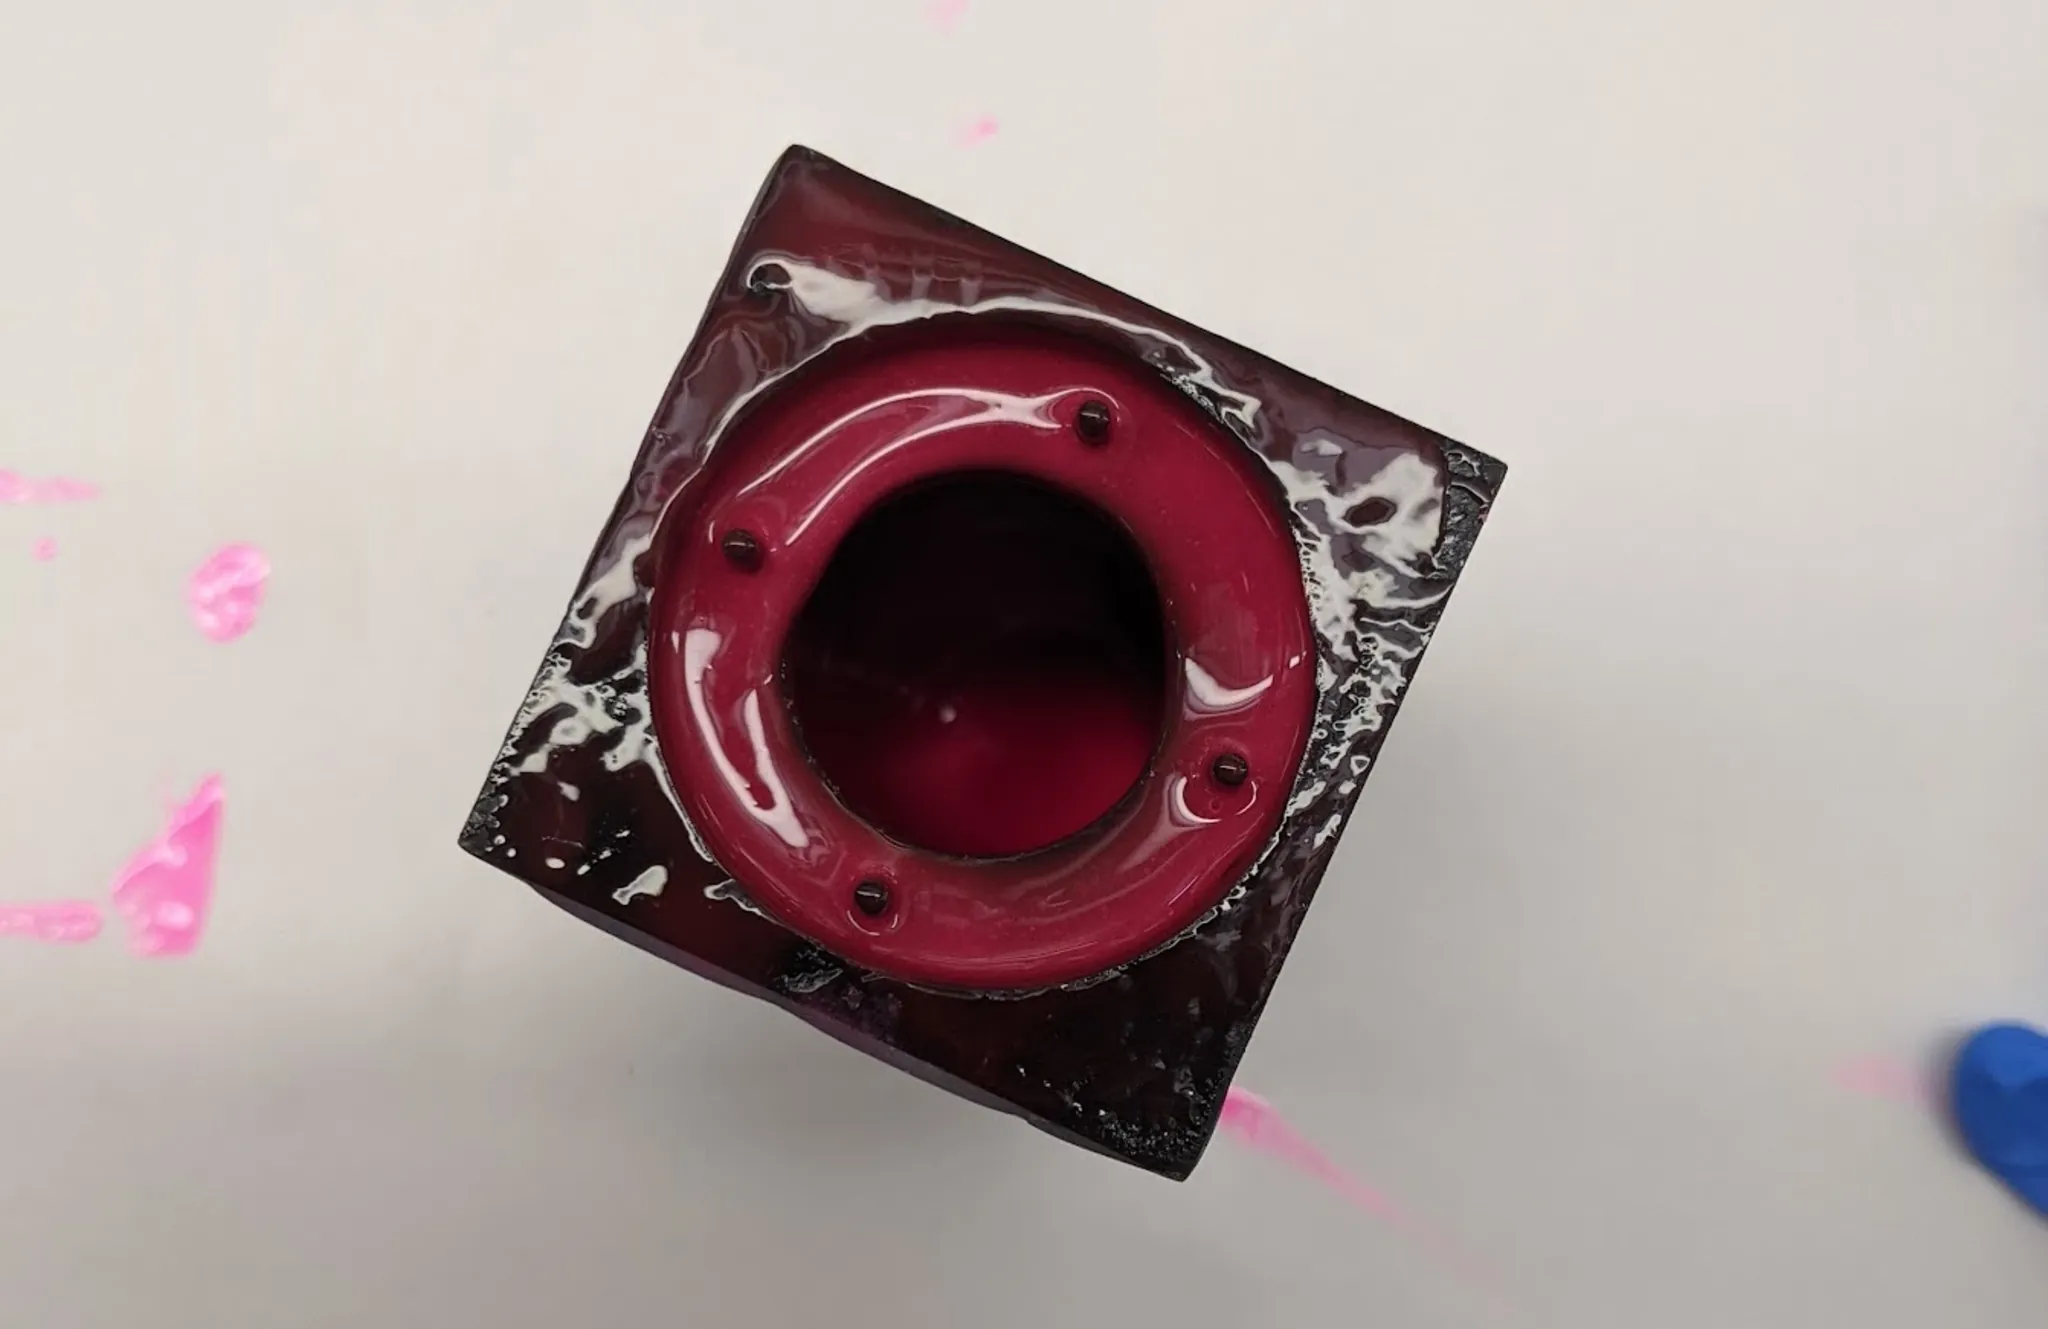
Of course, making a beauitful udder means nothing for a video game if there aren't any accompanying electronics to detect a squeeze. So I made a single-teat mold box and made silicone brush casts to make test teats for different electronics experiments.
The casting looked very grotesque:
I had a few ideas for how to detect a teat squeeze:
Teat Test #1: Conductive Fabric Switch
Using conductive fabric lined on the inside, we can create a binary switch/button. When a player squeezes the teat, a circuit is completed between both sides of the teat. Alternatively, this can also be done with a lined teat and a metal pole in the center.
The very rough prototype seemed to work well, but ultimately it wasn't robust enough and I couldn't find a good way to make the squeeze have the right consistency with this technique.
Teat Test #2: Resistive Stuffing
Creating a stuffing that acts similar to Velostat and using that inside the teat, by either dusting copper particles into solid silicone itself or by using a soft material like conductive wool or foam. With this method, the more pressure you apply to the material, the closer the particles get together, lowering resistance. This would read much like a variable resistor.
This sounded like the best method to me, but didn't work. I bought both iron and copper dust and first tried to cast silicone with tons poured in, but the silicone was too non-conductive. Same with polyurethane foam.
Then I tried a conductive wool stuffing, but squeezing it often for a game left a depression that wouldn't bounce back.
Teat Test #3: Microphones
Molding an inner foam teat around a straw to push air to a small microphone to detect. This one was recommended to me by another student. It seemed like a good idea at first, but then I remembered this was a rhythm game so it would be very noisy from the game itself and/or the environment (an arcade).
Veto, but still a fun and unique idea.
Teat Test #4: Hall Effect Sensors
Embedding a magnet within the silicone on the inside of the teat with a Hall effect sensor in the center separated with a stuffing like polyurethane foam for texture. That way, if you squeeze hard enough, the embedded magnets will get close enough to the sensor and trigger a high state. This started as my least favorite option but ended up being the best option.
For all of these tests, I consulted with Kari Love and Kate Hartman and a close friend of mine who has a masters in Mechatronics from Stanford on fabrication and electronics.
Constructing the full udder box
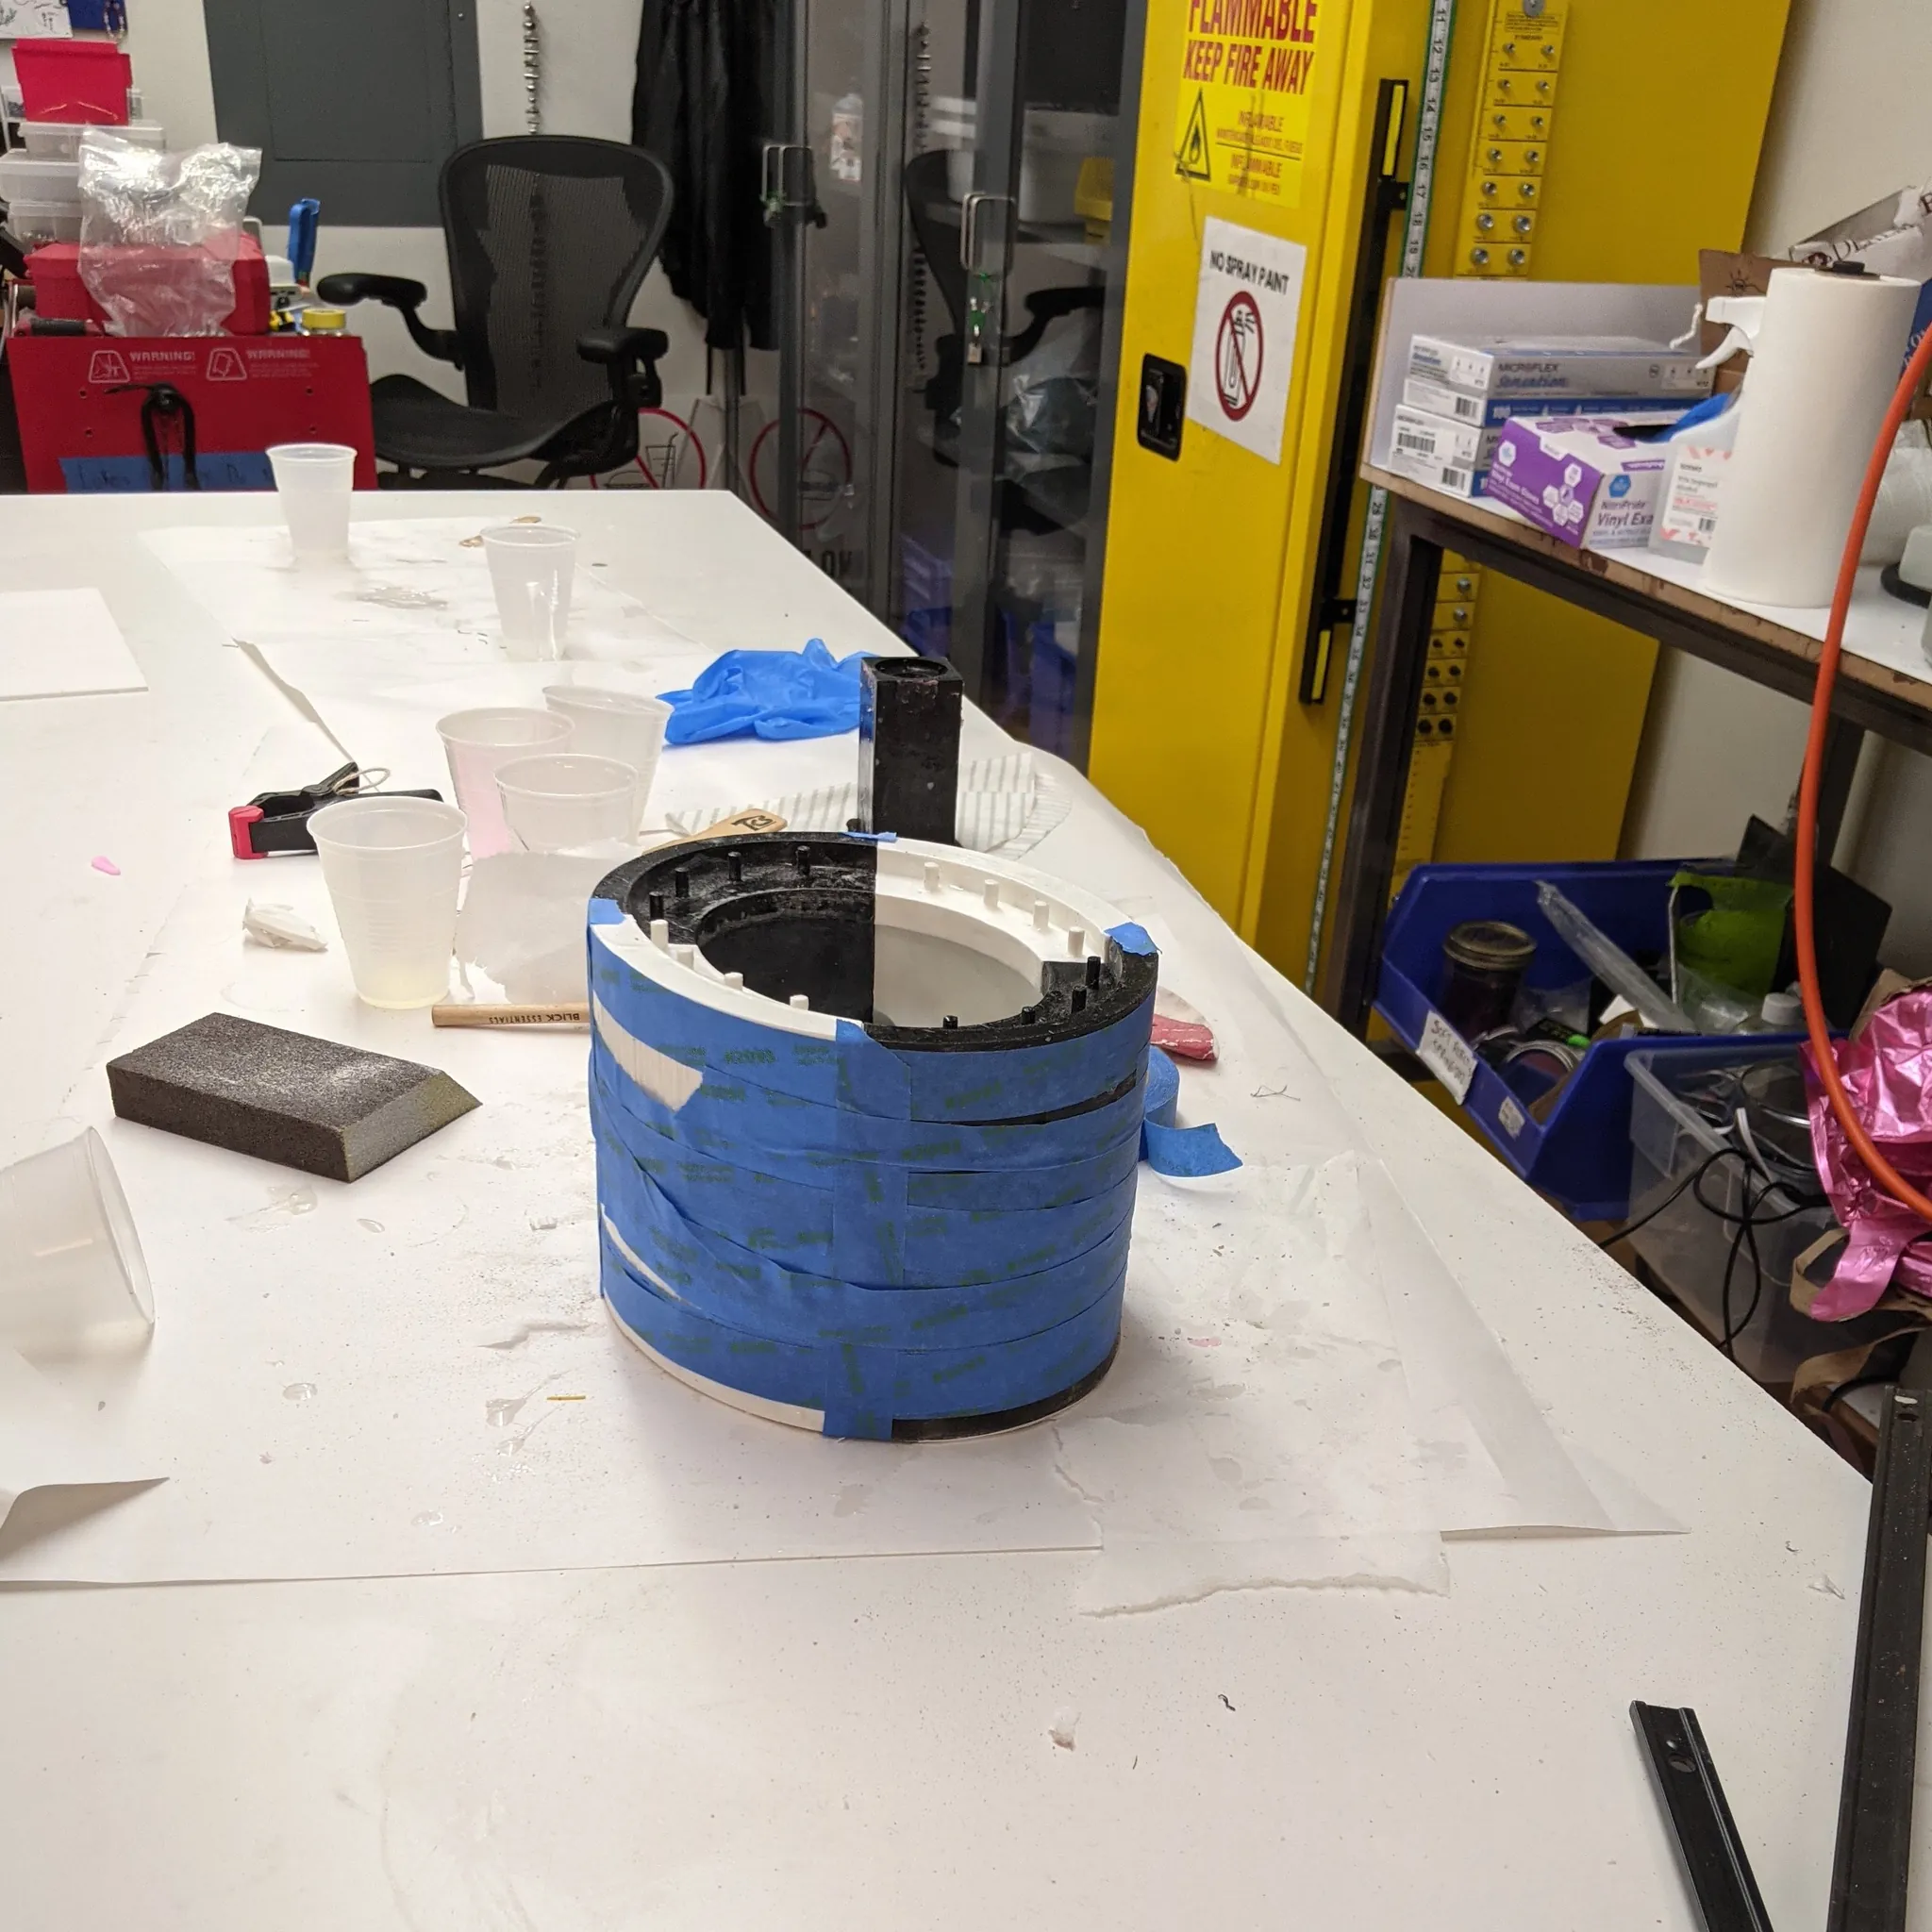
Now that I knew what sensors I would be using, it was time to make it at full scale.
With the CAD model created earlier, I printed the 4-part mold box, smoothed out the layers with a couple coats of XTC3D, and then applied 5-6 layers of Dragon Skin 10 silicone that was pre-mixed witih pink and light flesh colored pigment:

Grotesque, no?
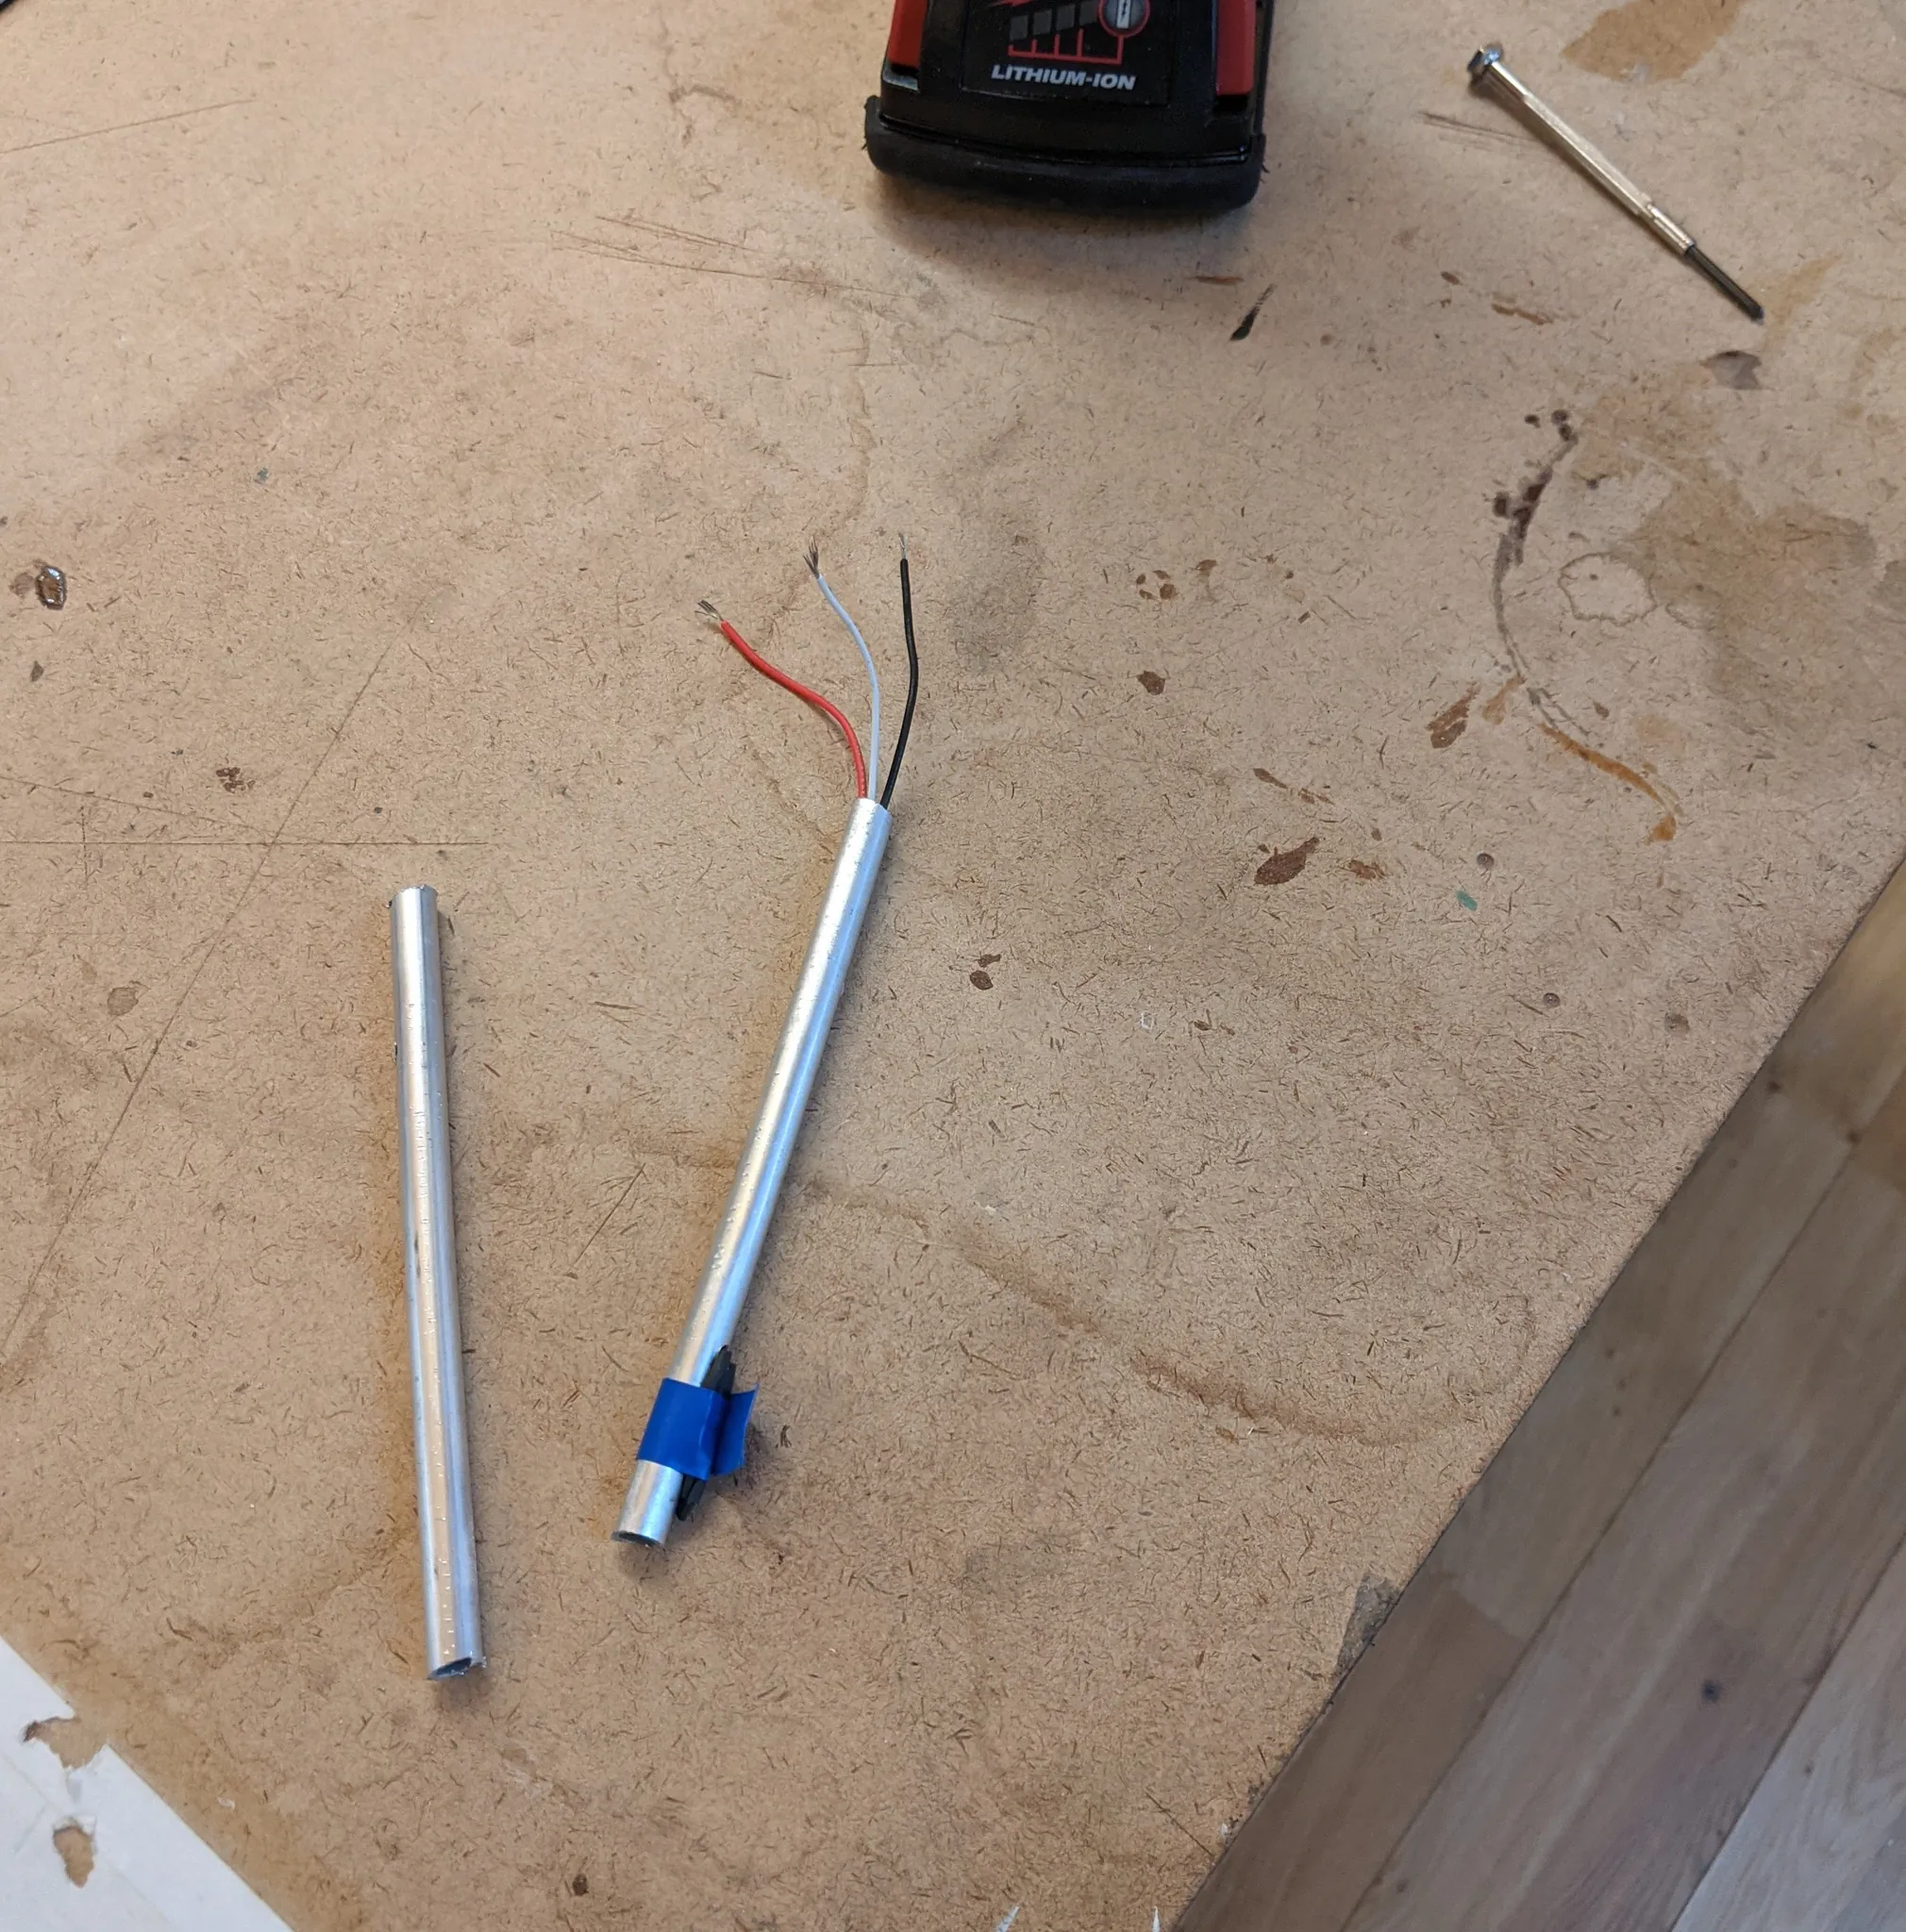
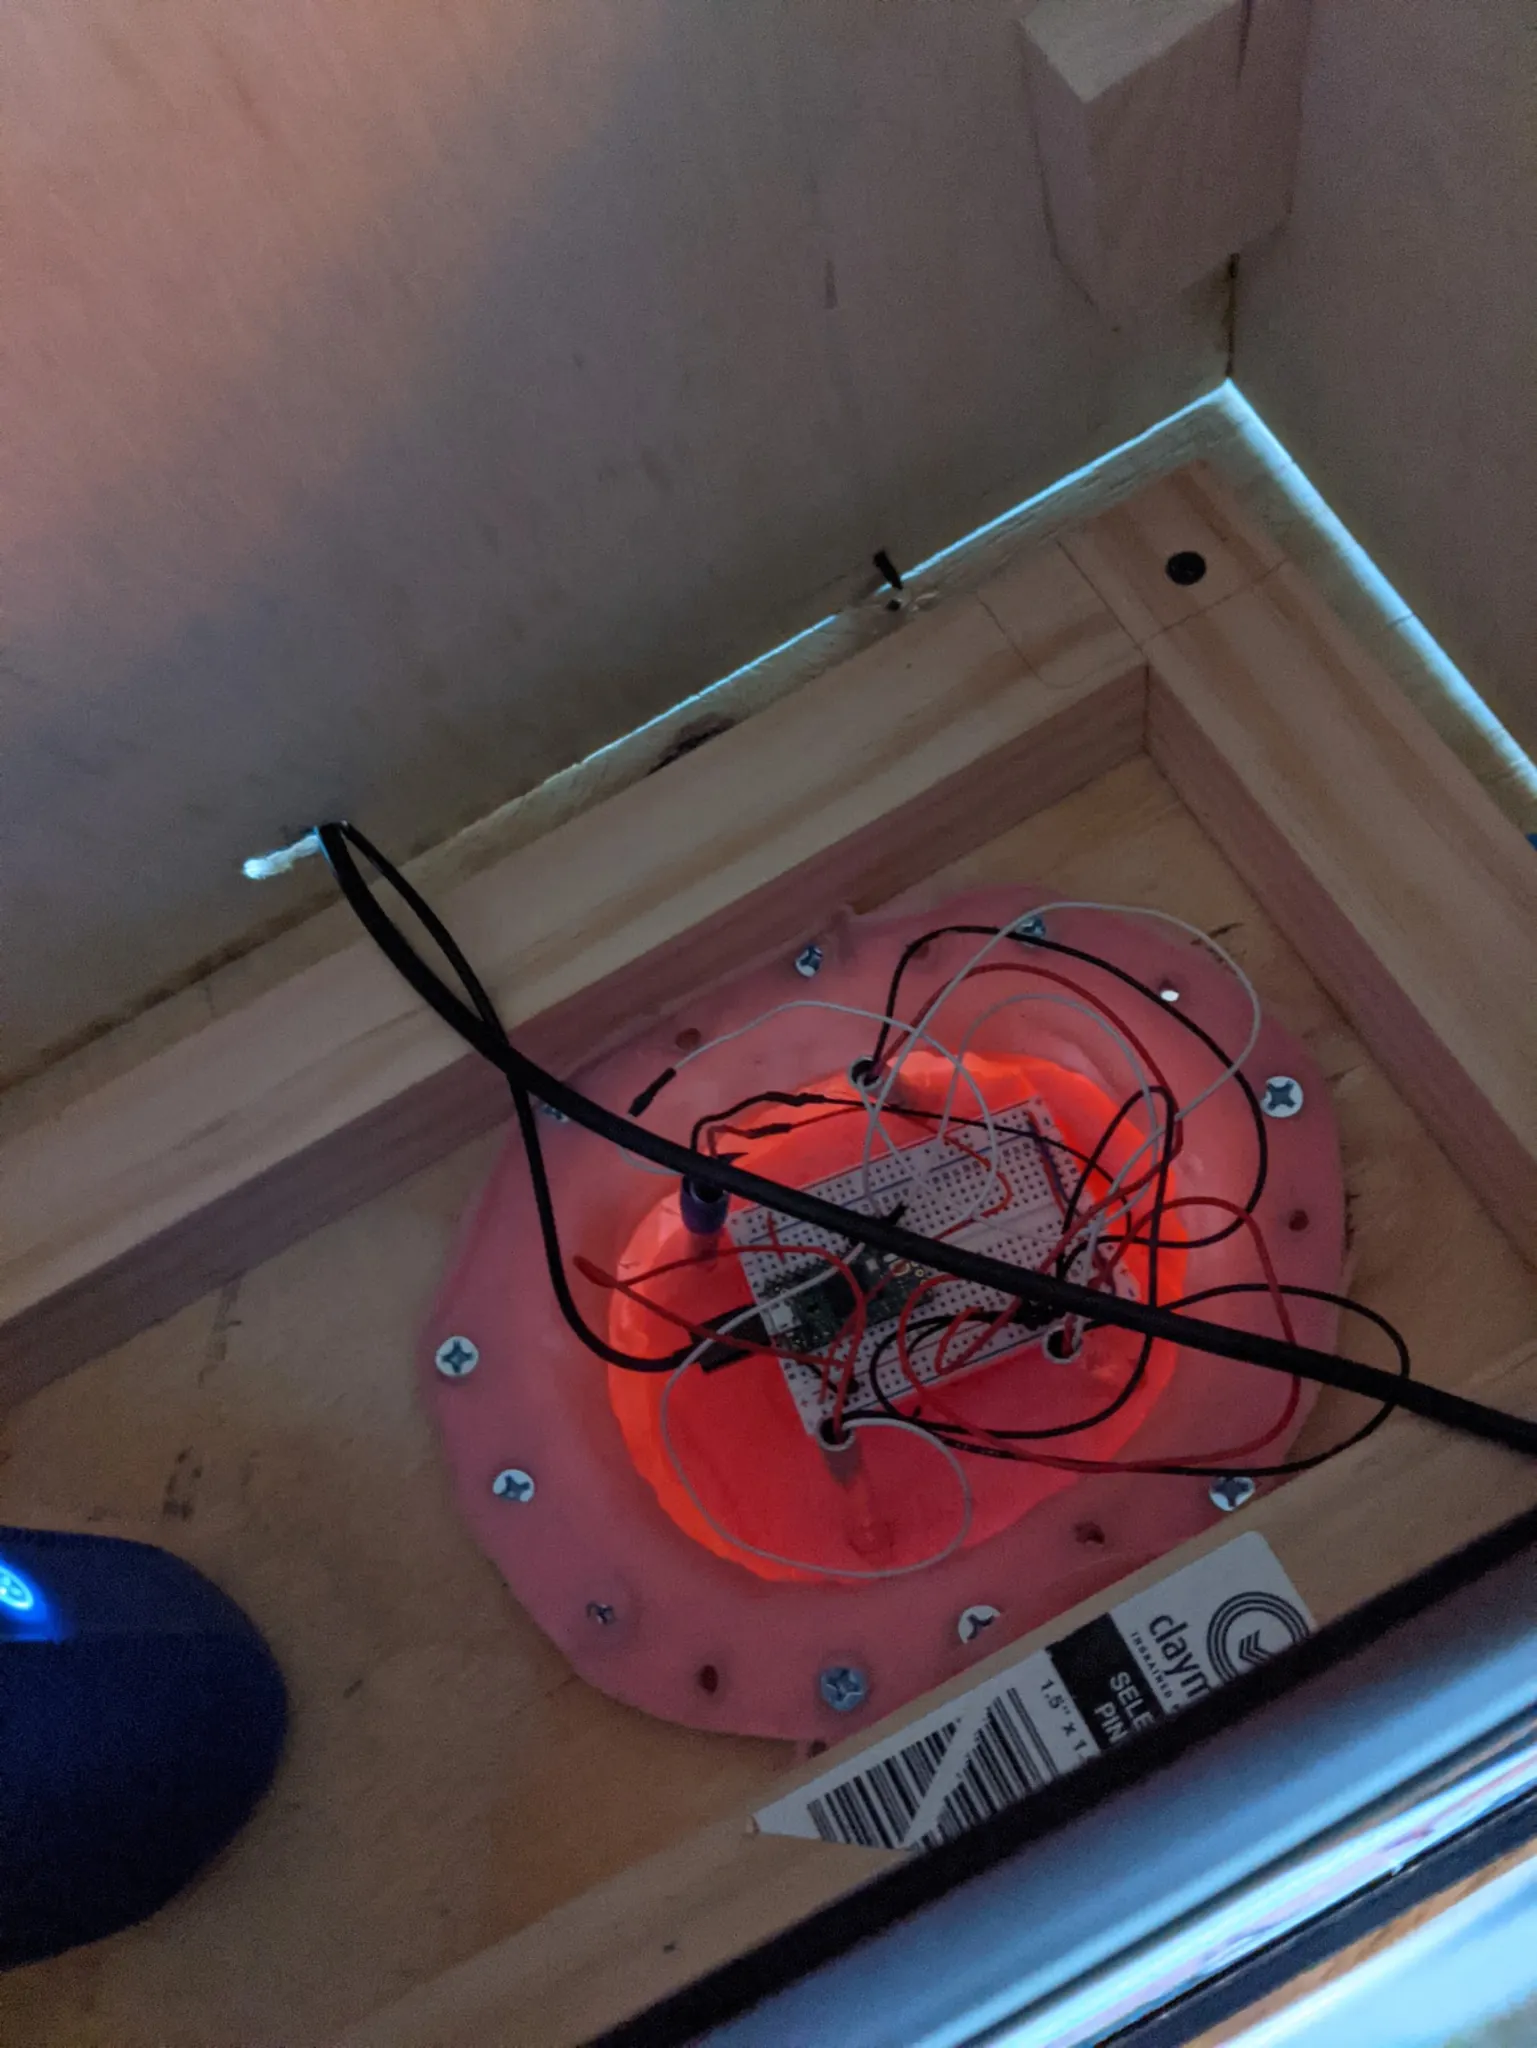
Then I prepared the tubes for the sensors. I decided to put a metal tube in each silicone teat and fill the space between the pole and the silicone with polyurethane foam for a little squish. The tubes each have a hole drilled into them through which a Hall Effect sensor goes and is taped onto the outside of the tube, and the wires are run from within the tube up to the top part of the udder, where the Teensy 4.1 microcontroller would sit.
Code
The Arduino code for the controller is very simple. Because the game requires you to press when the beat starts and release when the note has ended, two thresholds for each of the four teats are needed.
With the Teensy, it's easy to output keypresses. So the code is simply a series of if/else statements with these thresholds that type Q, W, A, or S into the computer it's connected to.
const int FrontLeftTeat = A3;
...

// The larger the number, the more sensitive it is
const int FRONT_LEFT_RELEASE_THRESHOLD = 48;
...

// The larger the number, the harder you have to squeeze
const int FRONT_LEFT_PRESS_THRESHOLD = 995;
...

bool isFrontLeftSqueezed = false;
...

void setup() {
  pinMode(FrontLeftTeat, INPUT);
  ...
  Serial.begin(9600);
}

void checkForFrontLeft() {
  int frontLeftValue = analogRead(FrontLeftTeat);
    // Serial.println(frontLeftValue);
  if (frontLeftValue > FRONT_LEFT_PRESS_THRESHOLD && !isFrontLeftSqueezed) {
    Serial.println("Front Left Teat pressed!");
    Keyboard.press(KEY_A);
    isFrontLeftSqueezed = true;
  } else if (isFrontLeftSqueezed && frontLeftValue < FRONT_LEFT_RELEASE_THRESHOLD) {
    Serial.println("Front left teat released!");
    Keyboard.release(KEY_A);
    isFrontLeftSqueezed = false;
  }
}

void checkForFrontRight() { ... }
void checkForBackLeft() { ... }
void checkForBackRight() { ... }

void loop() {
  // Constantly checking each of the teats
  checkForFrontLeft();
  checkForFrontRight();
  checkForBackLeft();
  checkForBackRight();
  delay(10);
}
MVP Midterm
The MVP fabrication of this project was to get the udder fully working in conjunction with the game, "making it pretty" comes later!
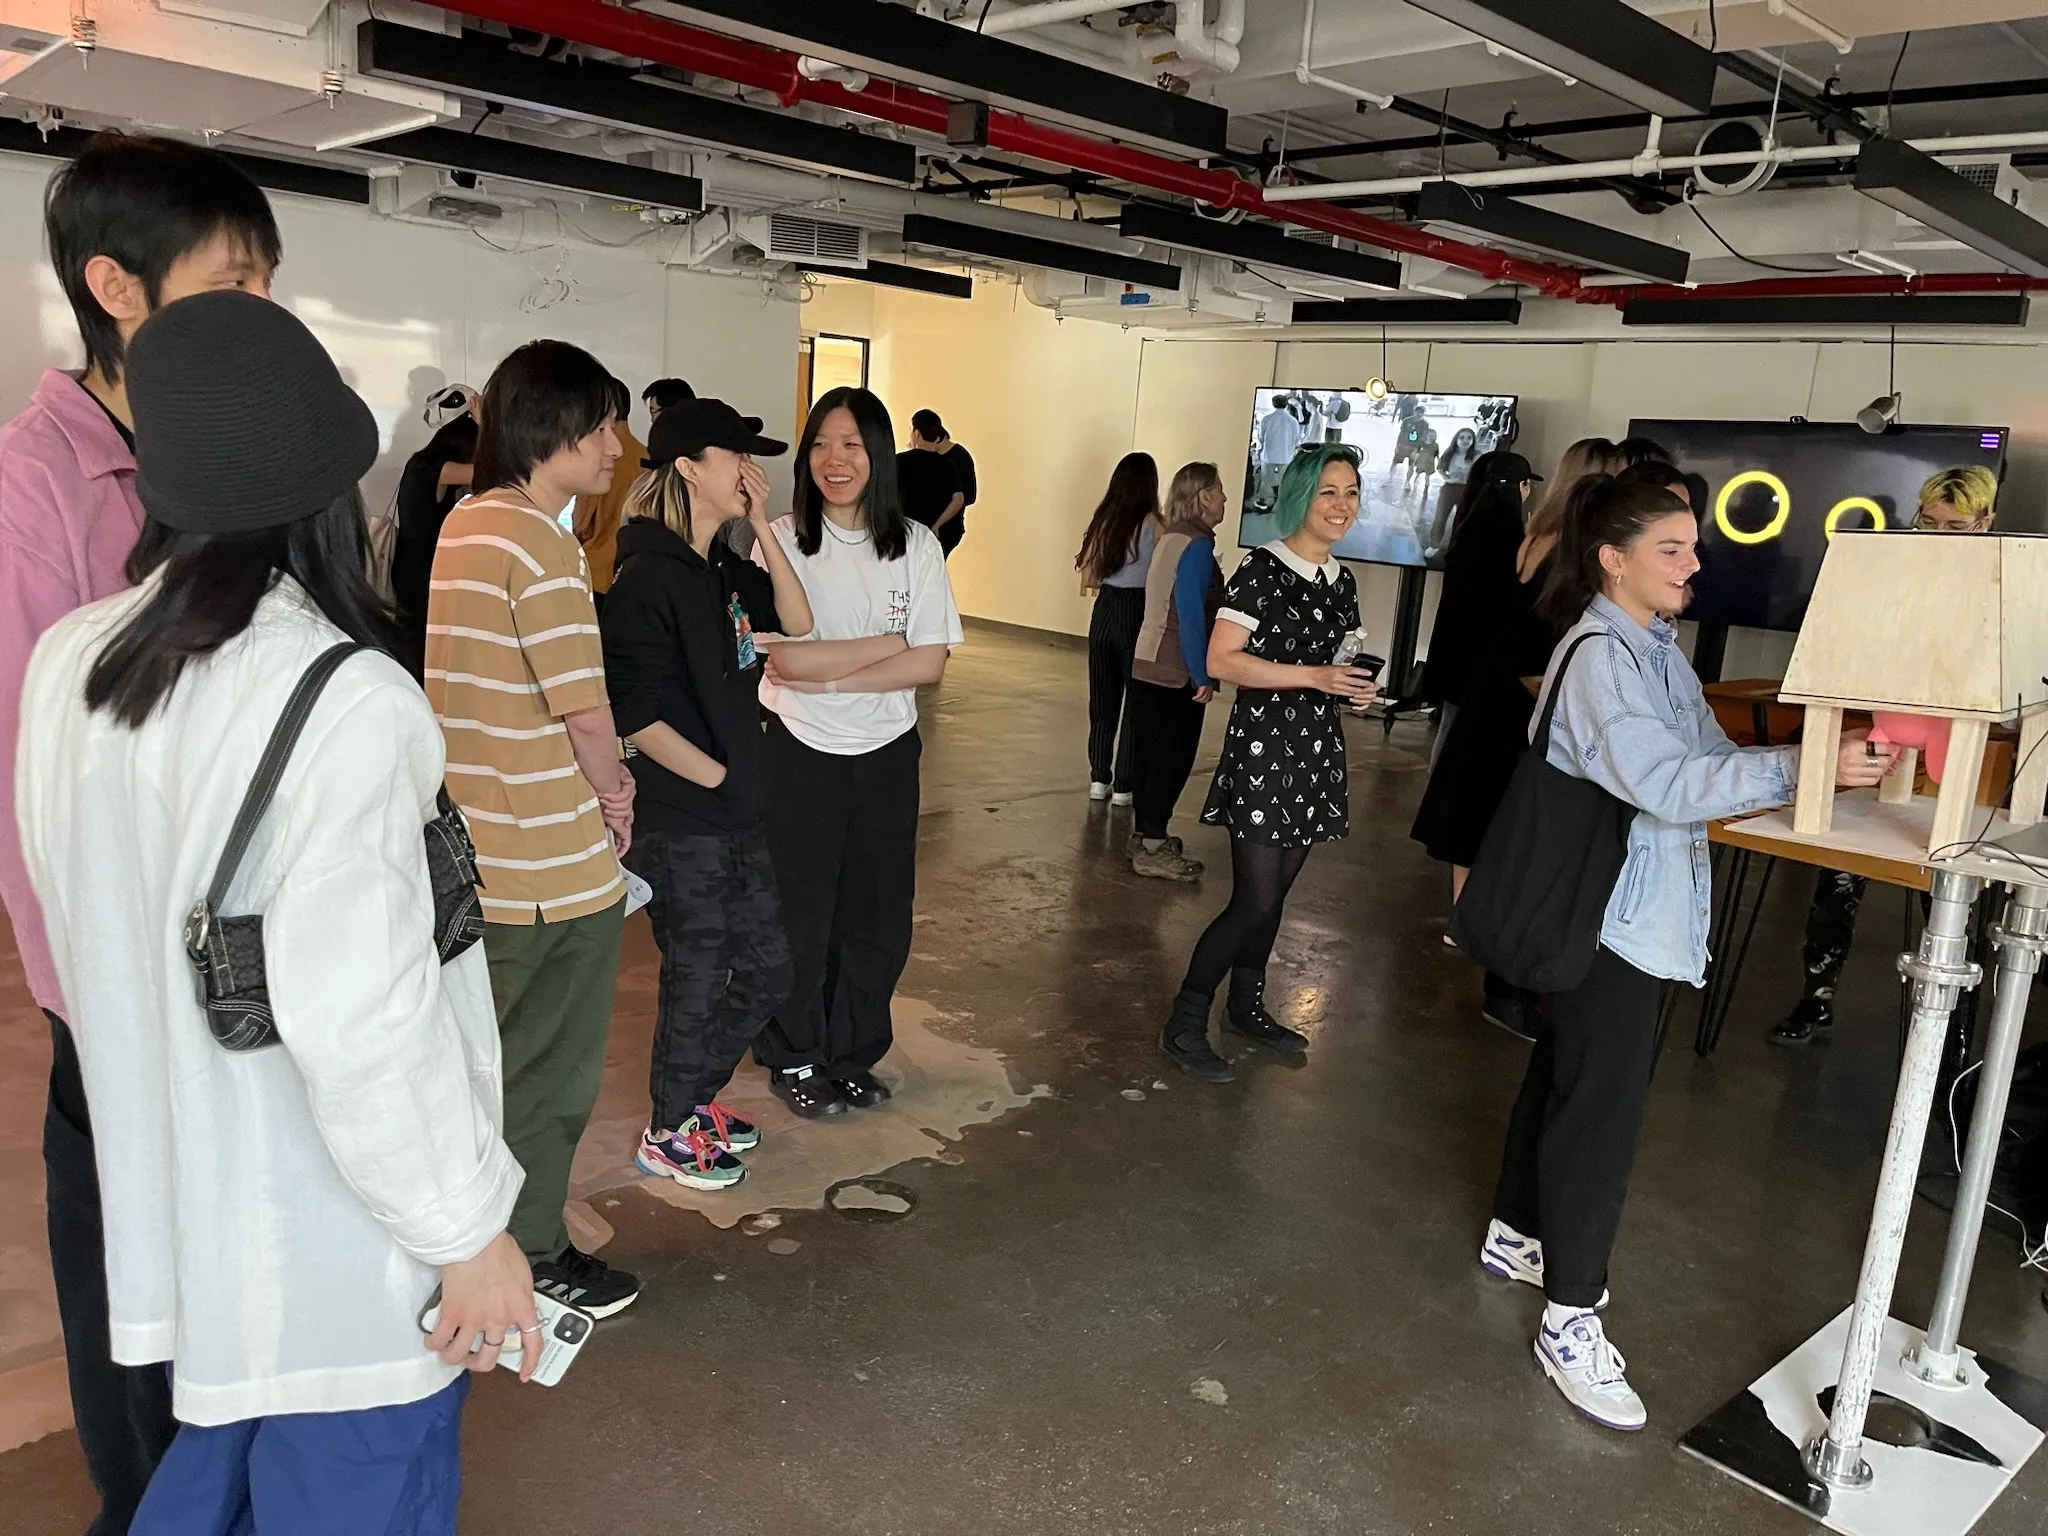
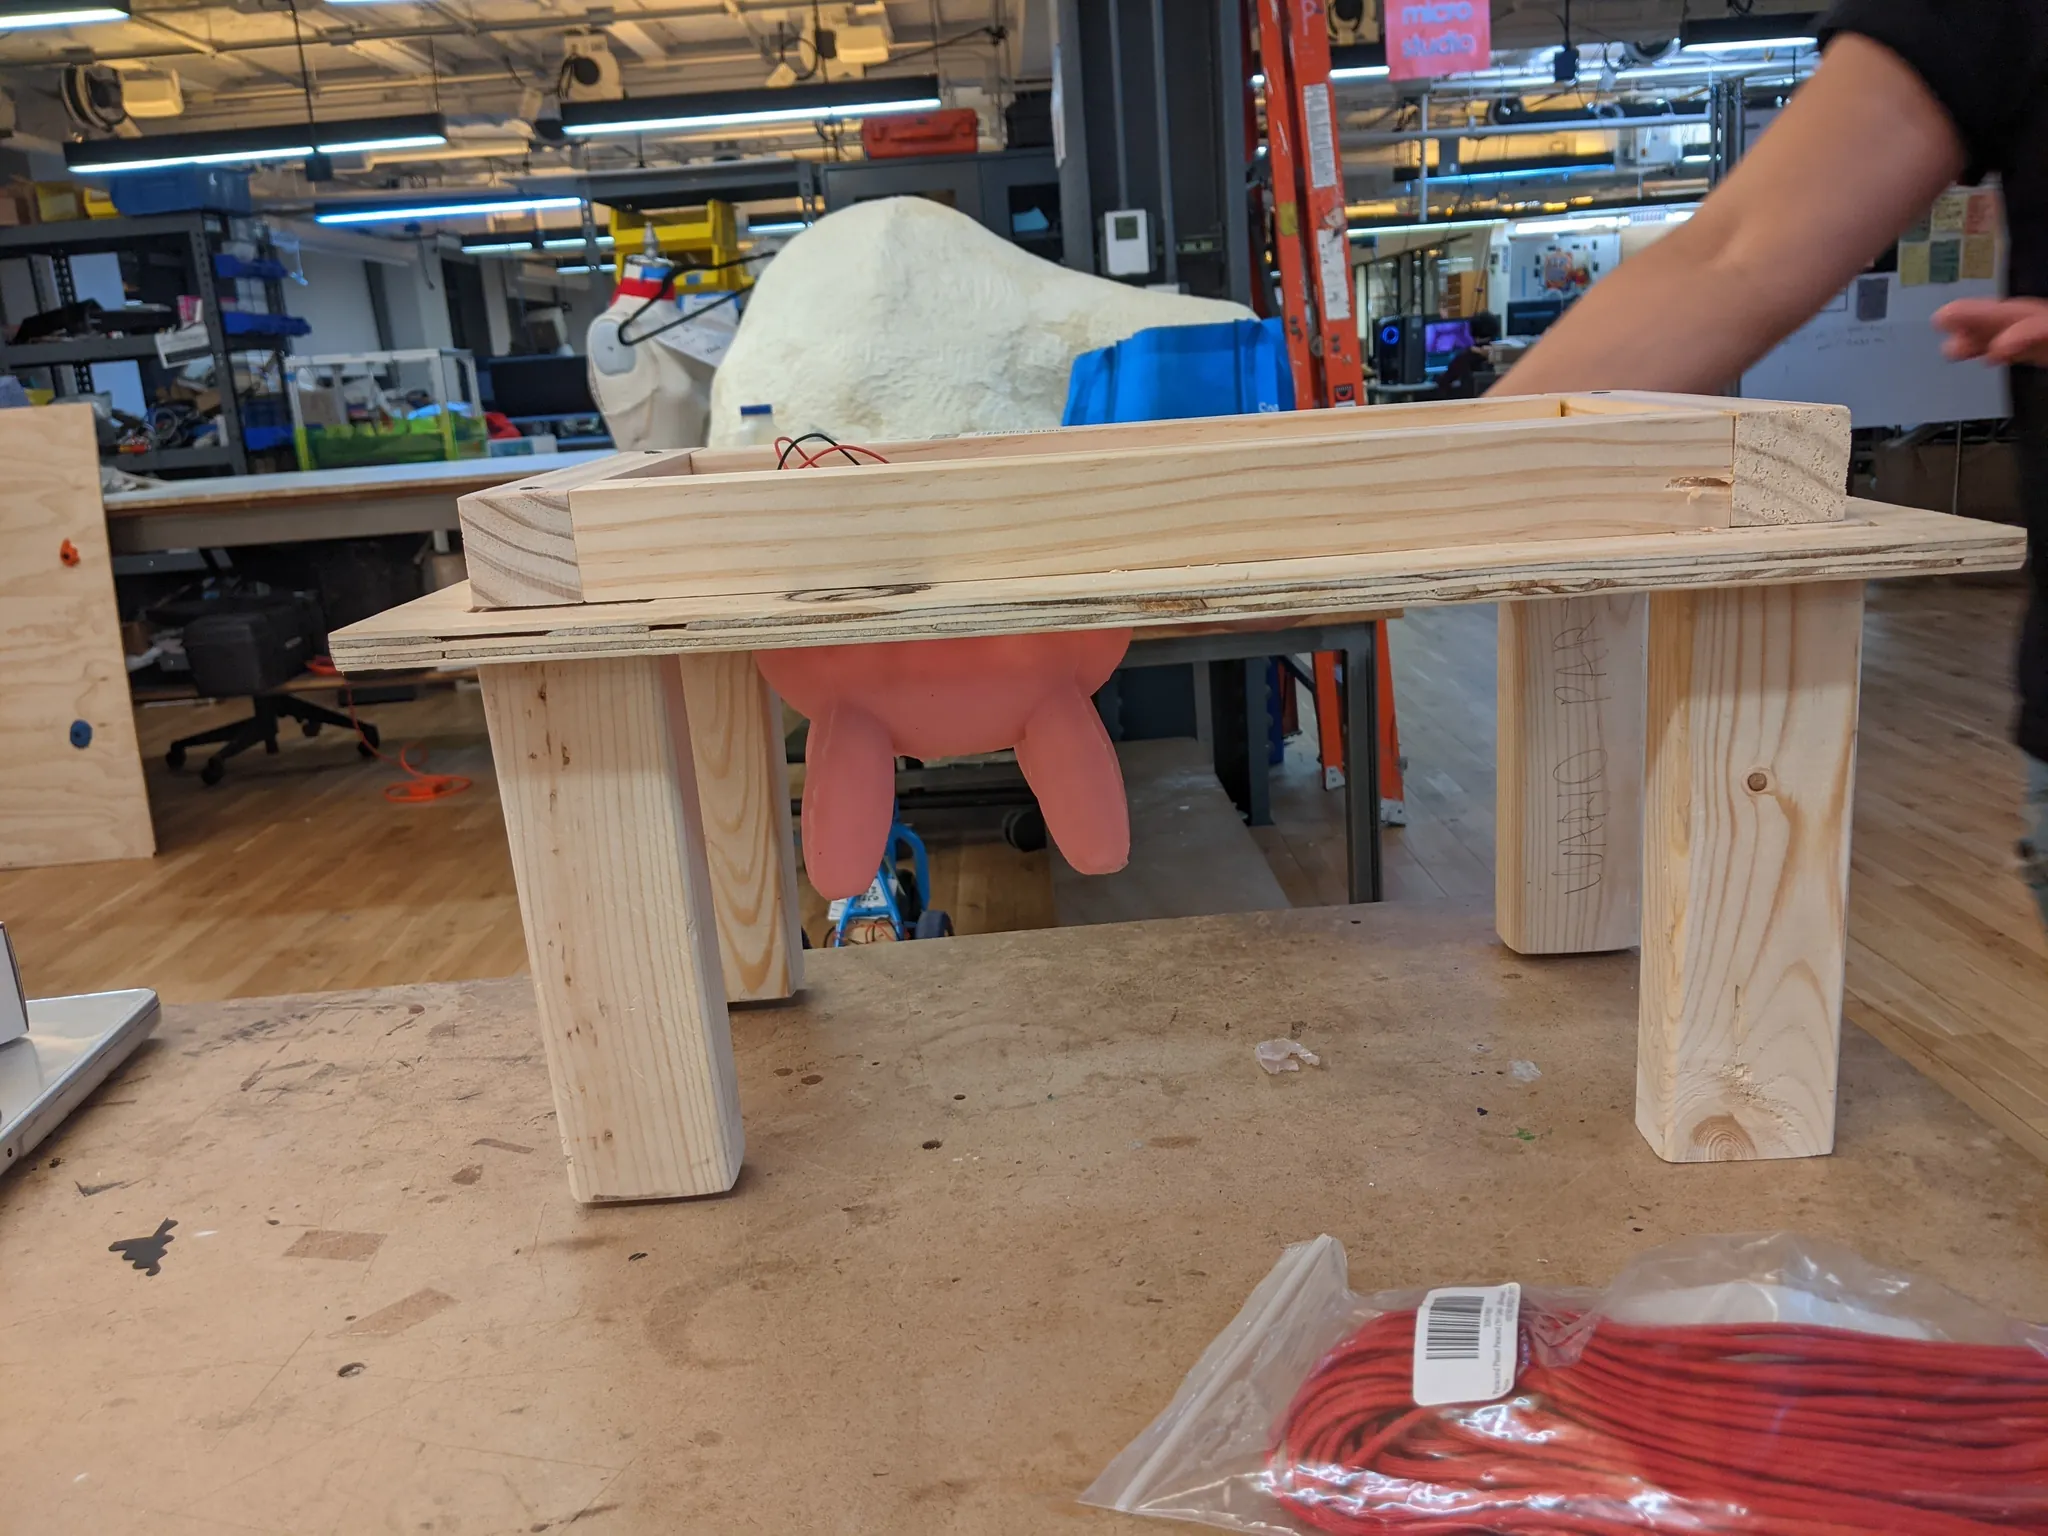
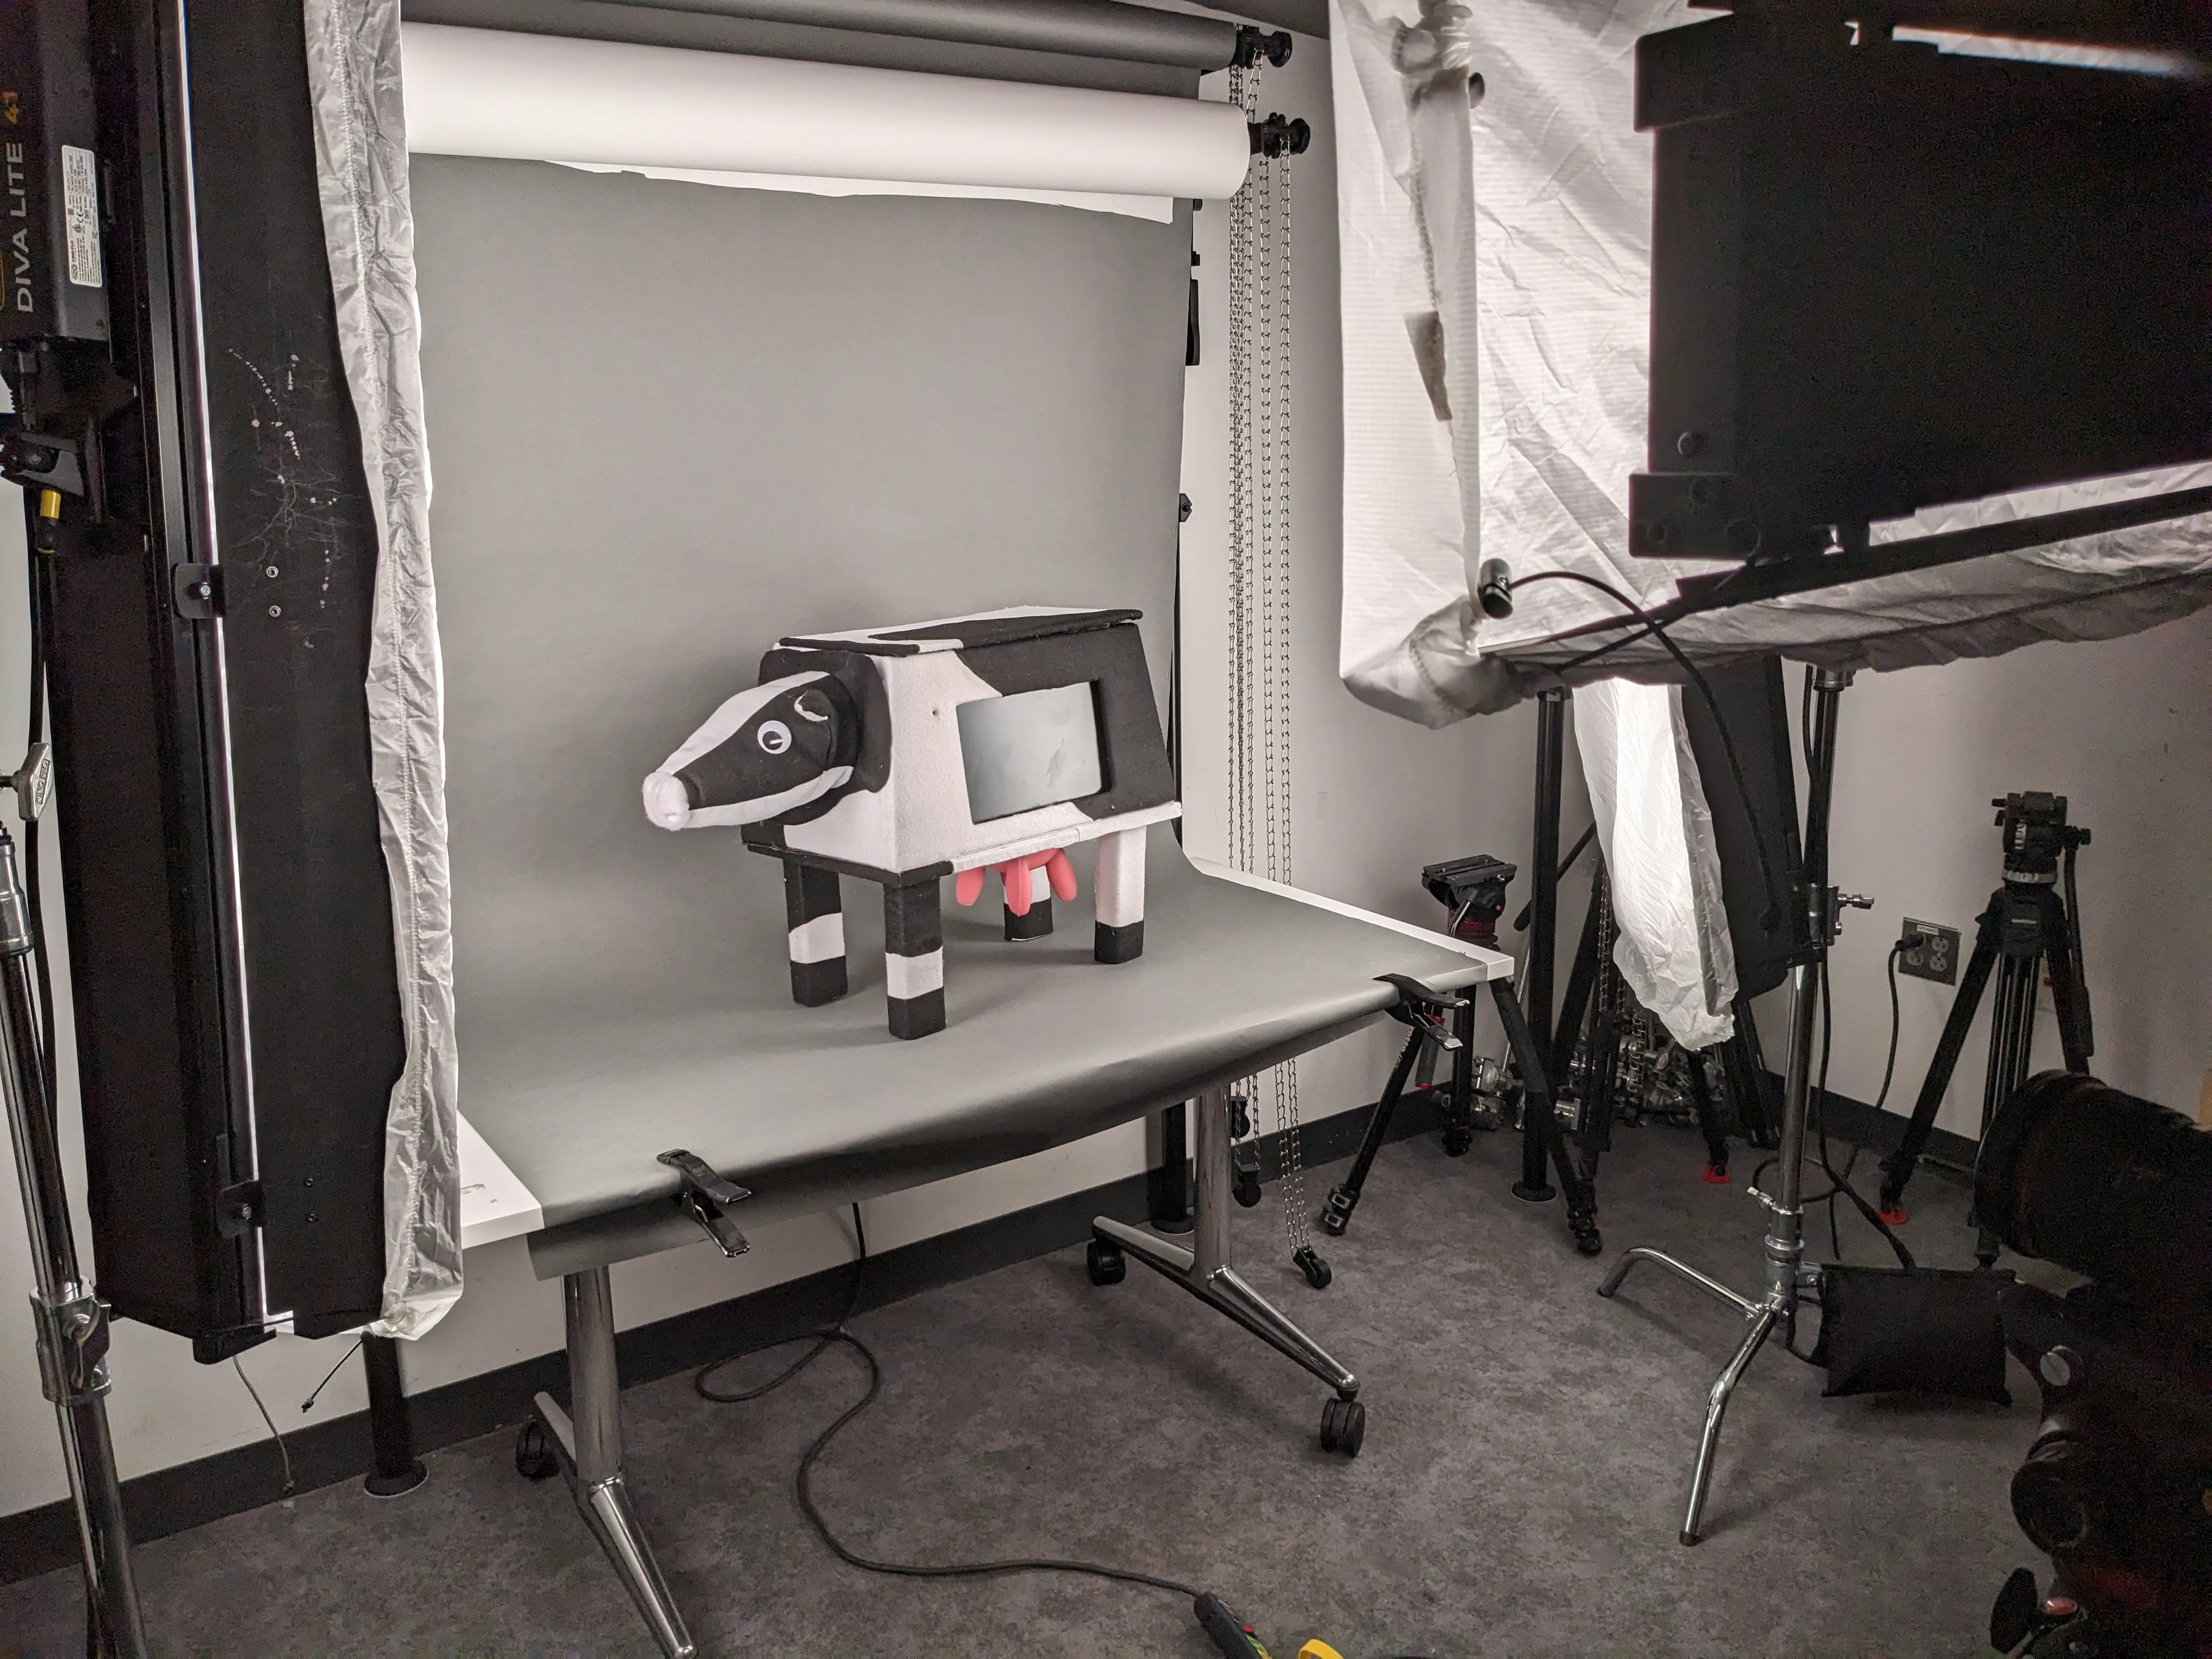
ITP Showcase
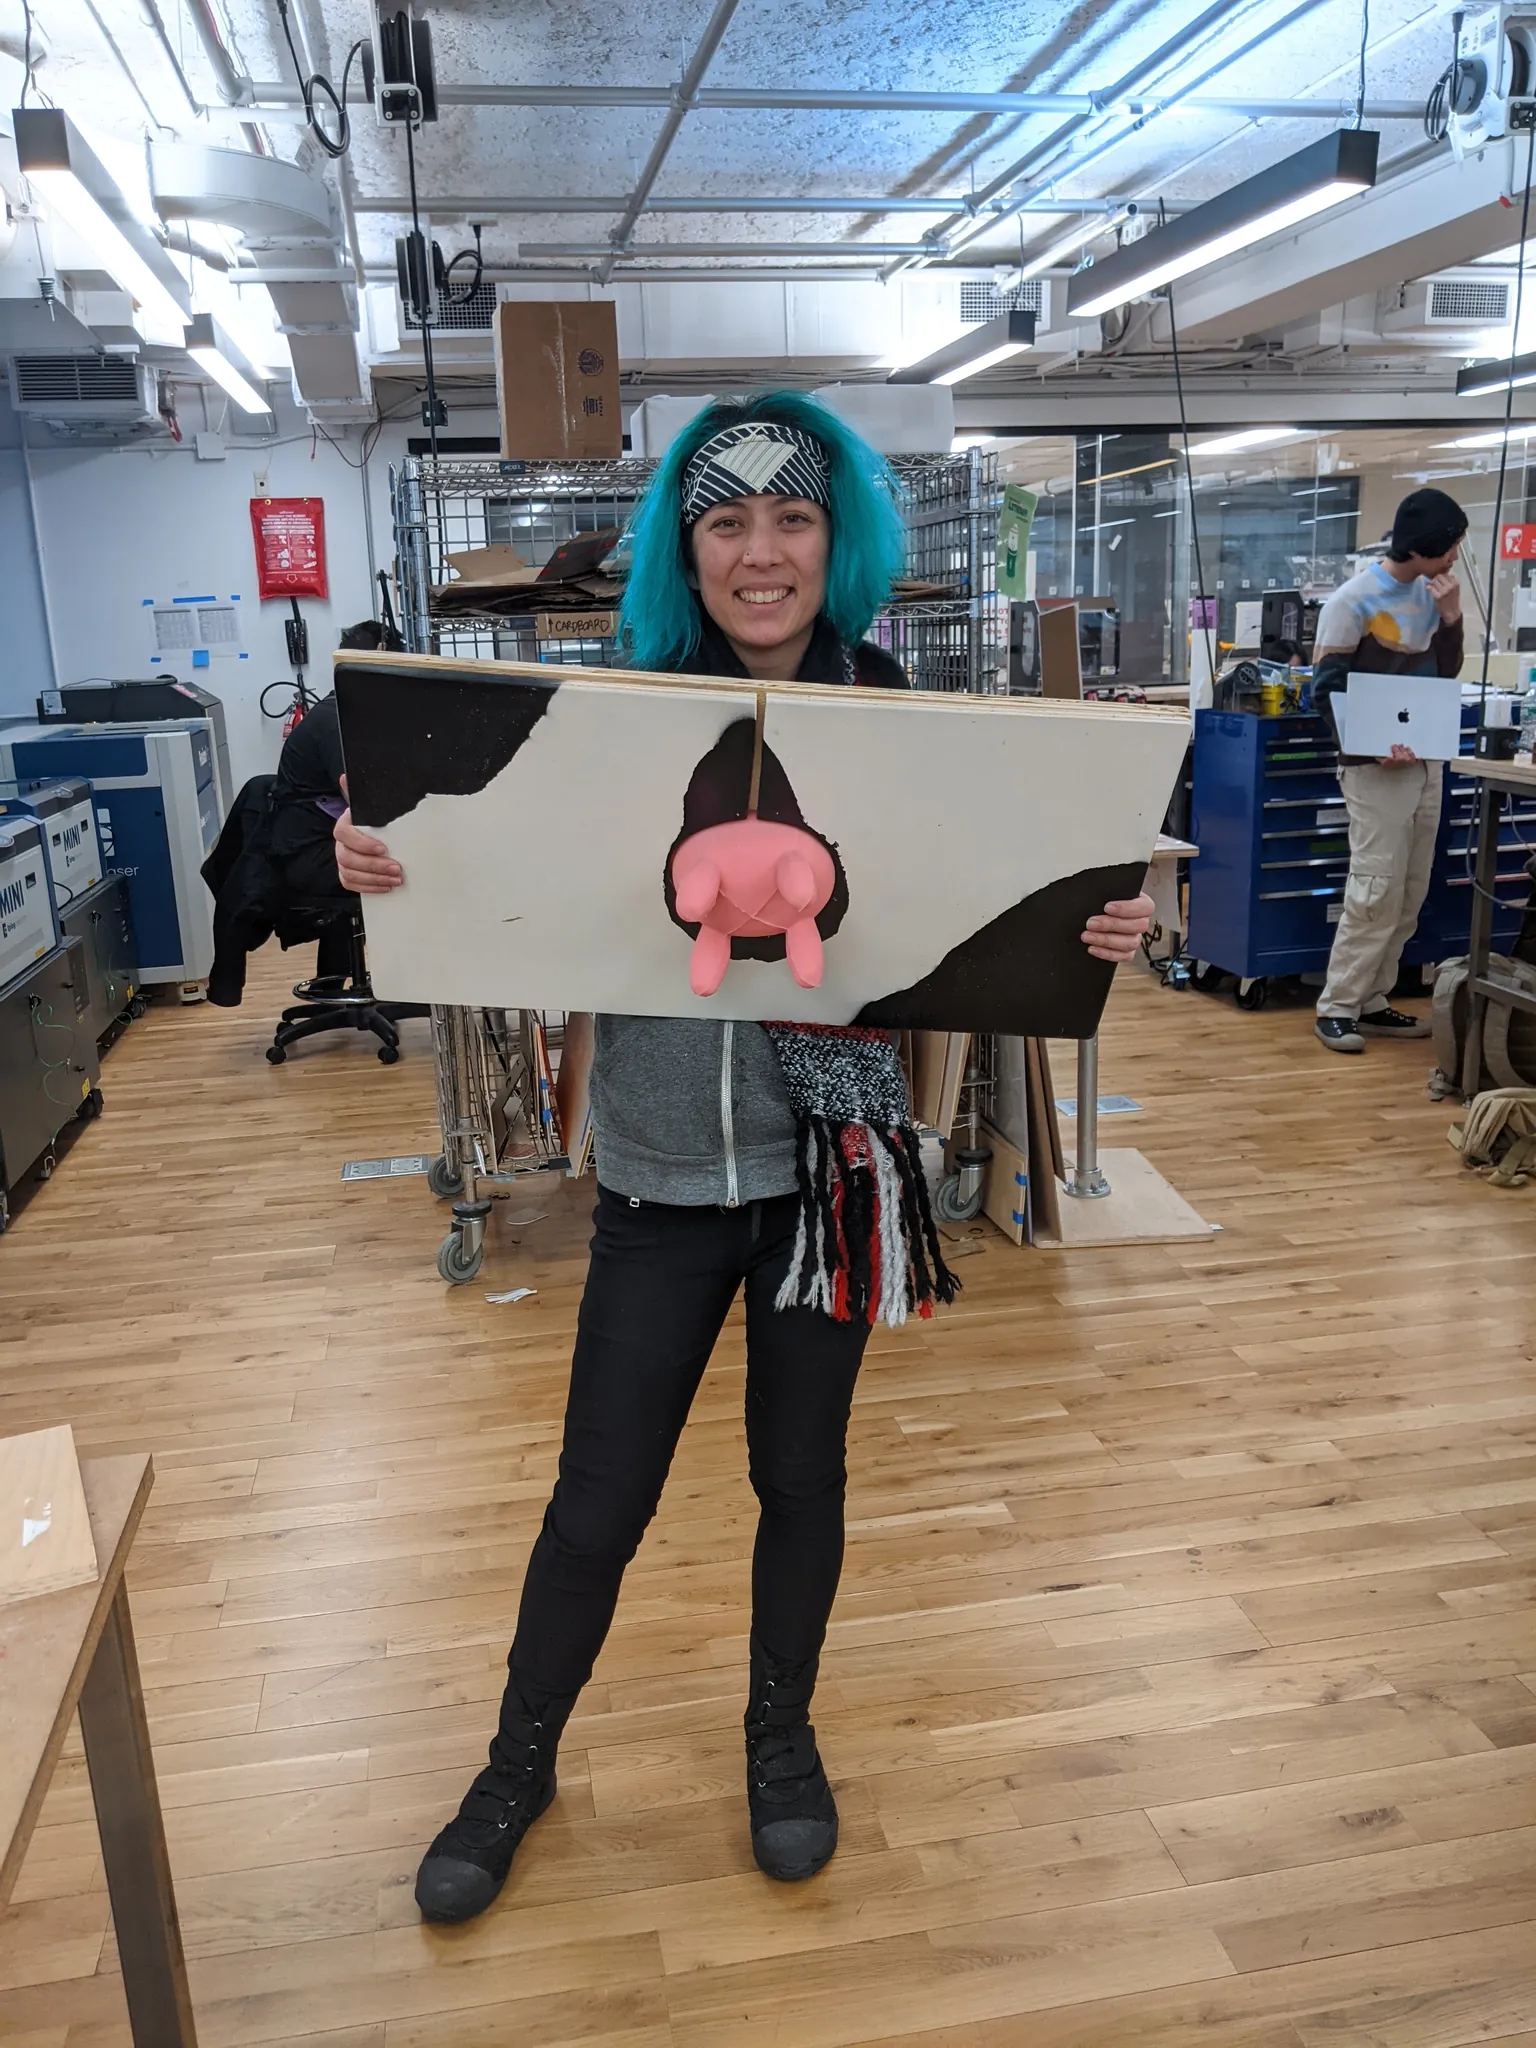
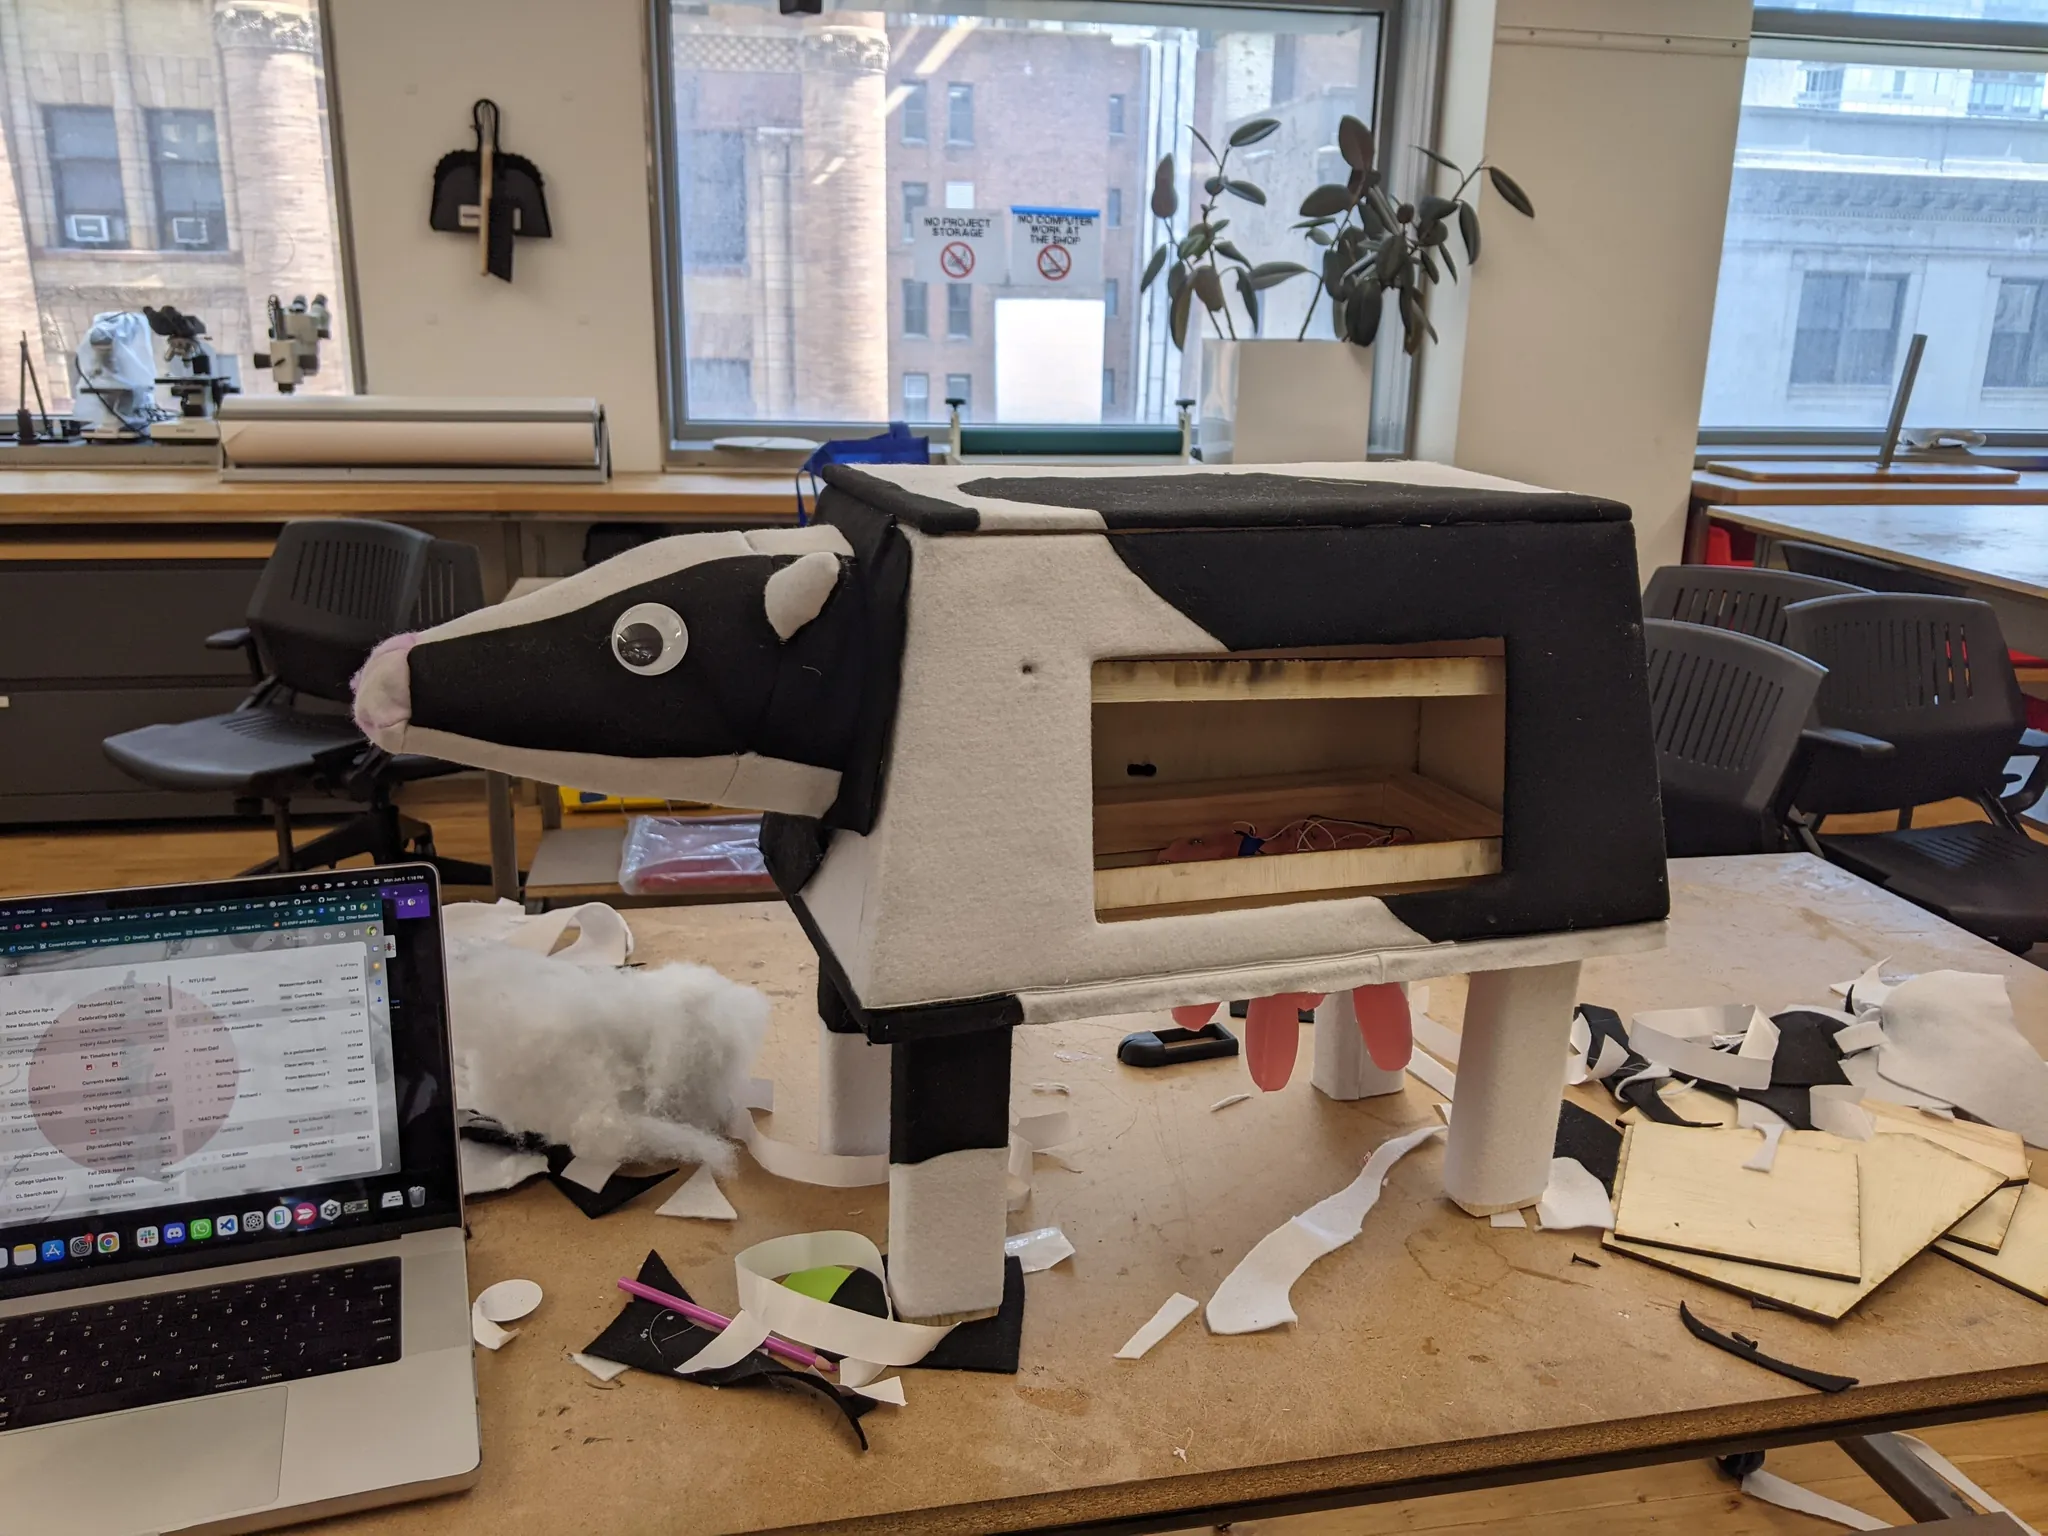
Of course I wasn't going to leave the project at the midterm! I couldn't have Celine Dairyon without a body. For the ITP showcase, I made a frame and rough wooden body to make it much more presentable.
Currents New Media Festival
NYU chose mine and two other projects out of hundreds to go on the road and represent them at the Santa Fe Currents New Media Festival. Yet another great reason to iterate on the game, especially its form factor.
My colleague Josh made a TikTok starring Celine the Cow to remember our time together at the Currents New Media:
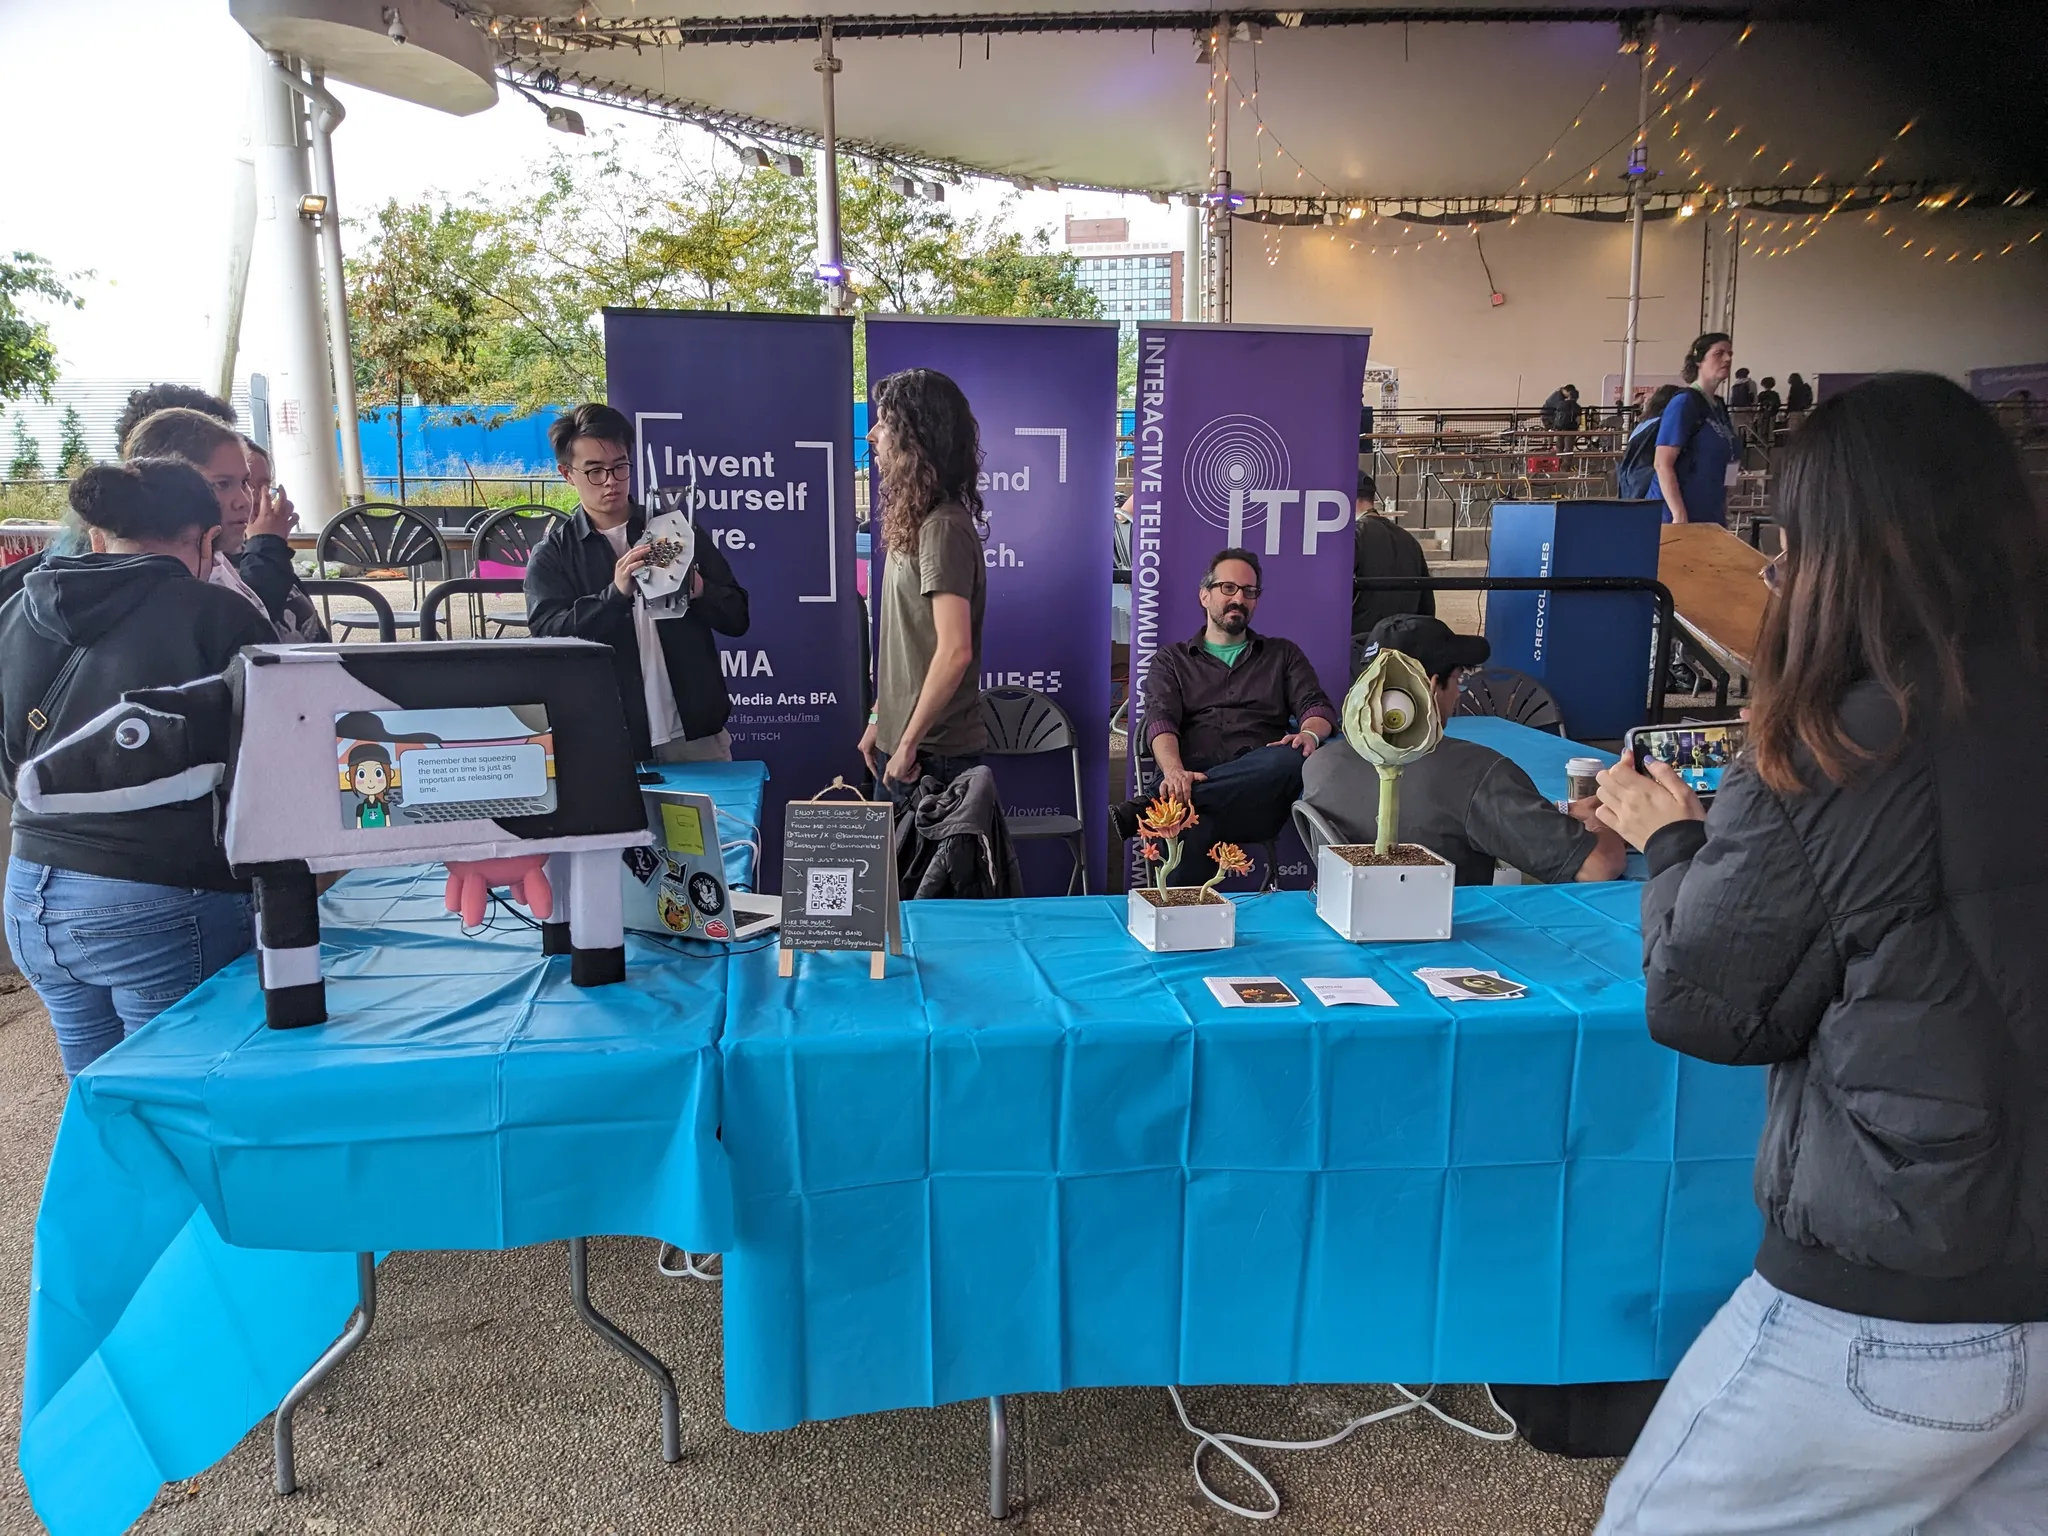
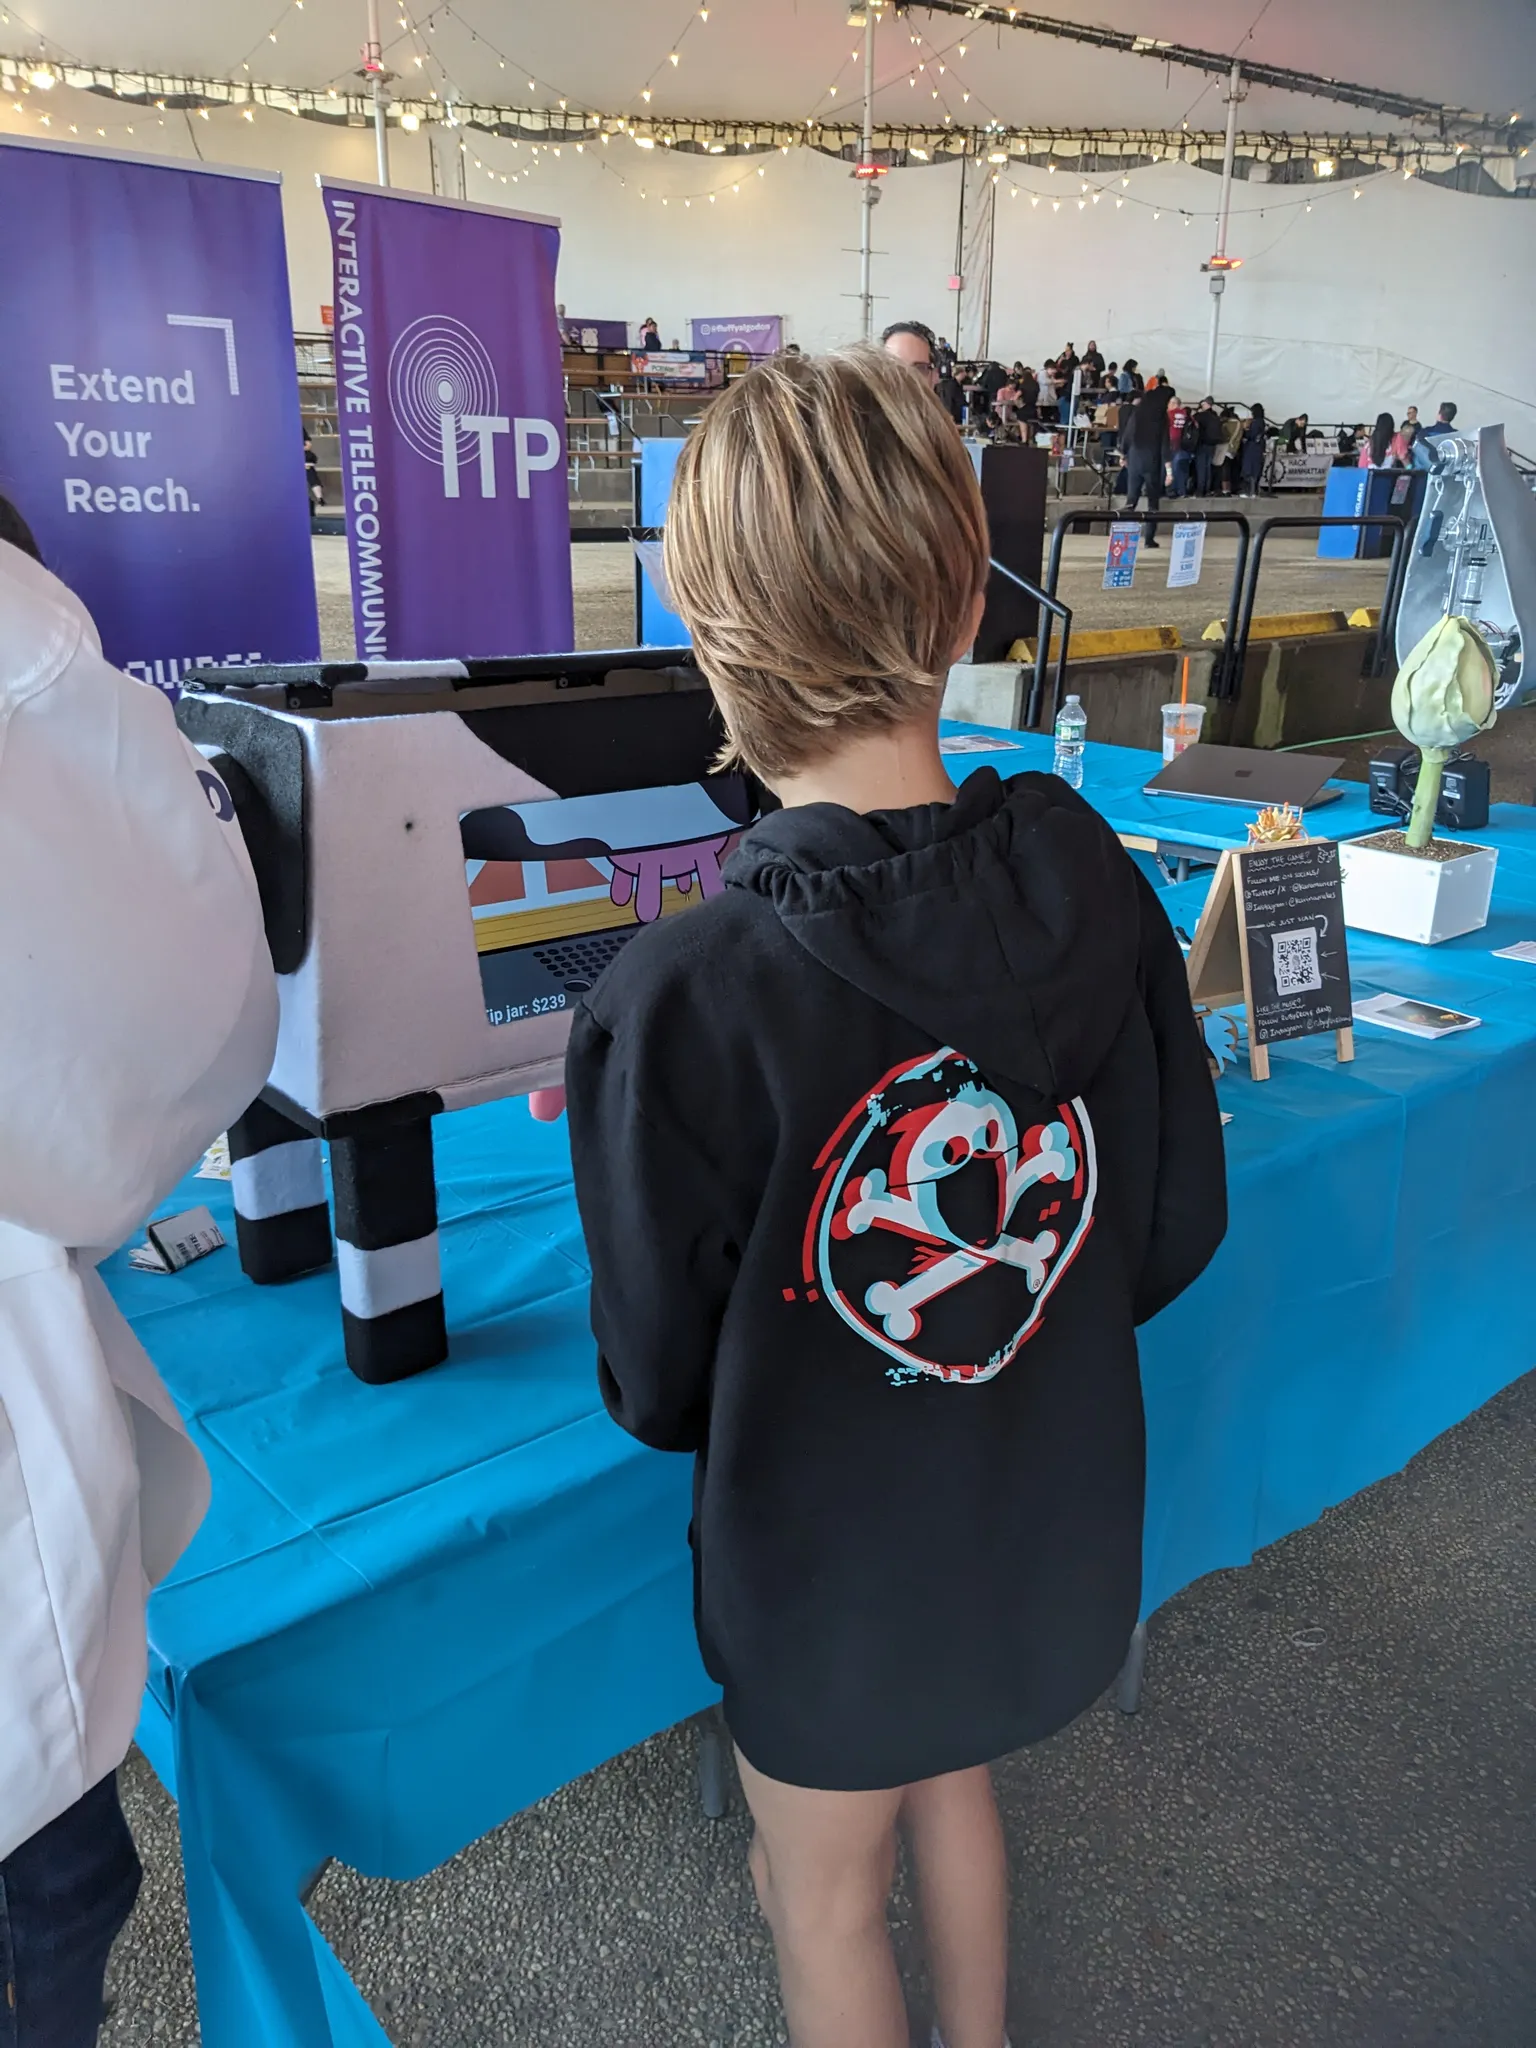
Coney Island Maker Faire
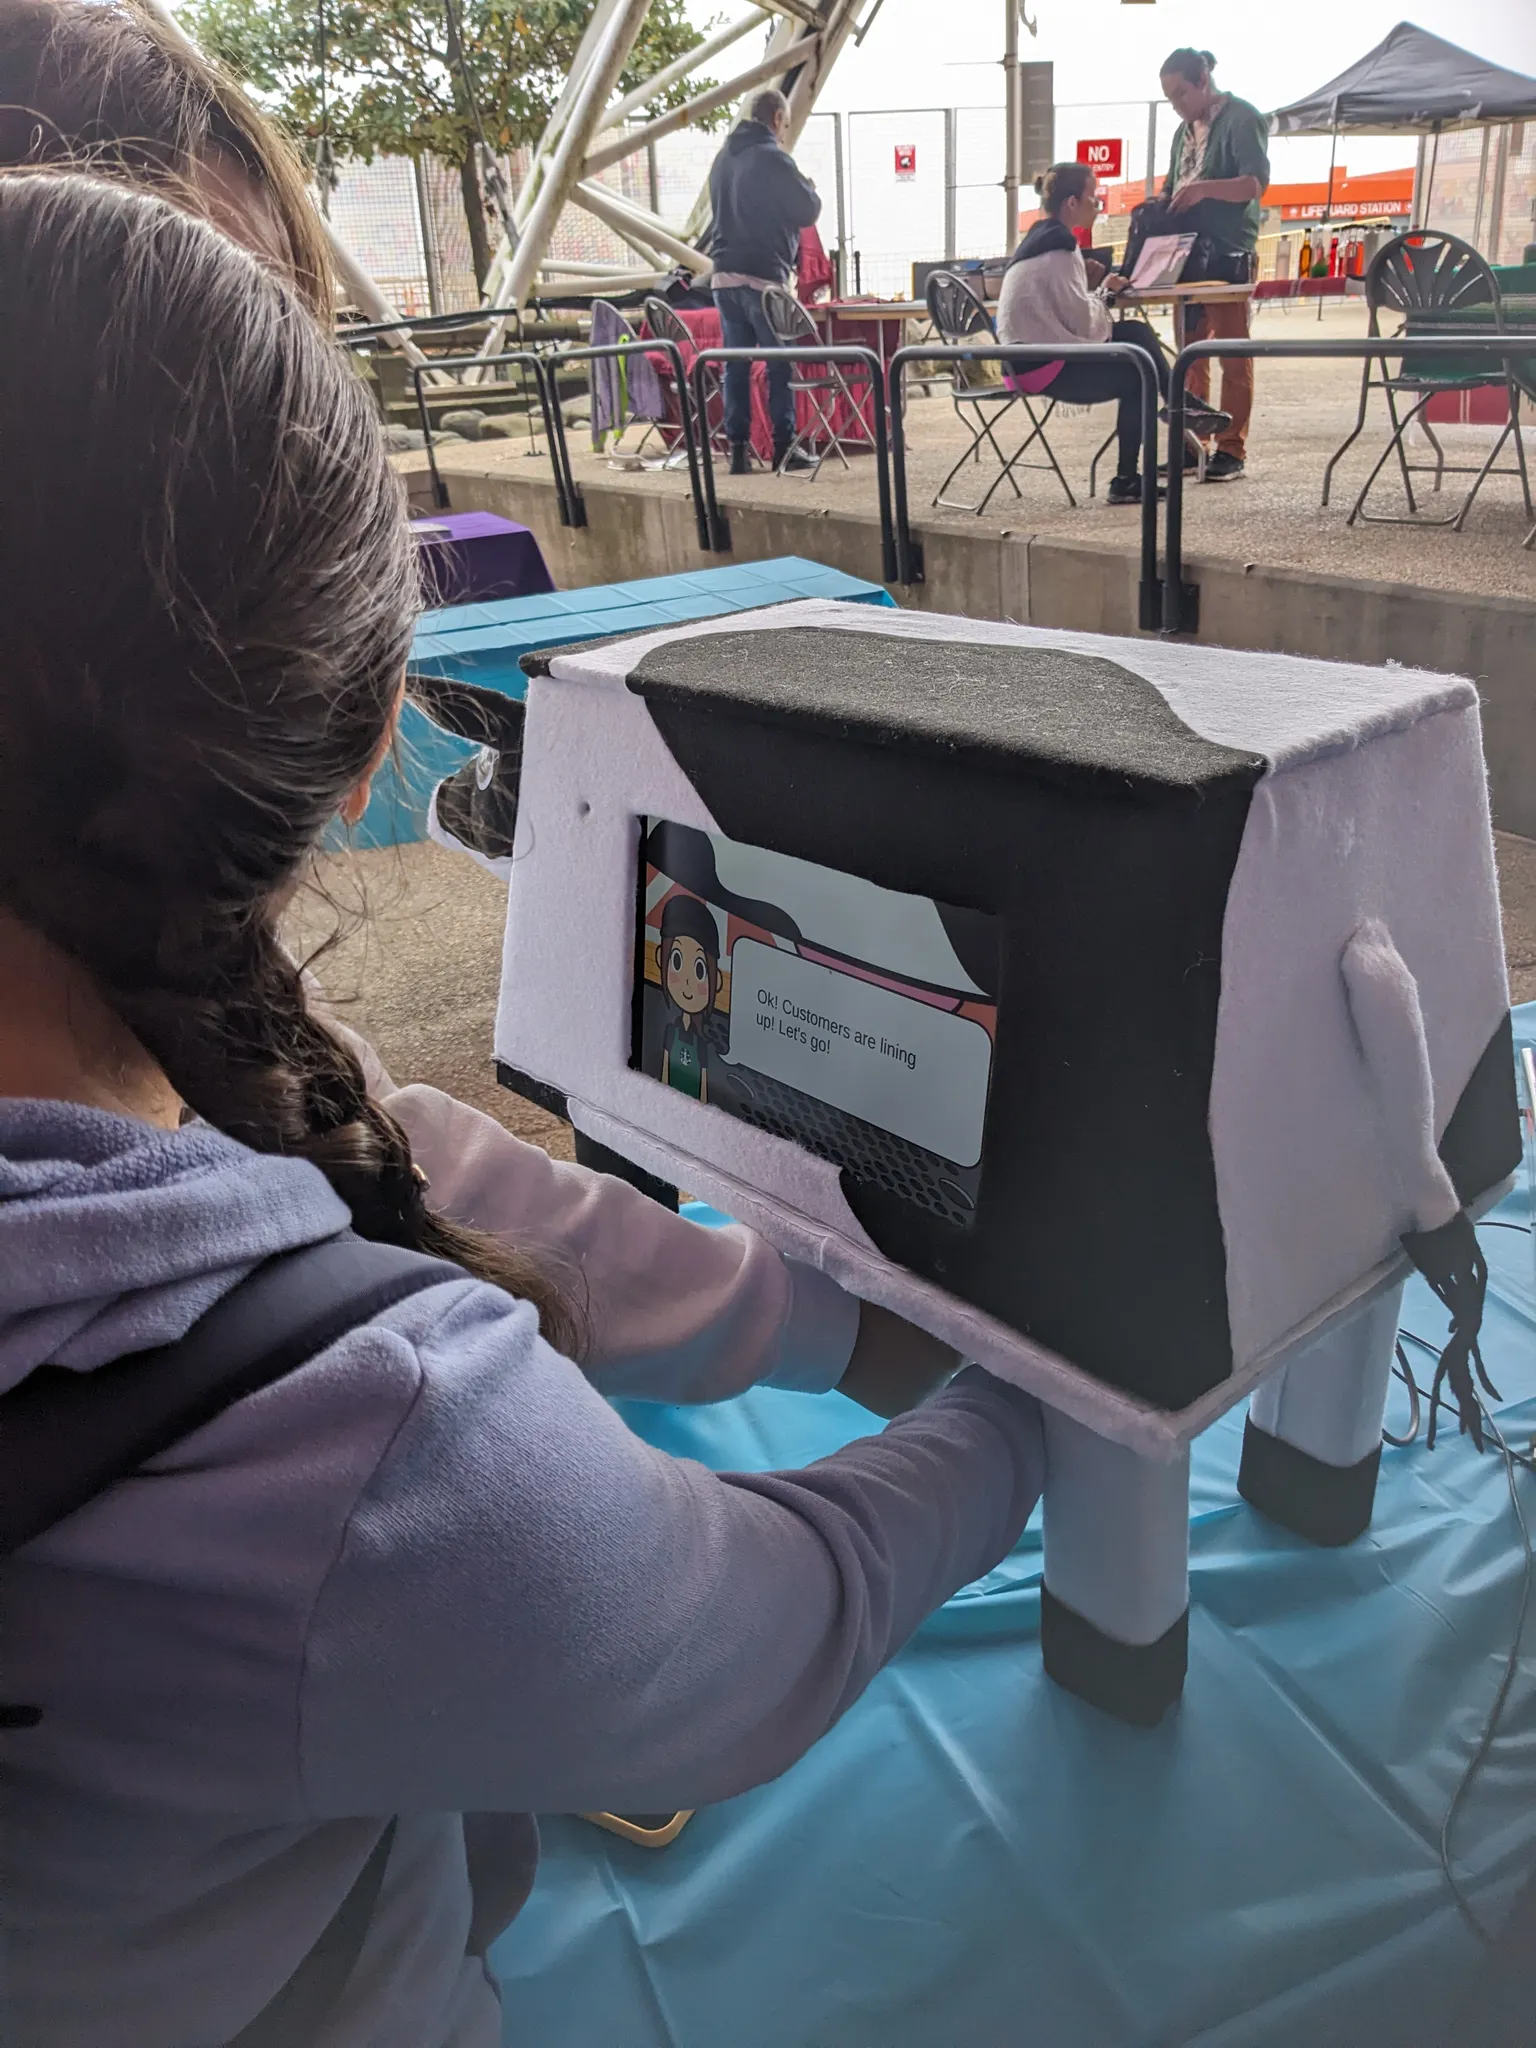
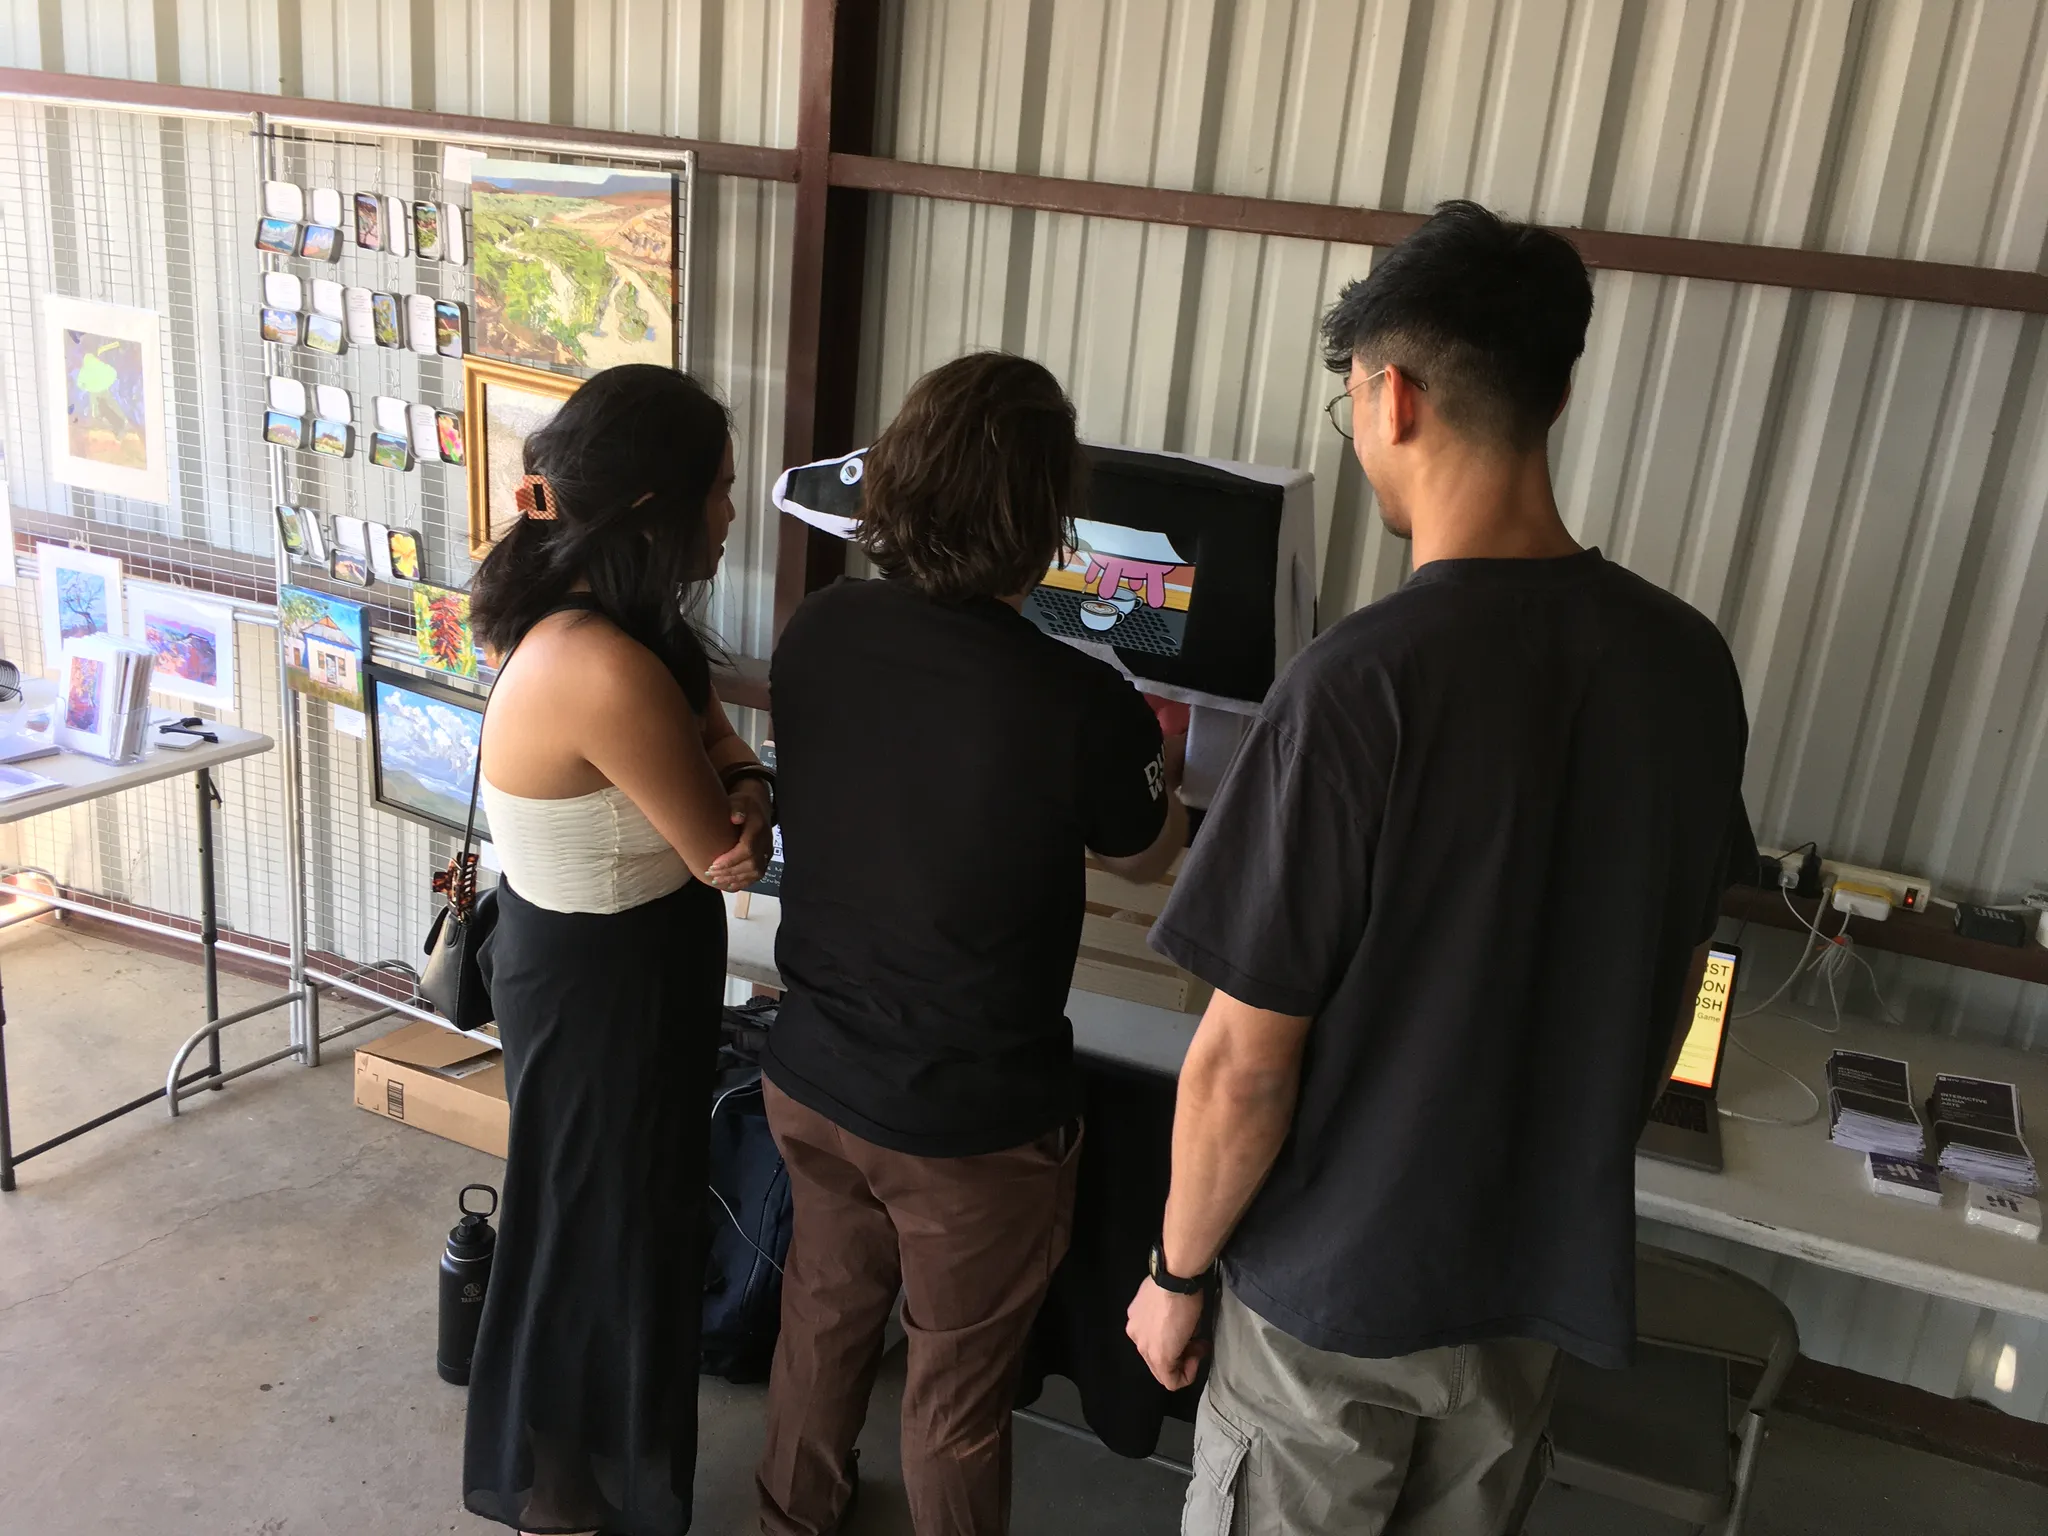
I was also invited to bring Udder Mayhem to the Coney Island Maker Faire to represent my gradute program, and it was an absolute favorite amongst the kids.
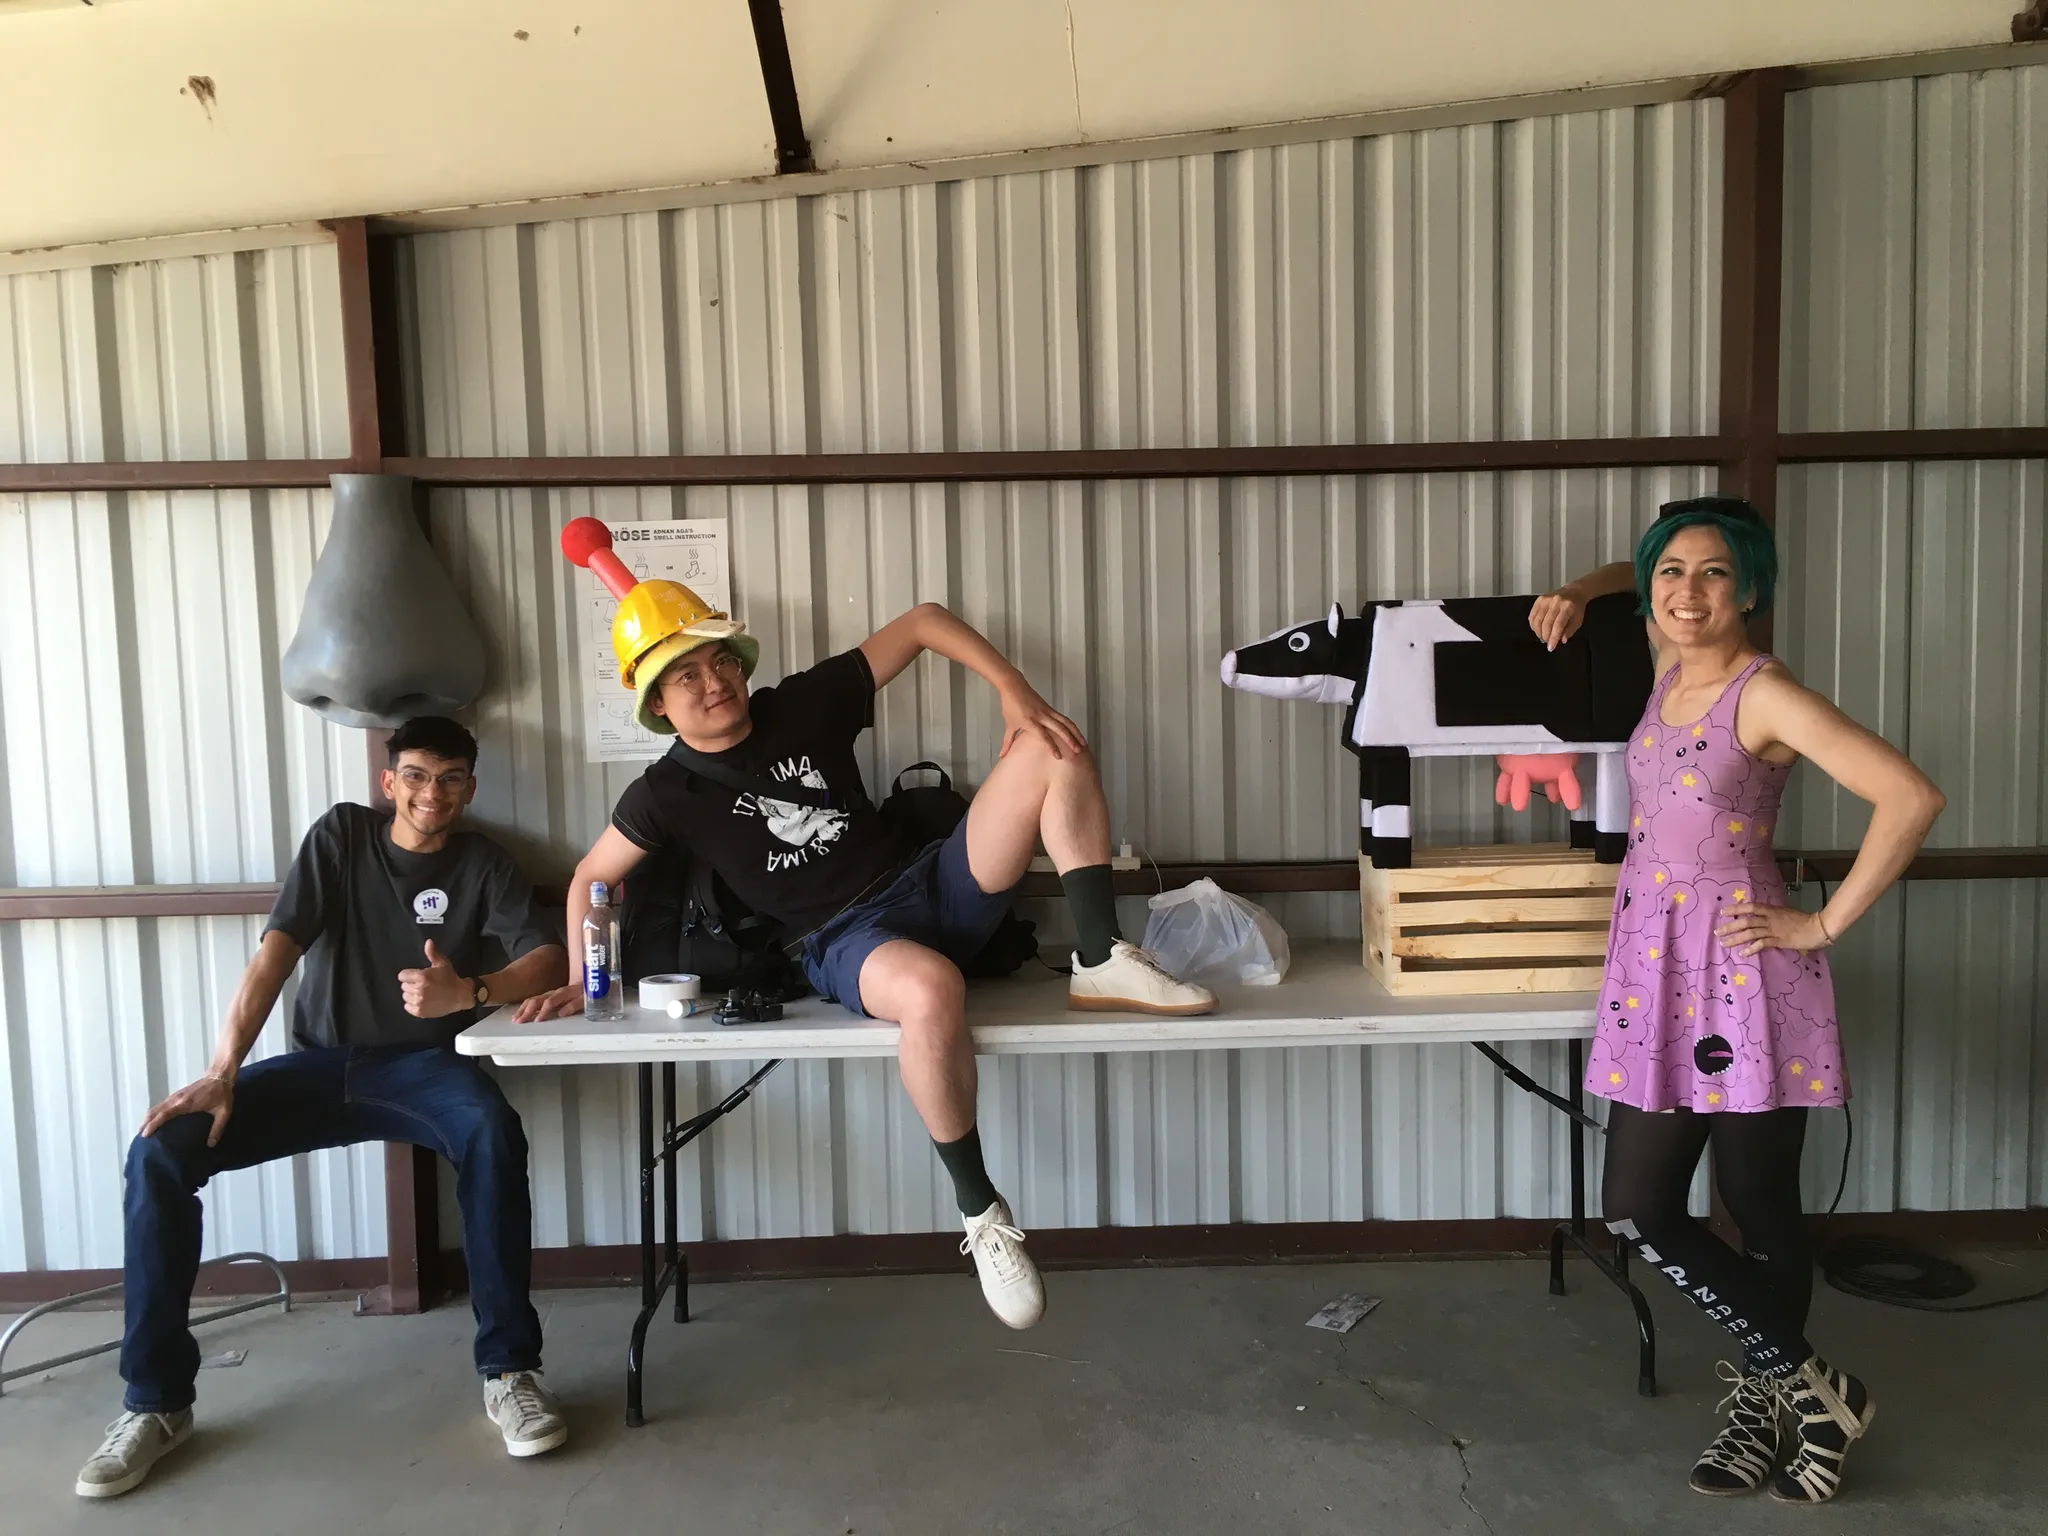
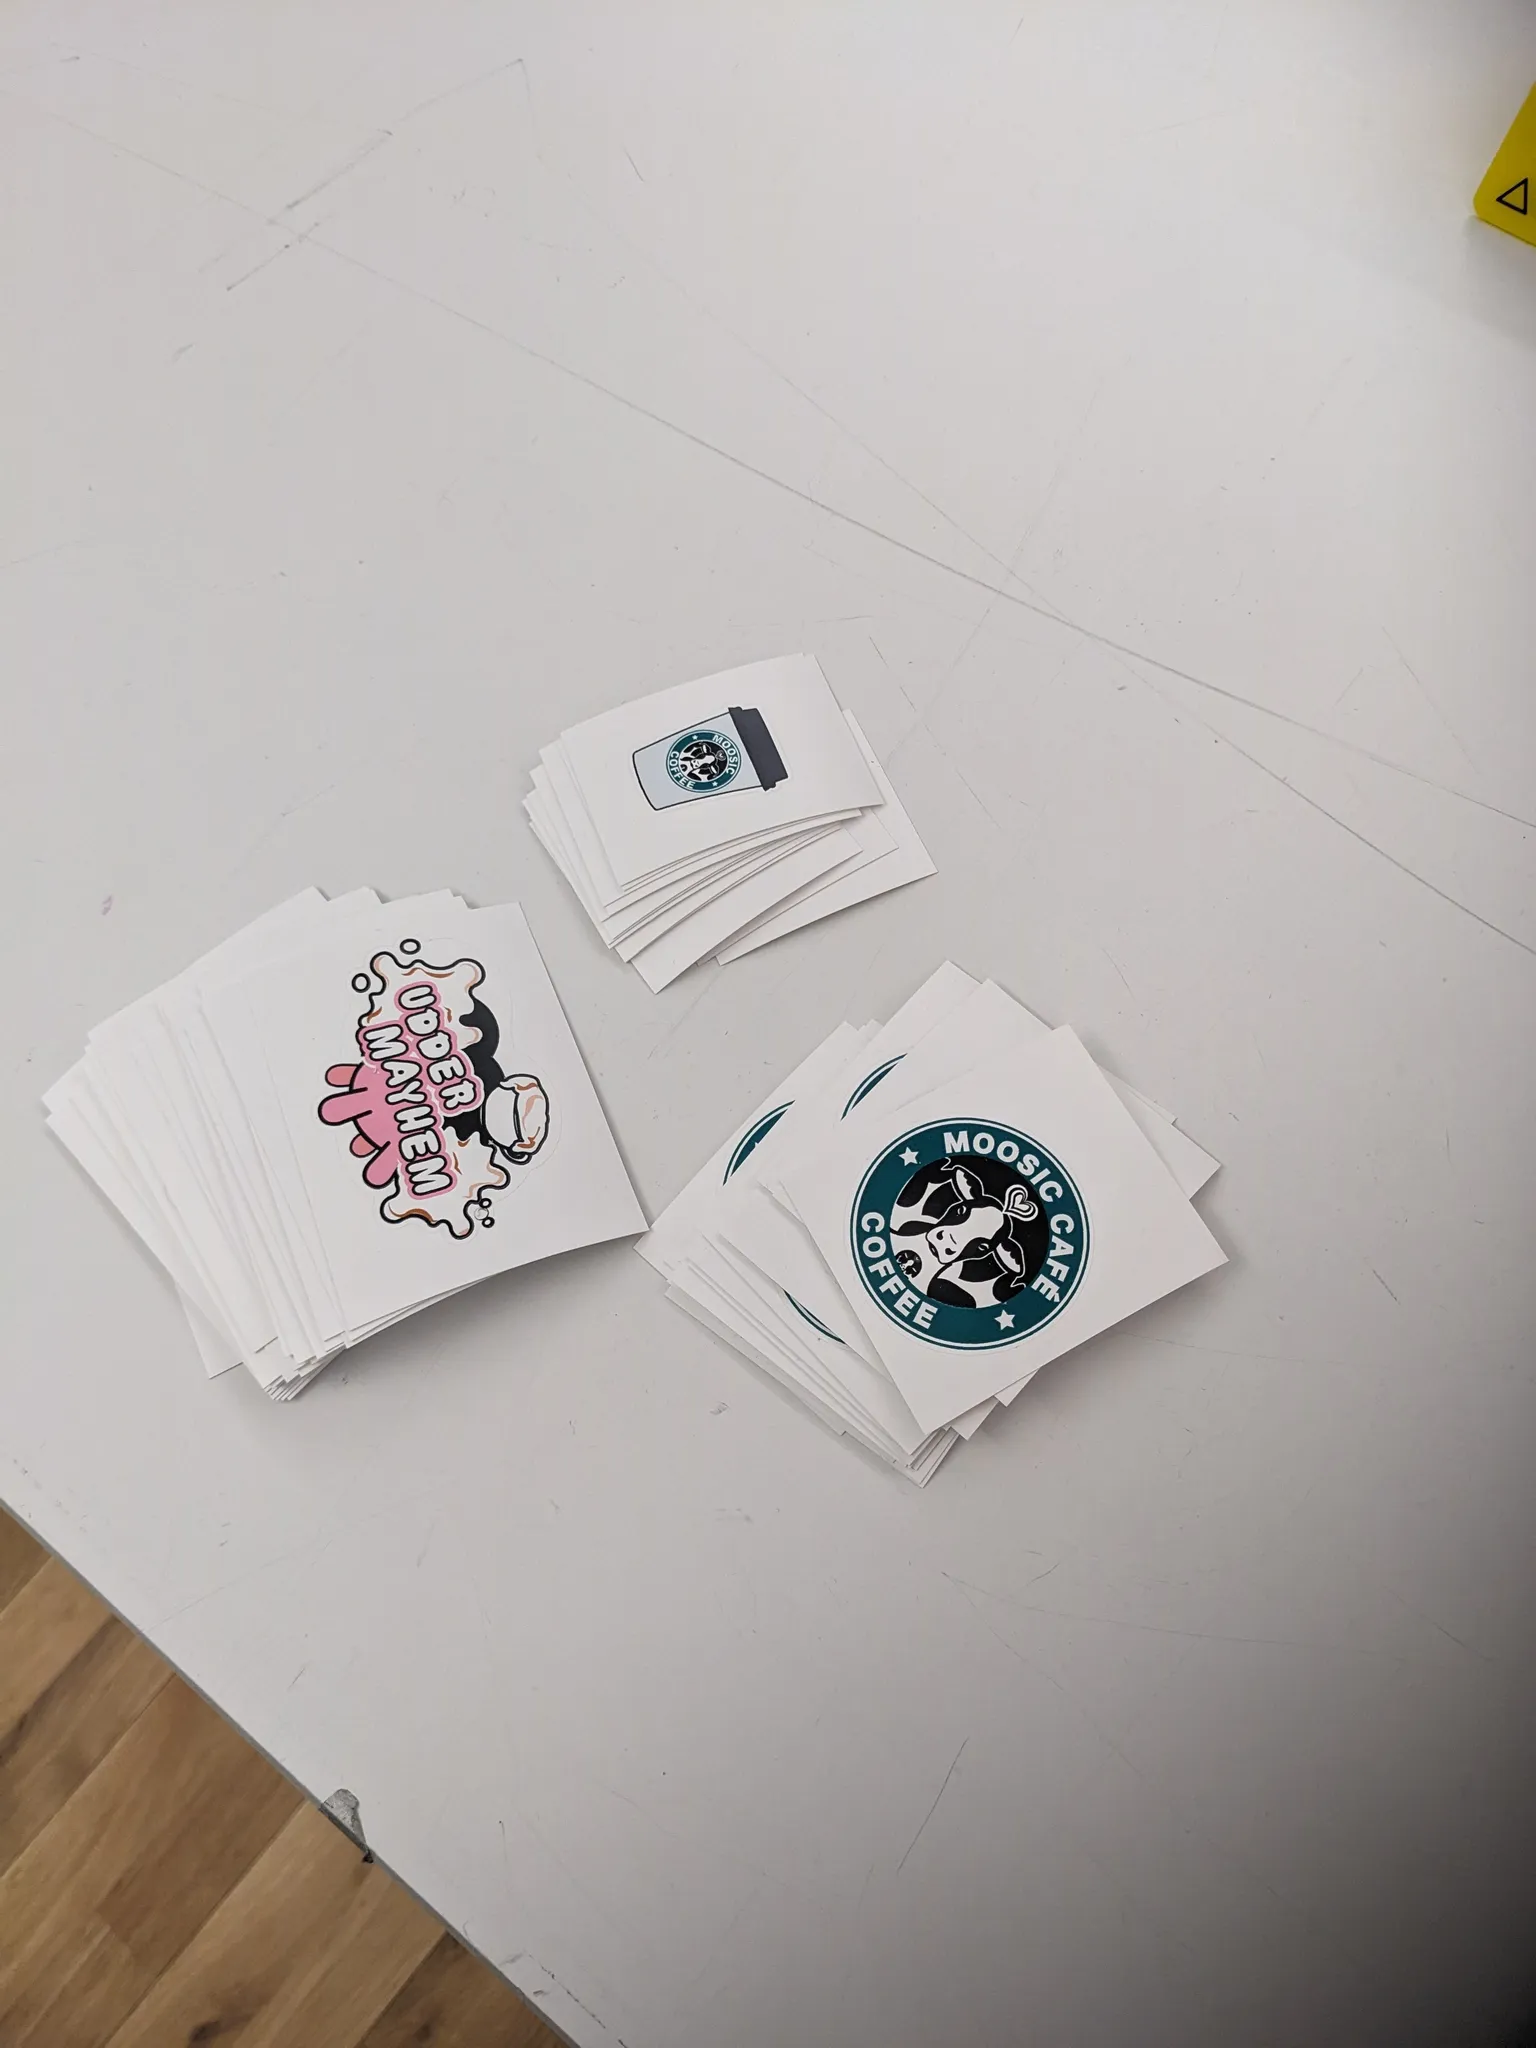
Once again, it all starts with a little prep, this time with swag as well:
Then I headed off to the NYU table at Coney Island Maker Faire.
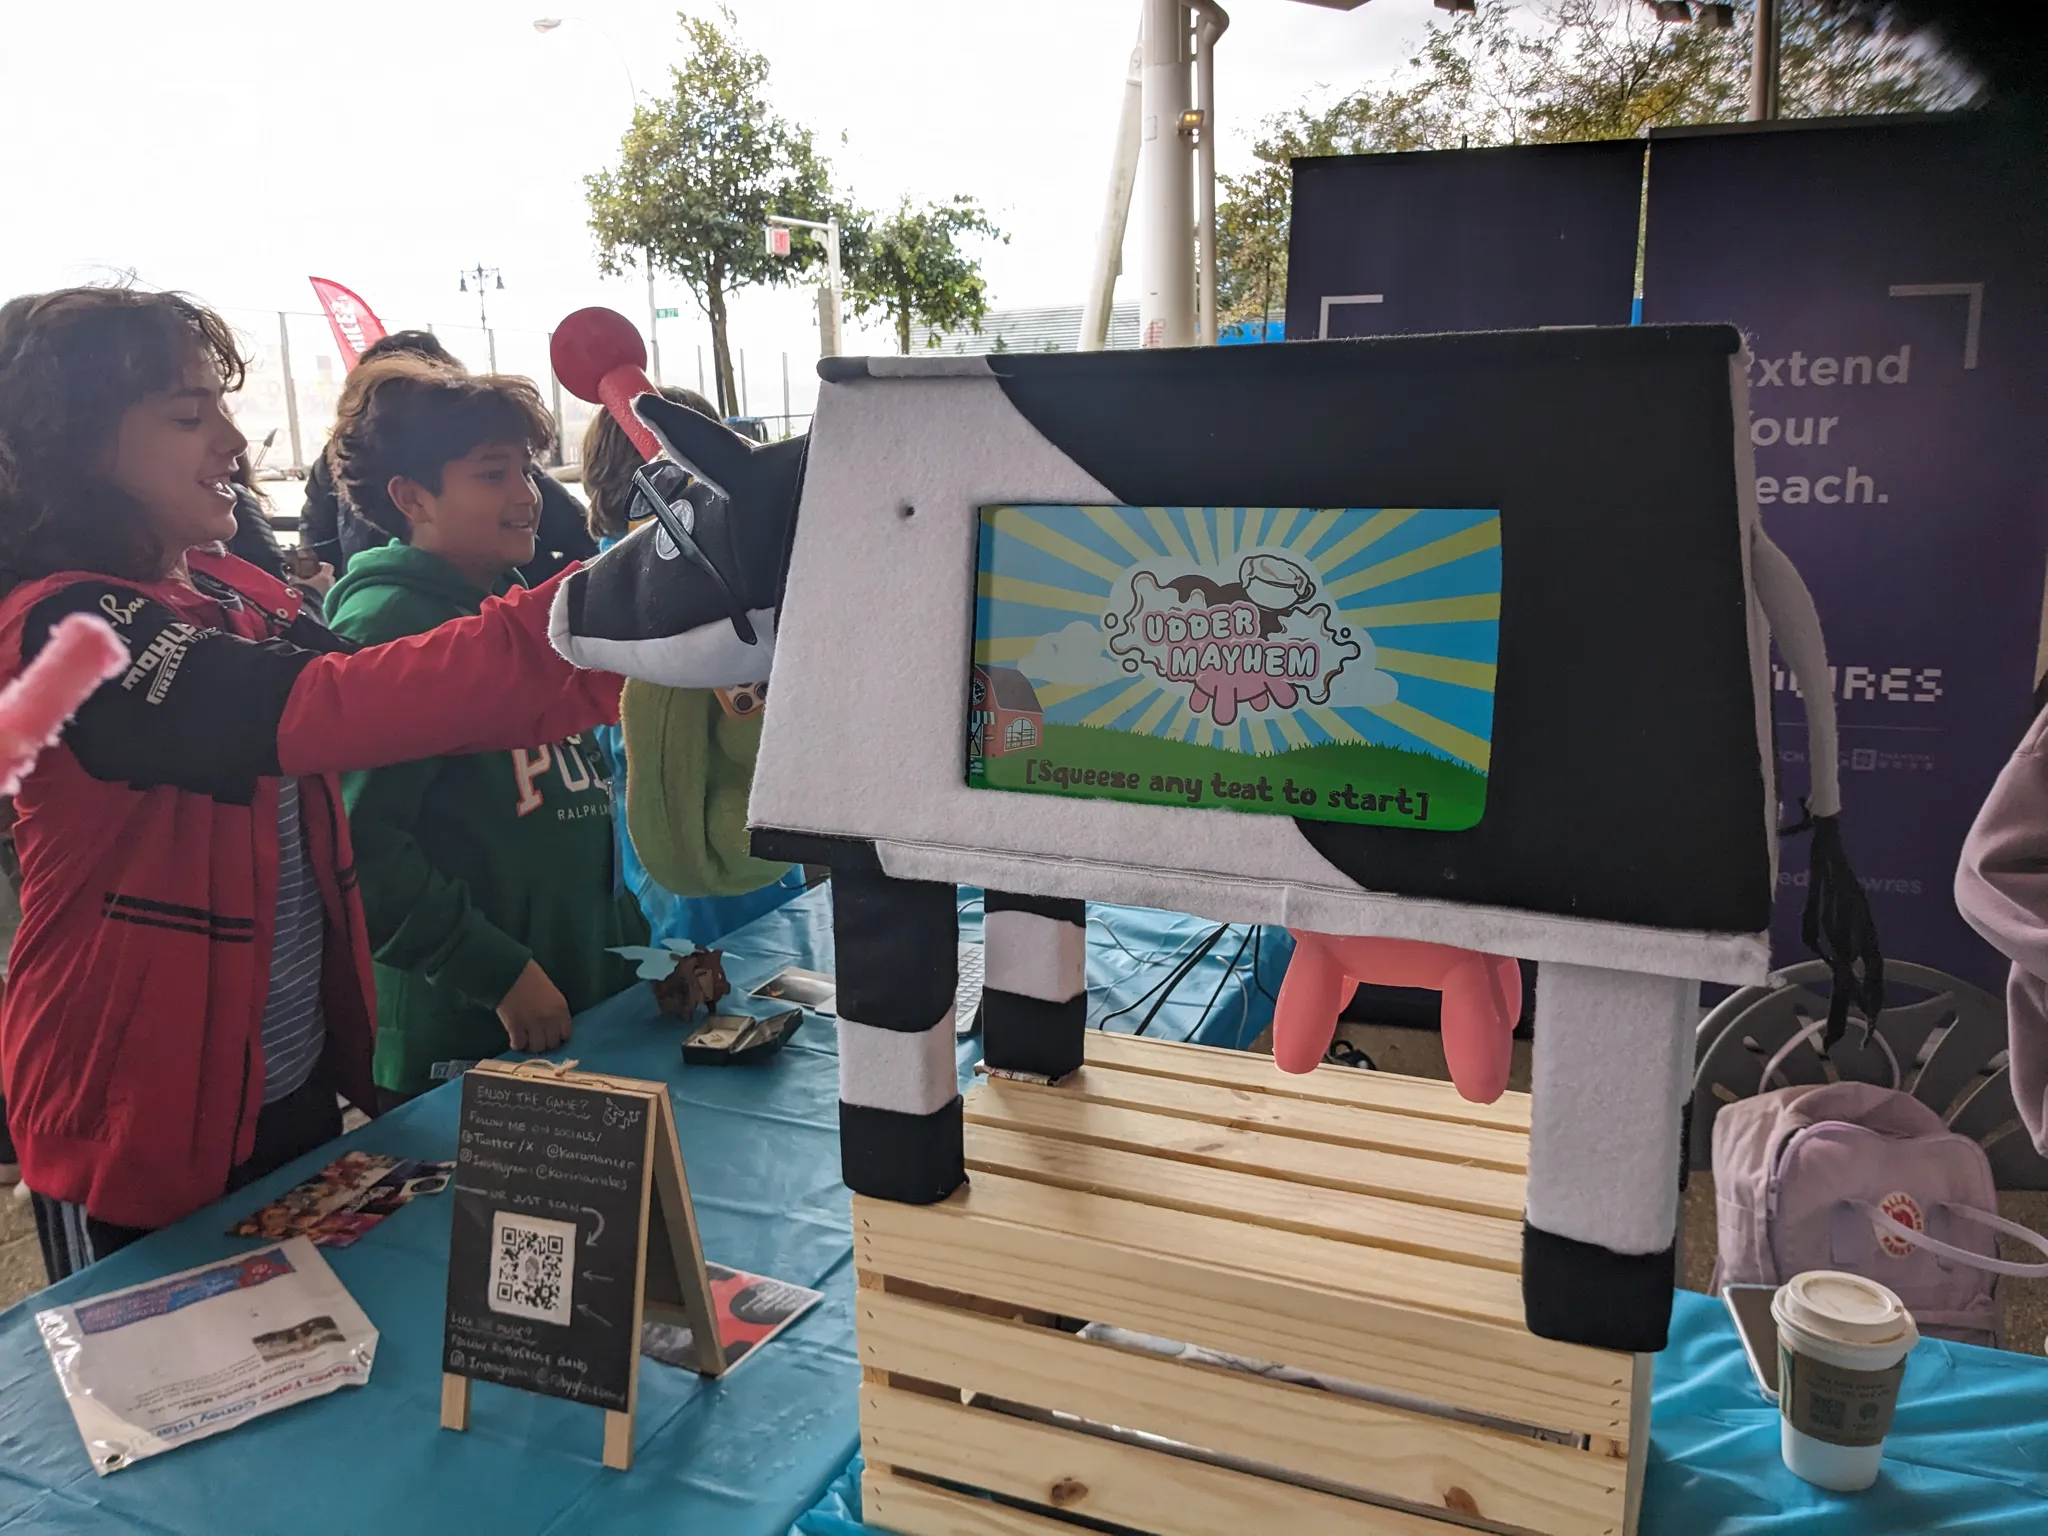
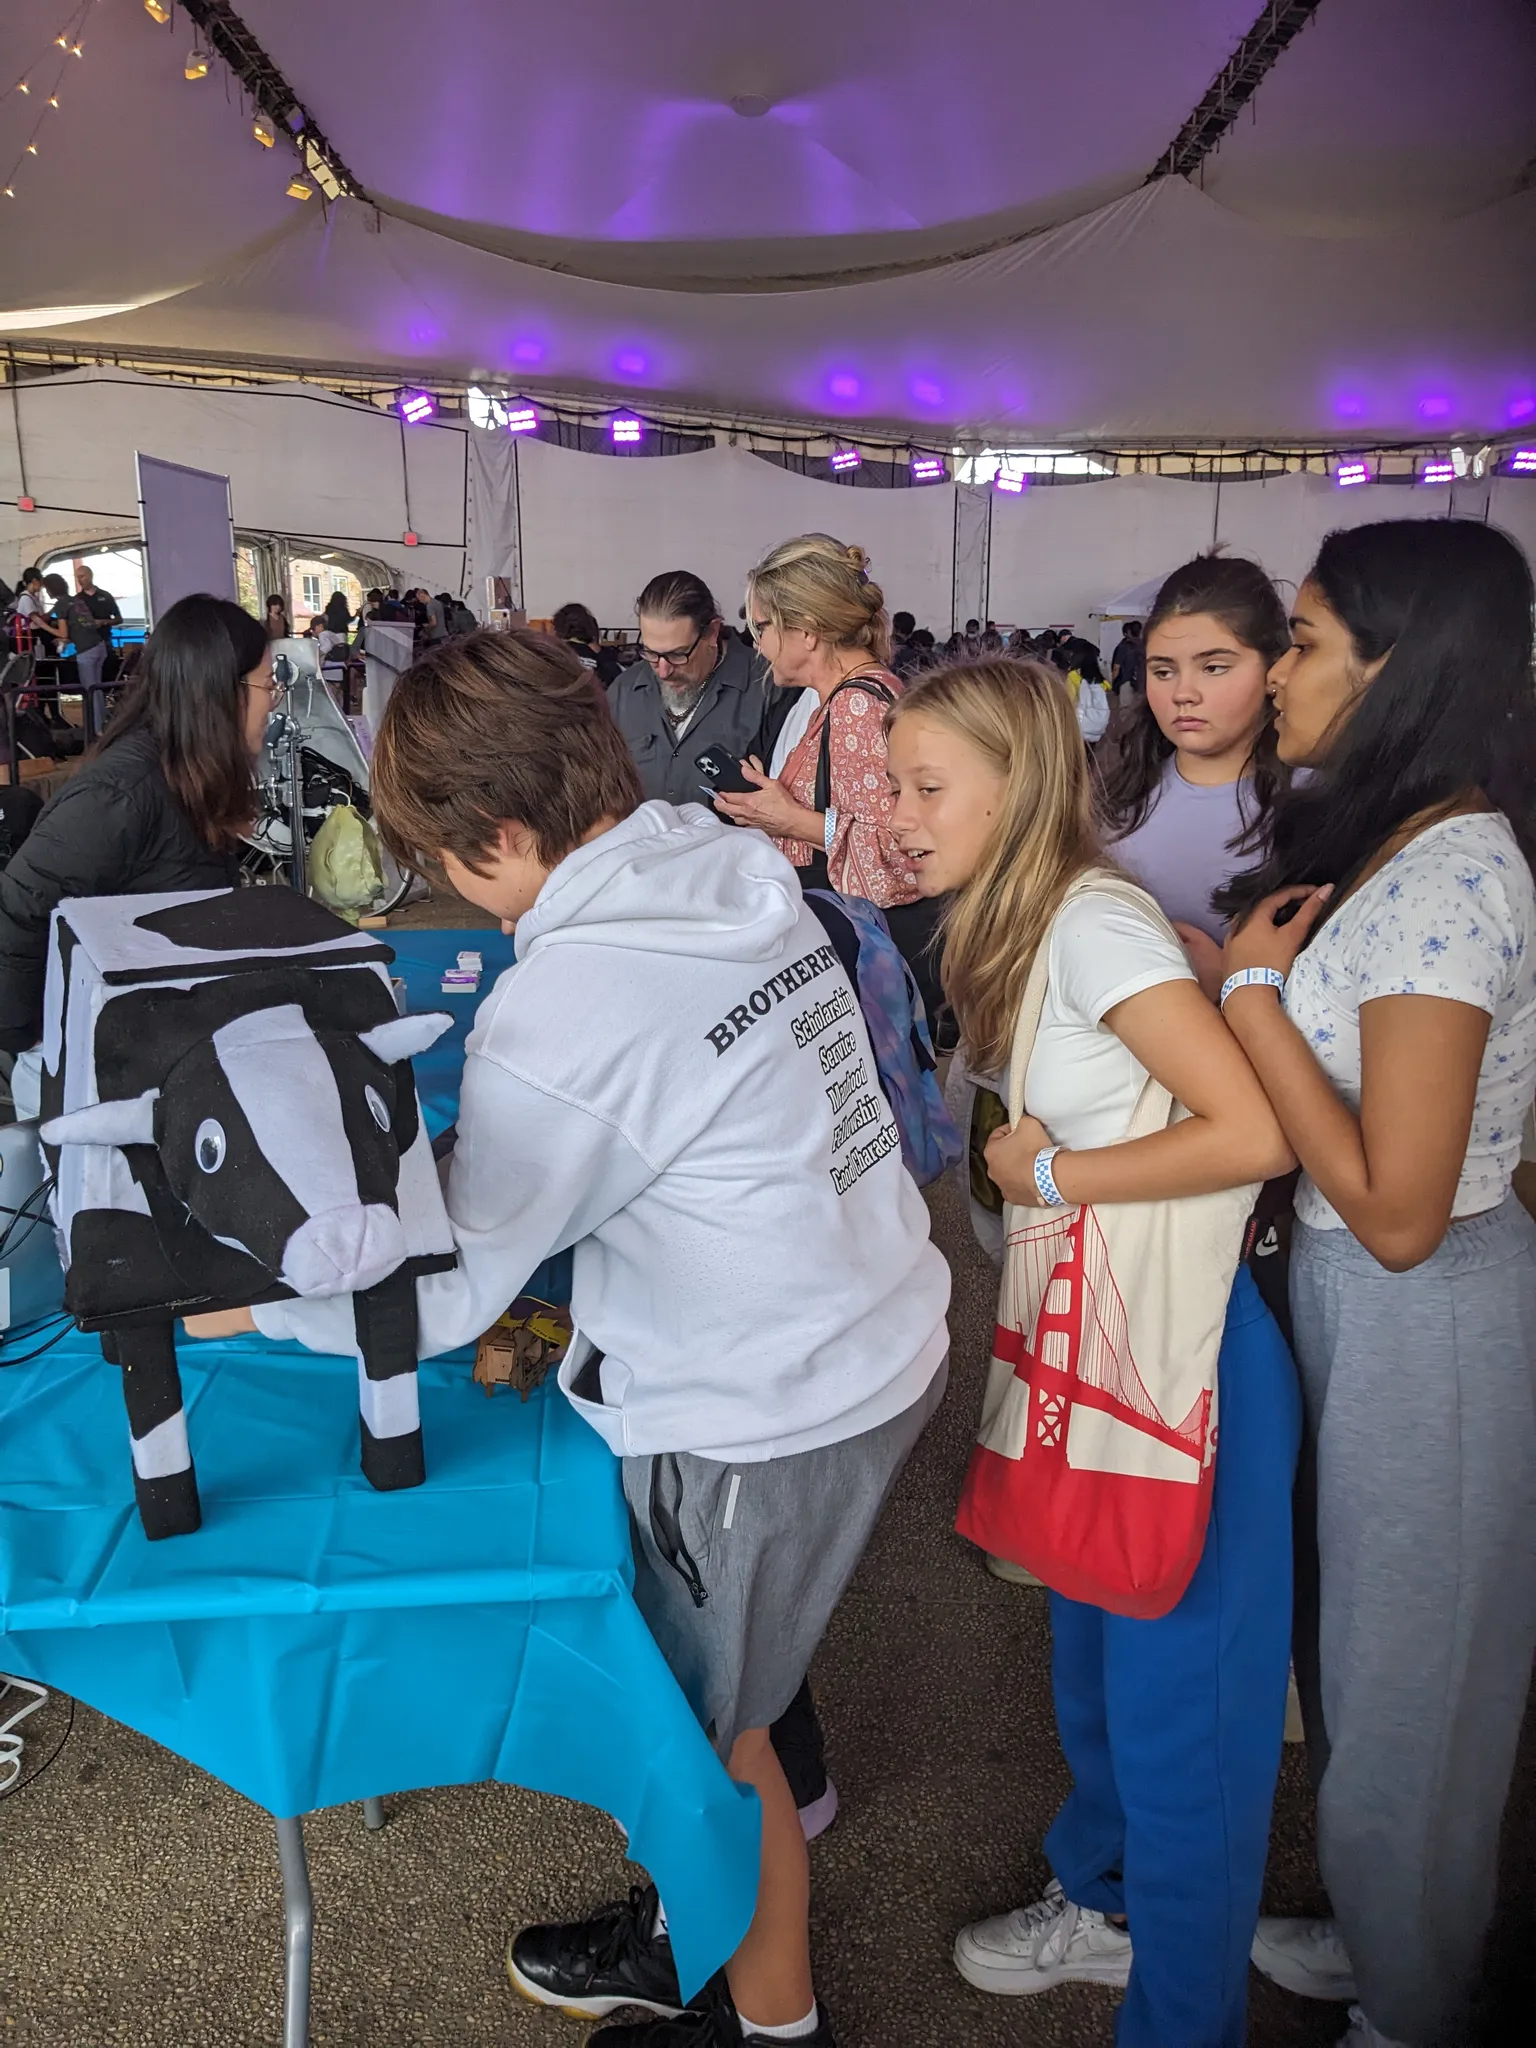
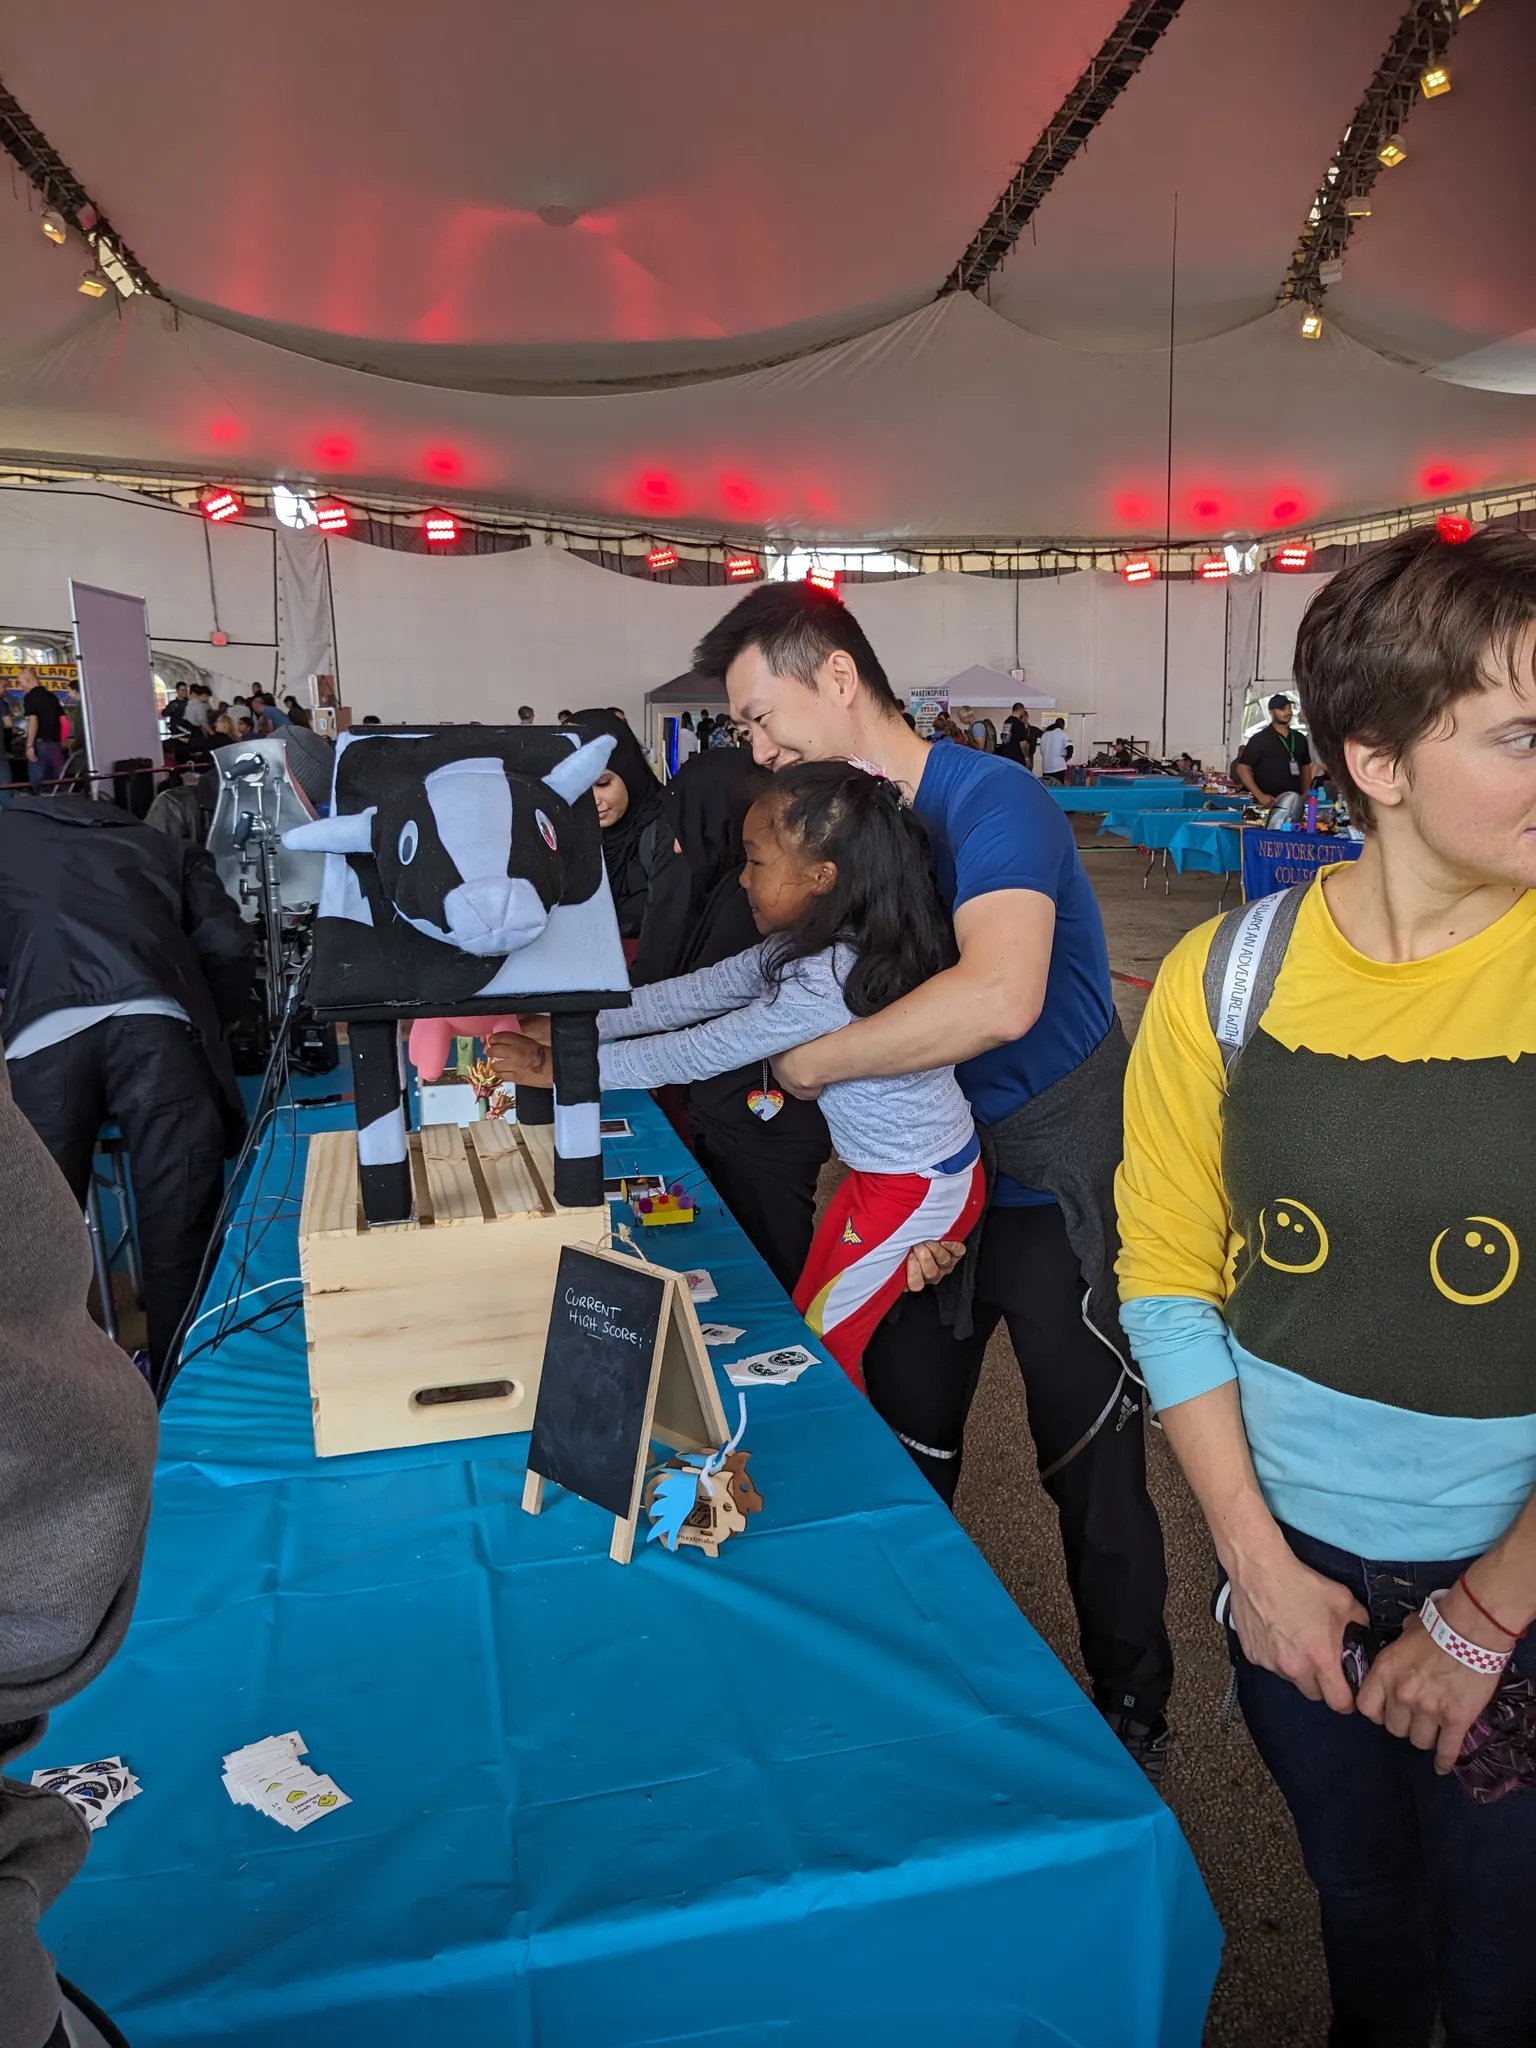
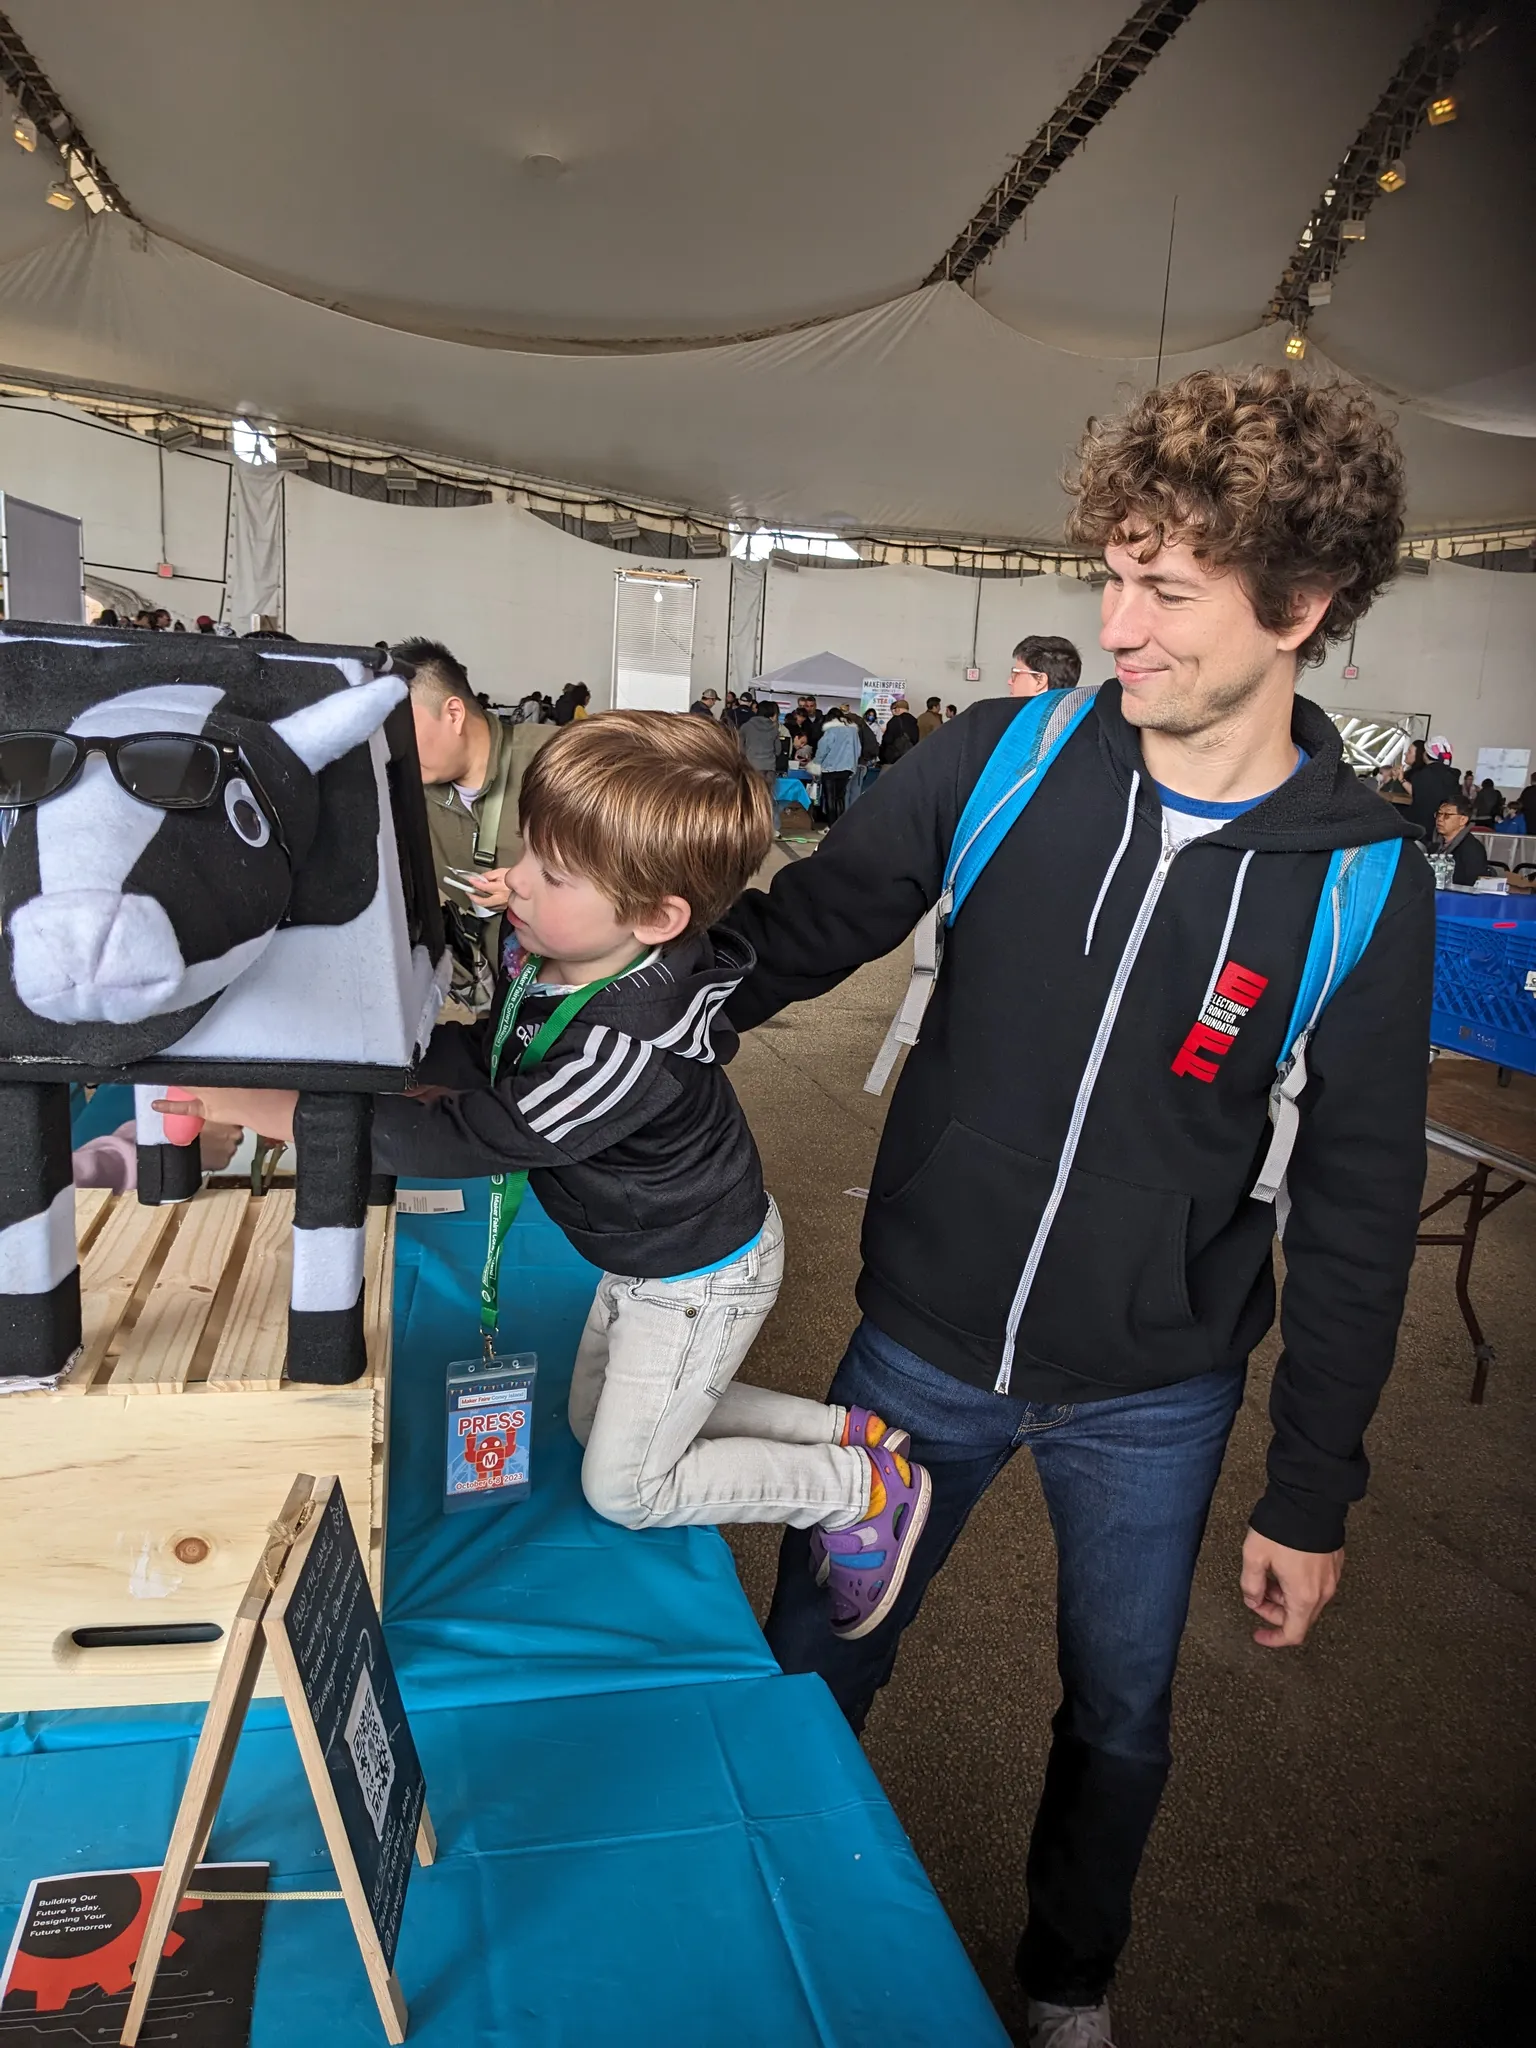
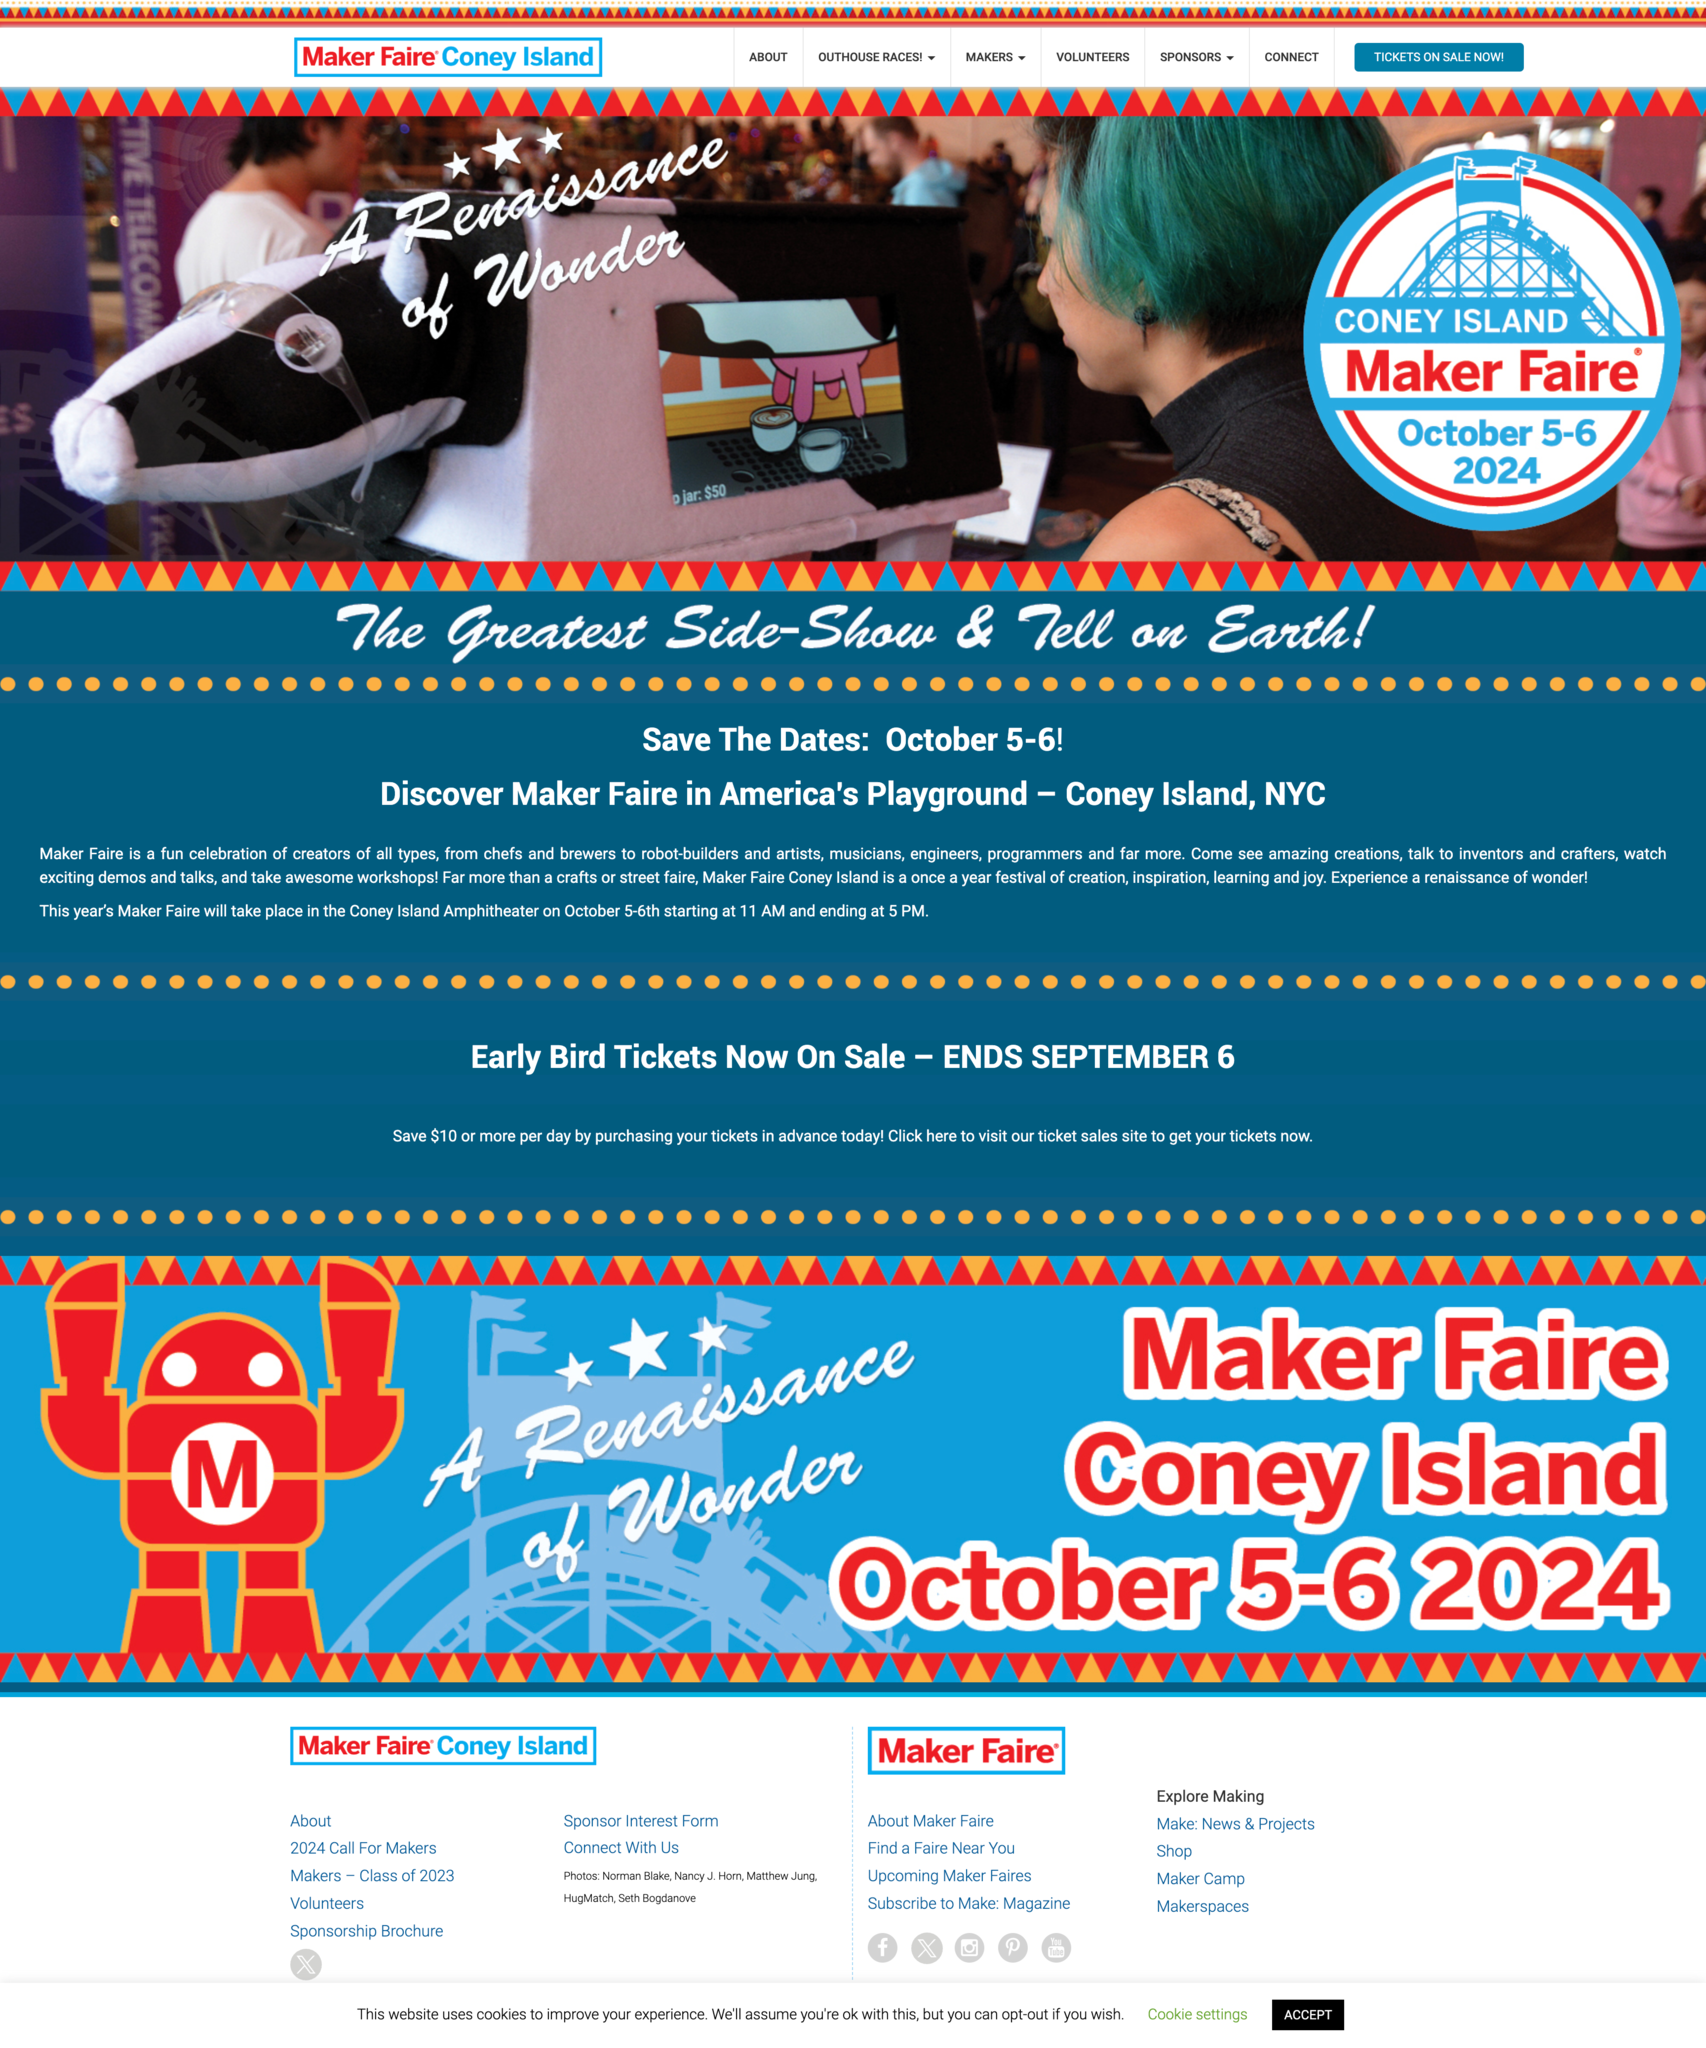
It was so popular among the children that it was even featured on the banner to purchase the following years' tickets!
 |